Einleitung
This guide is for filter replacement of air conditioning. This replacement is needed to allow proper airflow while preventing particles from leaving the vent. I purchased the filter in Home Depot. Make sure to know the dimensions of the vent opening as there are filters with different dimensions. Additionally, there are 5 categories of filters and are rated by how effective they are. I bought a filter with a score of 9 out of 10 so choose one that meets your budget.
Was du brauchst
-
-
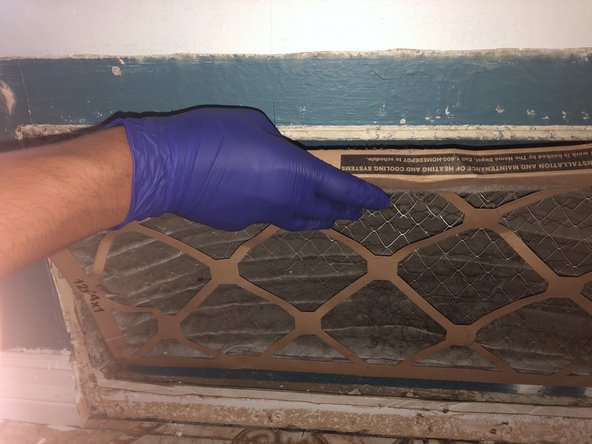
Observe your air conditioning vent. If the filter appears to be dirty or damaged, then it is time to change it.
-
-
-
Remove the screws on the vent cover. There should be a minimum of 4 screws in each corner of the vent.
-
-
-
Grab a screwdriver with a hex head attachment to remove the screws. Grab the screwdriver and place it on the head of the screw. Twist in a counterclockwise motion until the screw is removed. Repeat for every screw.
-
-
-
-
Buy a Honeywell Air Filter from Home Depot and make sure to buy the filter with the correct dimensions.
-
The dimensions for filters will vary depending on the dimensions of the vent.
-
-
-
Place the new filter into the vent opening. Make sure that it is facing the right direction.
-
-
-
Grab the same screws that were taken out at Step 3 and use them to secure the vent cover.
-
Place the screwdriver on the head of the screw and twist in a clockwise motion until screw is secure.
-
Repeat for every screw.
-


To reassemble your device, follow these instructions in reverse order.
To reassemble your device, follow these instructions in reverse order.
Rückgängig: Ich habe diese Anleitung nicht absolviert.
2 weitere Personen haben diese Anleitung absolviert.
Team

CSU Los Angeles, Team 2-1, Briggs Fall 2023 Mitglied von CSU Los Angeles, Team 2-1, Briggs Fall 2023
CSULA-BRIGGS-F23S2G1
5 Mitglieder
5 Anleitungen geschrieben