Zum Hauptinhalt wechseln

Hisense Sero 7 Pro Rear Camera Replacement

Was du brauchst

  1. Hisense Sero 7 Pro Rear Camera Replacement, Rear Camera: Schritt 1, Bild 1 von 2 Hisense Sero 7 Pro Rear Camera Replacement, Rear Camera: Schritt 1, Bild 2 von 2
    • Turn tablet off before dissembling it.

    • Use caution when handling device if screen is cracked.

    • Using a plastic opening tool, pry open the back cover from the tablet.

    • An extra set of hands may be required.

  2. Hisense Sero 7 Pro Rear Camera Replacement: Schritt 2, Bild 1 von 1
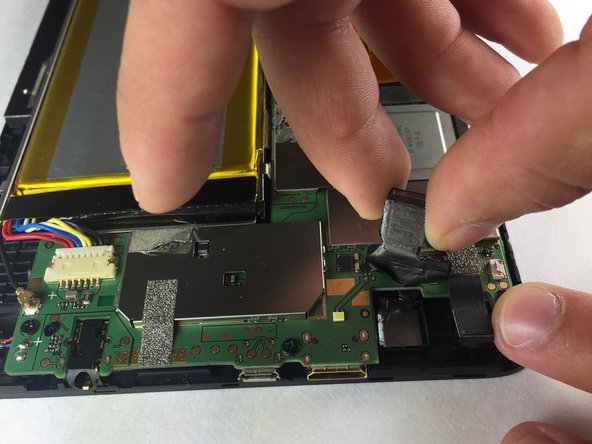
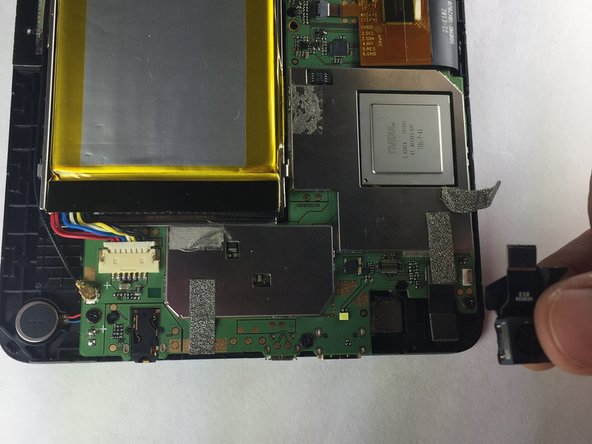
    • Using a metal or nylon spudger, begin to peel the tape from the motherboard that it is attached to the camera.

    • If needed, the same steps can be applied to front camera.

  3. Hisense Sero 7 Pro Rear Camera Replacement: Schritt 3, Bild 1 von 3 Hisense Sero 7 Pro Rear Camera Replacement: Schritt 3, Bild 2 von 3 Hisense Sero 7 Pro Rear Camera Replacement: Schritt 3, Bild 3 von 3
    • Pull the camera toward you to detach from the tablet.

    • Use caution when detaching camera from port.

Abschluss

To reassemble your device, follow these instructions in reverse order.

Baochau Nguyen

Mitglied seit: 10/11/16

314 Reputation

3 Anleitungen geschrieben

Team

Texas Tech, Team 38-2, Bennett Fall 2016 Mitglied von Texas Tech, Team 38-2, Bennett Fall 2016

TTU-BENNETT-F16S38G2

4 Mitglieder

6 Anleitungen geschrieben

0 Kommentare

Kommentar hinzufügen

Seitenaufrufe:

Letzte 24 Stunden: 0

Letzte 7 Tage: 3

Letzte 30 Tage: 9

Insgesamt: 225