Was du brauchst
-
-
Turn the projector upside down so the bottom is facing up.
-
Remove the 6 black 2 cm screws with a Phillips #1 Screwdriver.
-
-
-
Flip the projector right-side up and navigate to the back panel.
-
Remove the 3 black, 1 cm screws on the back panel with a Phillips #1 Screwdriver.
-
Remove the two silver 1 cm screws on the power switch panel with a Phillips #1 Screwdriver.
-
-
-
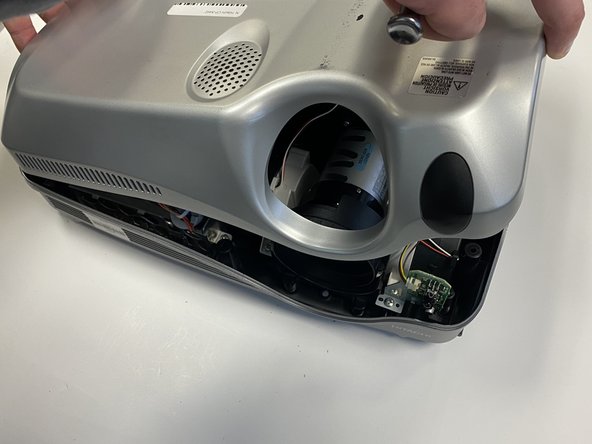
Now turn the projector so the front is facing you.
-
Gently remove the lid from the bottom of the projector so the green circuit board is exposed.
-
-
-
-
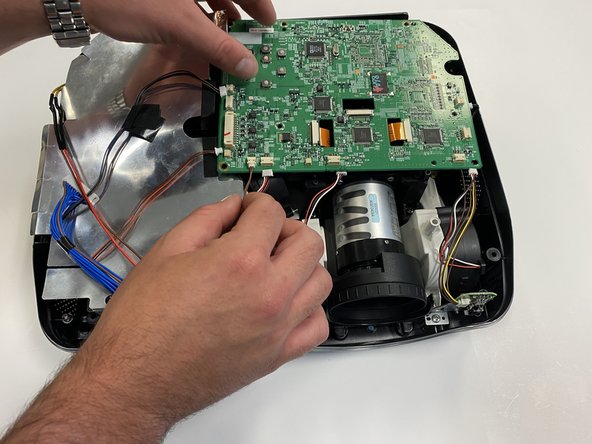
Gently pull out the three orange ribbons from their white connectors on the circuit board.
-
You can use a spudger tool to pry them out of place.
-
-
-
Remove the 5 silver 0.5 cm screws on the circuit board with a Phillips #2 Screwdriver.
-
-
-
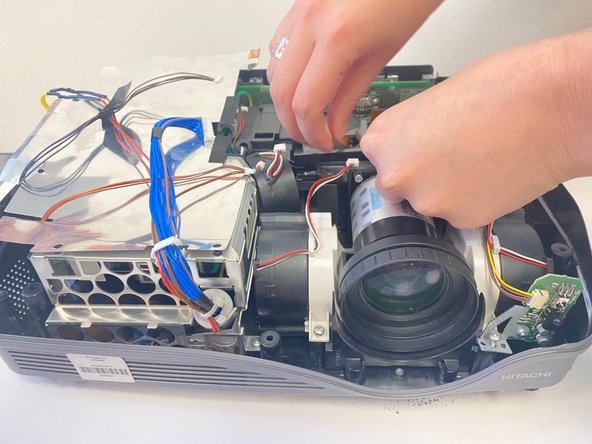
As you look at the the device overhead, you will see three pieces of orange ribbon.
-
Attached to the orange ribbon will be a stabilizer over the lamp.
-
On each side, unscrew the two 1 cm screws with a Phillips #0 Screwdriver.
-
Then remove the piece holding the orange ribbons, called the stabilizer from this point on.
-
-
-
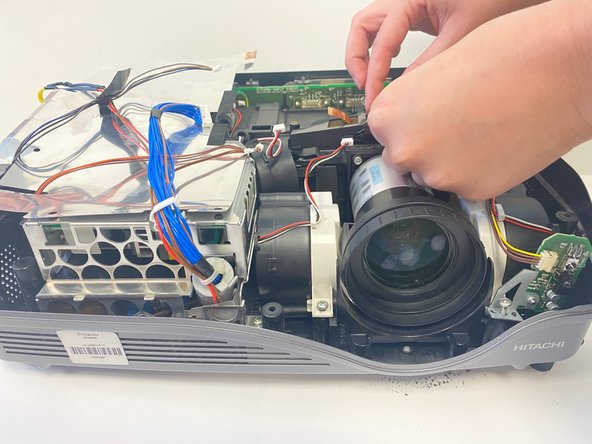
Once the stabilizer is removed, set it to the side.
-
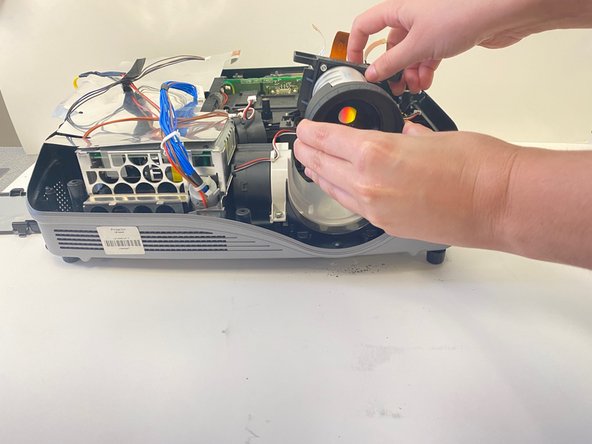
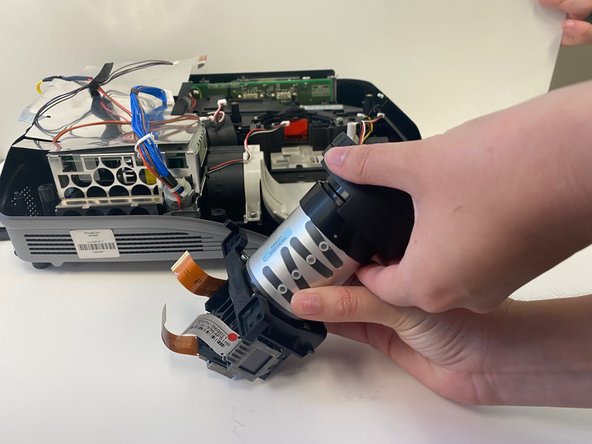
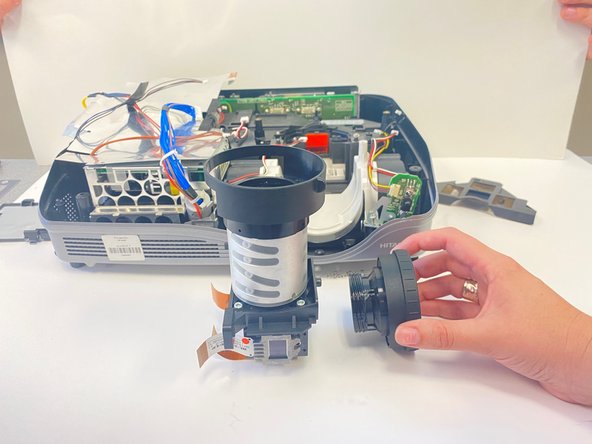
Use a Phillips #0 screwdriver to remove the two 1 cm screws on both sides of the lens.
-
The lens element should be easily lifted out of the device.
-
-
-
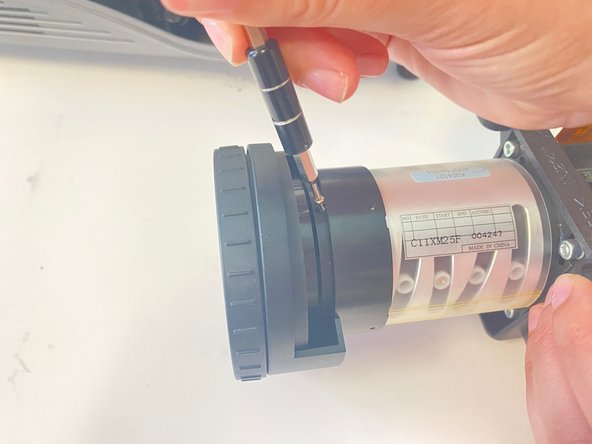
Once the lens element is safely removed, you will see 4 tiny 1/2 centimeter screws surrounding the lens.
-
Use a Phillips #000 screwdriver to unscrew each screw. This will allow you to easily remove the lens.
-
-
-
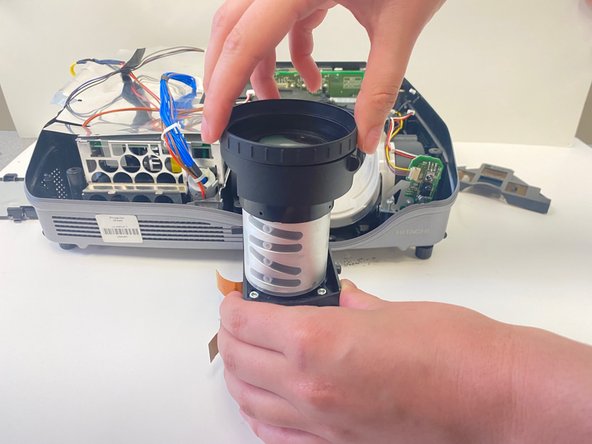
Begin to gently unscrew the lens by hand, being mindful of light pressure.
-
After a few turns, the lens should be easily removed.
-


To reassemble your device, follow these instructions in reverse order.
To reassemble your device, follow these instructions in reverse order.

Team

University of Alabama, Team 2-2, Bedsole Spring 2022 Mitglied von University of Alabama, Team 2-2, Bedsole Spring 2022
UA-BEDSOLE-S22S2G2
4 Mitglieder
6 Anleitungen geschrieben