Diese Anleitung enthält neuere Änderungen. Wechsel zur neuesten unüberprüften Version.
Einleitung
This guide will walk you through the easy process of repairing or replacing the heater control buttons.
Was du brauchst
-
-
-
Turn heater over so the controls are facing up.
-
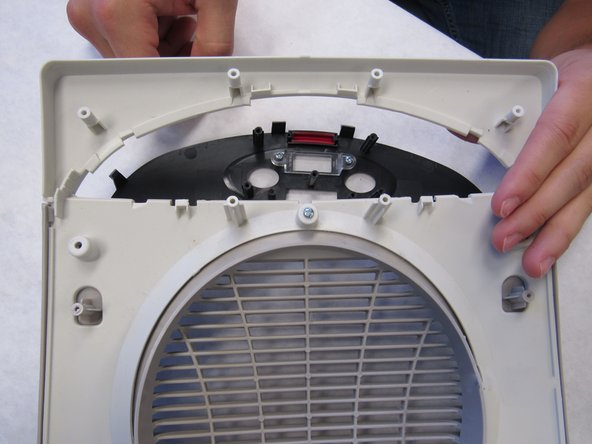
Lift the front housing away from the back of the fan and slowly fold the front housing back down to the floor.
-
-
-
Remove four 12mm Phillips #2 screws from the circuit board.
-
-
-
Remove the two Phillips #2 12mm screws from the button retainer.
-
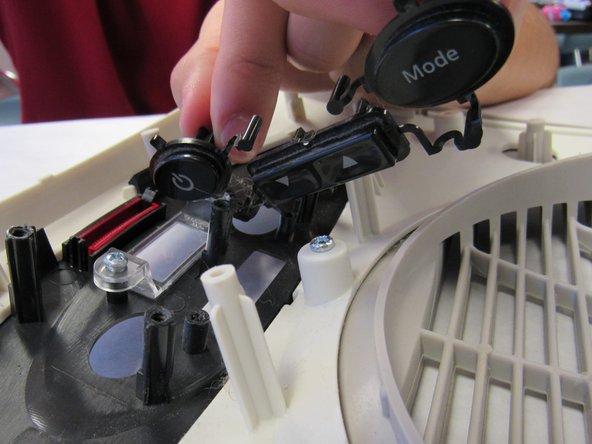
Lift the button retainer off.
-
Remove the interconnected buttons.
-
If the buttons are broken, replace them.
-
If the buttons are sticking, clean them in warm soapy water and allow to dry.
-
-
-
Using light finger pressure, carefully push the black plastic tabs off the white plastic hooks.
-
Remove the black plastic bracket out through the front of the heater housing.
-
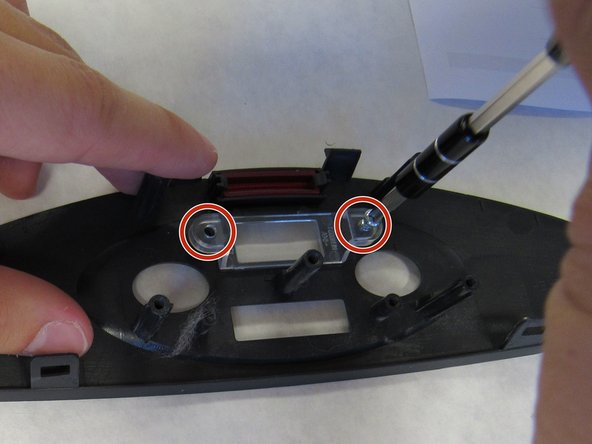
Remove the two Phillips #2 12mm screws and remove the clear window from the black plastic bracket.
-
If the buttons were sticking, clean the black plastic bracket in warm soapy water and allow to dry.
-
If the clear window was dirty, clean it in warm soapy water and allow to dry.
-


To reassemble your device, follow these instructions in reverse order.
To reassemble your device, follow these instructions in reverse order.
Rückgängig: Ich habe diese Anleitung nicht absolviert.
Ein:e weitere:r Nutzer:in hat diese Anleitung absolviert.
Team

IUPUI, Team 2-1, Baechle Fall 2016 Mitglied von IUPUI, Team 2-1, Baechle Fall 2016
IUPUI-BAECHLE-F16S2G1
4 Mitglieder
16 Anleitungen geschrieben