Einleitung
This guide shows how to replace the Safety Switch on the Homelite UT44172 4.8-volt Cordless Grass Shear. The safety switch must be pressed simultaneously with the operating switch for the blades to move. If the safety switch is stuck or loose, then it or its spring may need to be replaced.
Was du brauchst
-
-
Remove the six 1.5 cm screws marked on the picture from the plastic casing with a Phillips #2 screwdriver.
-
-
-
-
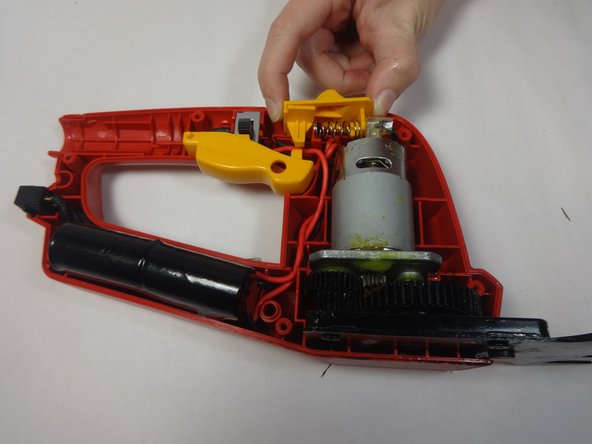
Remove the safety switch by pulling it away from the body of device.
-
-
-
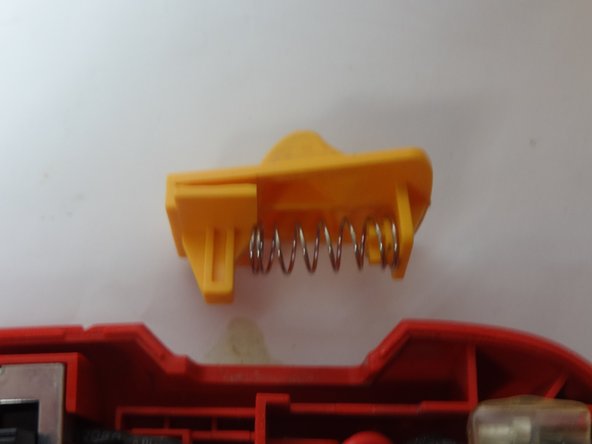
Inspect both the spring and the switch to see if either is deformed or damaged. If so, replace the damaged part with a new part.
-


To reassemble your device, follow these instructions in reverse order.
To reassemble your device, follow these instructions in reverse order.

Team

USF Tampa, Team 17-5, Watkins Winter 2015 Mitglied von USF Tampa, Team 17-5, Watkins Winter 2015
USFT-WATKINS-W15S17G5
3 Mitglieder
4 Anleitungen geschrieben