Einleitung
The Hoover Presto 2-in-1 Cordless Stick's charger can have a poor battery life which may affect the battery life of your vacuum. This guide will provide steps on how to access the charger for replacement or troubleshooting.
Was du brauchst
-
-
Using a firm grip, gently pull the standing charger away from the floor charger attachment
-
-
-
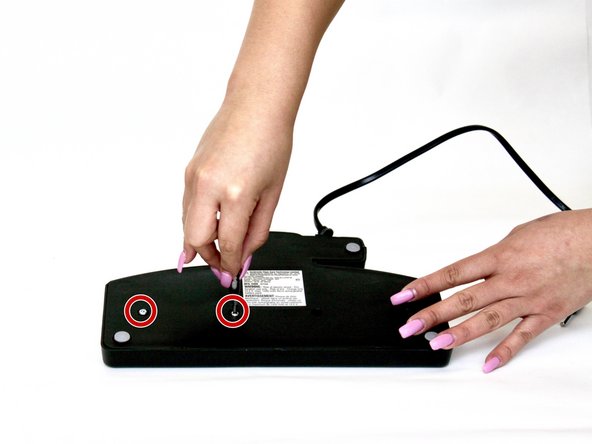
Flip the floor charger over so the screws and sticker are facing you
-
Using a PH #1 screw driver, remove the two 18mm screws on the right hand side of the floor charger
-
-
-
-
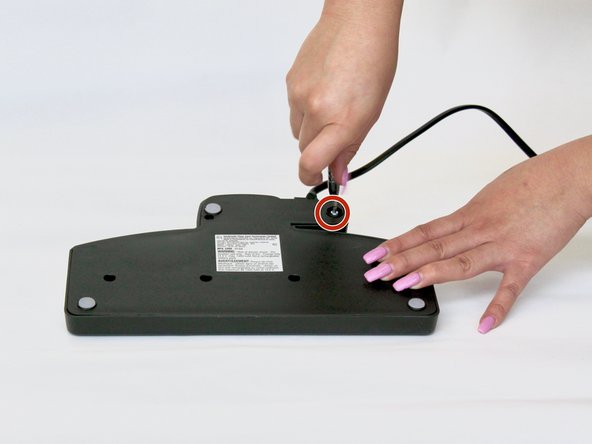
Using the metal spudger tool, gently lift up the plastic cover in the upper right hand corner of the floor attachment to uncover a hidden screw
-
Remove the 18mm screw in the upper right hand corner with a PH #1 screw driver
-
-
-
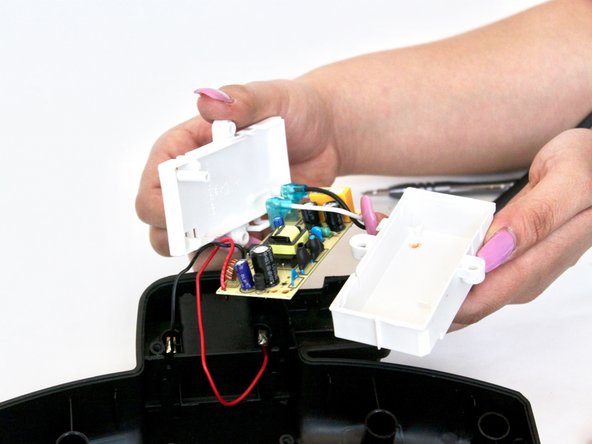
Using the metal spudger, gently pry open the two halves of the floor charger
-
Once you have made a larger enough gap between the two halves, use your hands and gently pull the rest of the floor charger apart
-
-
-
Unscrew the two 18mm screws on either side of the white battery cover with a PH #1 screw driver
-
-
-
Using your hands, gently pull apart the two halves of the white battery cover to get to the battery
-


To reassemble your device, follow these instructions in reverse order.
To reassemble your device, follow these instructions in reverse order.
Rückgängig: Ich habe diese Anleitung nicht absolviert.
Ein:e weitere:r Nutzer:in hat diese Anleitung absolviert.
Team

CSU Fullerton, Team S2-G6, Bruce Fall 2017 Mitglied von CSU Fullerton, Team S2-G6, Bruce Fall 2017
CSUF-BRUCE-F17S2G6
3 Mitglieder
8 Anleitungen geschrieben
4 Kommentare
La pila dónde la puedo encontrar
De la aspiradora Hoover presto 2 un 1
Where does one buy the replacement battery?