Einleitung
This guide explains how to remove the bottom shell of your hoverboard, which will allow you to gain access to most of the device's internals.
Was du brauchst
-
-
Remove the ten 9mm machine screws by using a long Phillips #2 screwdriver to rotate the screws counterclockwise.
-
Remove the twelve 9mm sheet metal screws by using a long Phillips #2 screwdriver to rotate the screws counterclockwise.
-
-
-
Puncture the two black stickers by using the tip of a screwdriver.
-
Remove the two 9mm machine screws by using a long Phillips #2 screwdriver to rotate the screws counterclockwise.
-
-


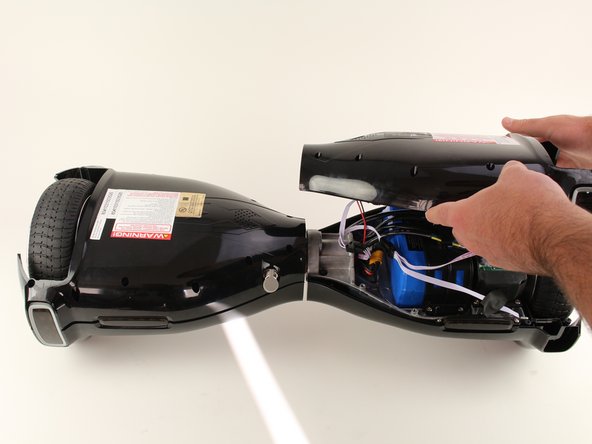

To reassemble your device, follow these instructions in reverse order.
To reassemble your device, follow these instructions in reverse order.
Team

Cal Poly, Team S17-G6, White Fall 2018 Mitglied von Cal Poly, Team S17-G6, White Fall 2018
CPSU-WHITE-F18S17G6
4 Mitglieder
7 Anleitungen geschrieben