Einleitung
The battery for the Hover-1 Superstar can cause many different problems when it is faulty or not working. This guide will show you the steps that go along with replacing the battery.
Was du brauchst
-
-
Flip your Hover-1 Superstar device upside down.
-
Using a Phillips #1 screwdriver, remove all twenty of the 18mm screws holding the case onto the device.
-
Remove the bottom case. Be careful of the connector holding the case and the device together.
-
-
-
Locate the cable connected to the front lights.
-
Pull apart the wires until the black clip separates.
-
-
-
-
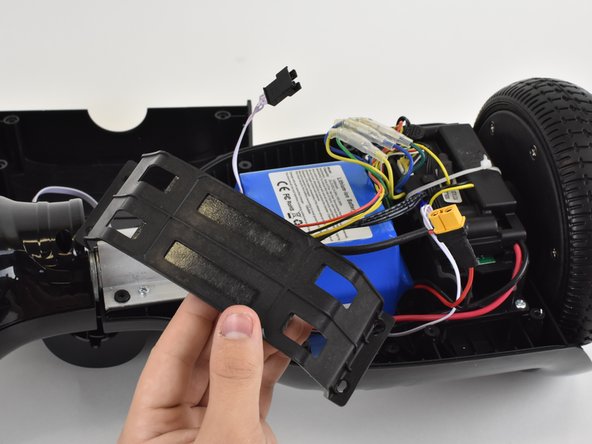
Locate the four 14mm screws securing the battery bracket.
-
Remove the screws with a Phillips #1 screwdriver.
-
-
-
Pull on the battery until it separates from the hover board. You may need to use some force.
-
Pull the battery out of the hoverboard. Move wires away from the battery if necessary.
-
To reassemble your device, follow these instructions in reverse order.
To reassemble your device, follow these instructions in reverse order.


