Diese Version enthält möglicherweise inkorrekte Änderungen. Wechsle zur letzten geprüften Version.
Was du brauchst
-
Dieser Schritt ist noch nicht übersetzt. Hilf mit, ihn zu übersetzen!
-
Flip the hoverboard so the bottom is facing up.
-
-
Dieser Schritt ist noch nicht übersetzt. Hilf mit, ihn zu übersetzen!
-
Using a Phillips #1 screwdriver, remove the two 14 mm screws located closest to the center of the hoverboard.
-
Using a Phillips #1 screwdriver, remove the four 12 mm screws located in the middle of the panel.
-
Using a Phillips #1 screwdriver, remove two 15 mm screws located closest to the wheel.
-
-
-
Dieser Schritt ist noch nicht übersetzt. Hilf mit, ihn zu übersetzen!
-
Grip the bottom left panel and lift up to remove.
-
-
Dieser Schritt ist noch nicht übersetzt. Hilf mit, ihn zu übersetzen!
-
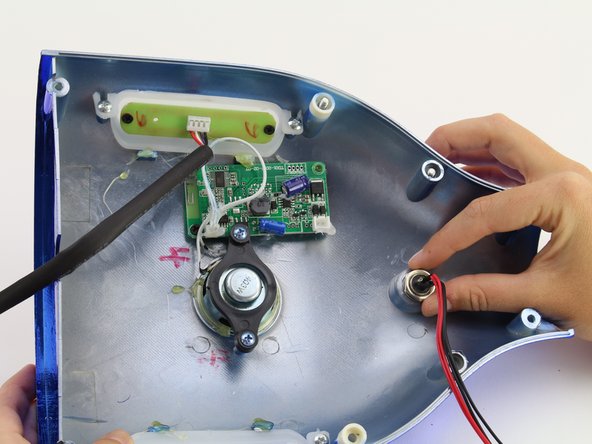
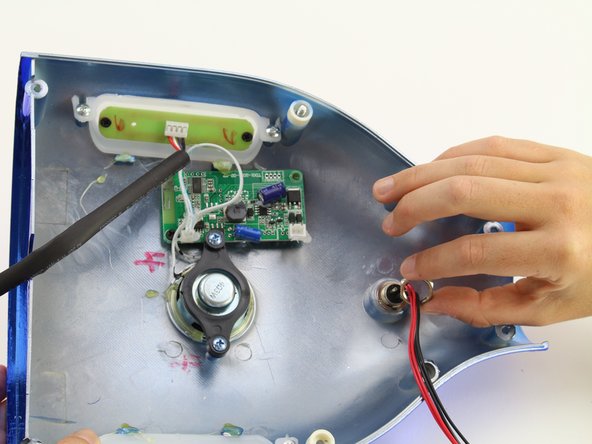
Unplug the red and black charge port wire from the motherboard by squeezing the connector located at the top right of the motherboard and pulling the connector away from the board.
-
-
Dieser Schritt ist noch nicht übersetzt. Hilf mit, ihn zu übersetzen!
-
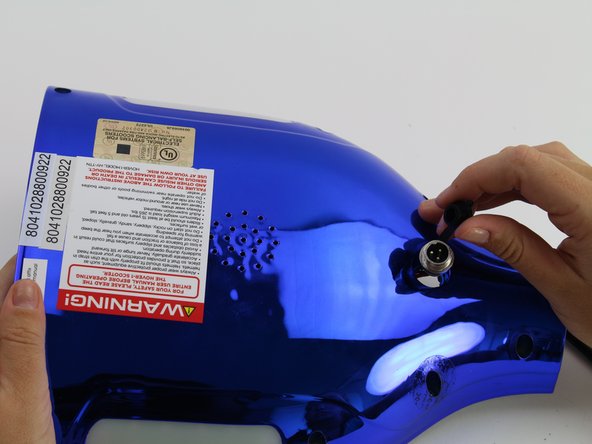
Use an adjustable wrench to loosen the 14 mm nut and lift it off the charge port.
-
-
Dieser Schritt ist noch nicht übersetzt. Hilf mit, ihn zu übersetzen!
-
Remove the old charge port by pulling the wires all the way through the panel.
-
Replace the old charge port with the new charge port.
-


Team

Cal Poly, Team S15-G4, White Fall 2018 Mitglied von Cal Poly, Team S15-G4, White Fall 2018
CPSU-WHITE-F18S15G4
4 Mitglieder
10 Anleitungen geschrieben