Einleitung
If your Weber Genesis II grill is not heating up and cooking your food properly, the problem is most likely the burners, the piece of the grill where gas is emitted. Use this guide in order to replace the burners and return your grill to proper working order.
Before beginning this guide, make sure that your grill is completely turned off and that you have room to take apart the grill, as this guide could be difficult in a cramped space.
In step 5, you will be removing the ignition device from the burner using a metal wedge. The ignition device is connected to the grill by a wire, so take special care to not strip or damage the wire while removing the device.
Was du brauchst
-
-
Remove the grates using your hands.
-
Grab on each side of the grill grate with your hands and lift straight upwards.
-
Set the removed grate off to the side of the grill.
-
-
-
-
Remove the heat deflector plates from on top of the burners.
-
Grab each deflector plate and pull straight upwards as with the grates.
-
Place the removed heat deflector plates off to the side of the grill.
-
-
-
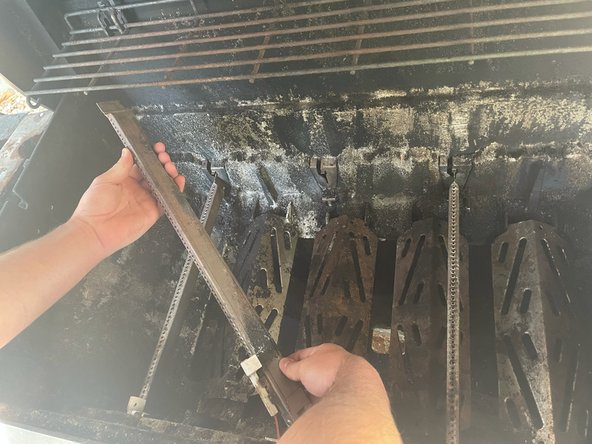
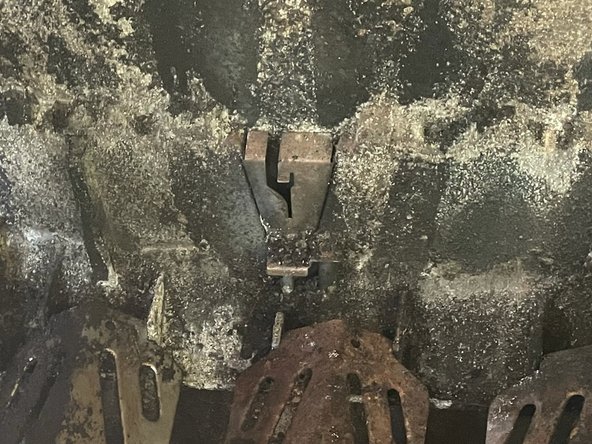
Remove the burner from its slot in the back of the grill.
-
With both hands, carefully pull the burner upwards and slightly to the left in order to pull it out of its slot.
-
-
-
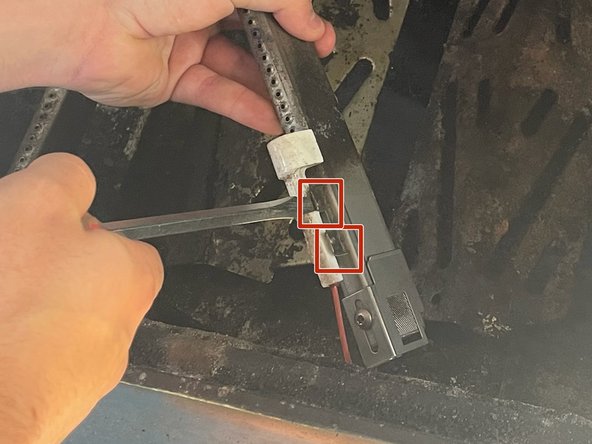
Detach the burner from the ignition device.
-
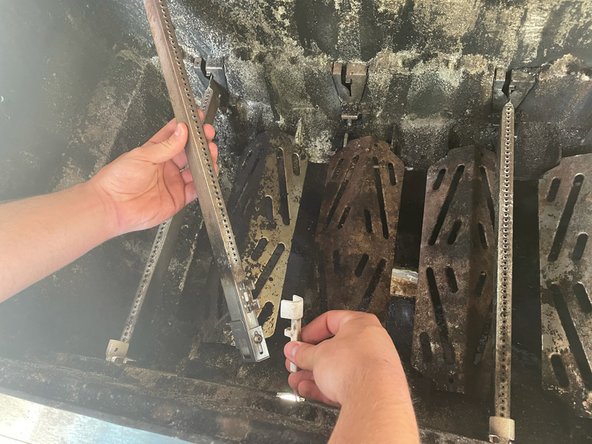
With a small wedge, such as a flat-head screwdriver, unclip the white connector from the burner.
-
With the ignition device removed, you are now all set to replace the burner with a new one.
-


To reassemble your device, follow these instructions in reverse order.
To reassemble your device, follow these instructions in reverse order.
Rückgängig: Ich habe diese Anleitung nicht absolviert.
2 weitere Nutzer:innen haben diese Anleitung absolviert.
Team

UMass Dartmouth, Team S1-G3, Riel Spring 2021 Mitglied von UMass Dartmouth, Team S1-G3, Riel Spring 2021
UMASSD-RIEL-S21S1G3
1 Mitglied
2 Anleitungen geschrieben