Zum Hauptinhalt wechseln

How to Change Mortise Lock and its Cylinder

Was du brauchst

  1. How to Change Mortise Lock and its Cylinder, Mortise Lock and Cylinder: Schritt 1, Bild 1 von 3 How to Change Mortise Lock and its Cylinder, Mortise Lock and Cylinder: Schritt 1, Bild 2 von 3 How to Change Mortise Lock and its Cylinder, Mortise Lock and Cylinder: Schritt 1, Bild 3 von 3
    • Determine the position of the screws on both door handles and the front plate.

  2. How to Change Mortise Lock and its Cylinder: Schritt 2, Bild 1 von 2 How to Change Mortise Lock and its Cylinder: Schritt 2, Bild 2 von 2
    • Use a flathead screwdriver to remove the eight 6 mm screws on both handles.

  3. How to Change Mortise Lock and its Cylinder: Schritt 3, Bild 1 von 3 How to Change Mortise Lock and its Cylinder: Schritt 3, Bild 2 von 3 How to Change Mortise Lock and its Cylinder: Schritt 3, Bild 3 von 3
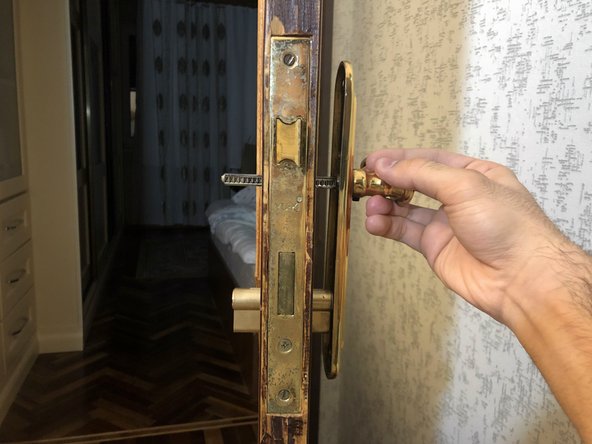
    • Pull out the door handles on both sides of the door.

  4. How to Change Mortise Lock and its Cylinder: Schritt 4, Bild 1 von 3 How to Change Mortise Lock and its Cylinder: Schritt 4, Bild 2 von 3 How to Change Mortise Lock and its Cylinder: Schritt 4, Bild 3 von 3
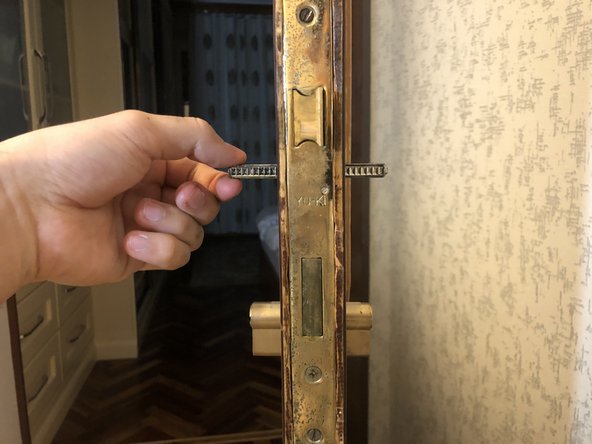
    • Pull out the spindle (the rectangular piece of metal) from the door.

  5. How to Change Mortise Lock and its Cylinder: Schritt 5, Bild 1 von 3 How to Change Mortise Lock and its Cylinder: Schritt 5, Bild 2 von 3 How to Change Mortise Lock and its Cylinder: Schritt 5, Bild 3 von 3
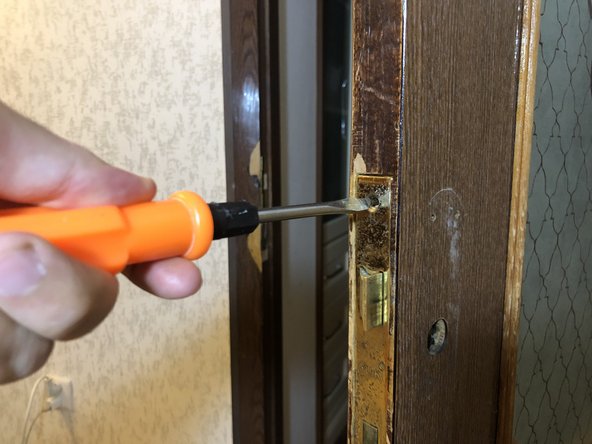
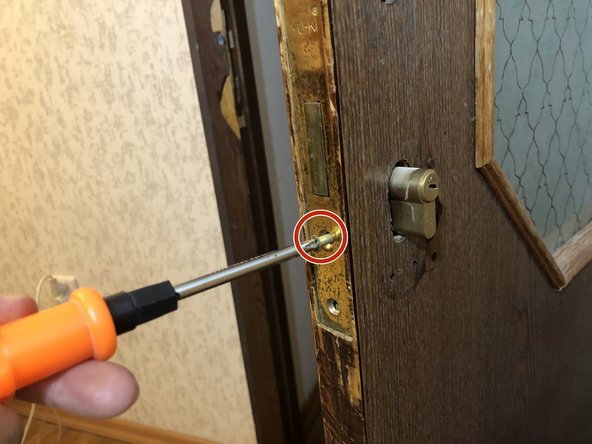
    • Loosen the two 6 mm flathead screws at the top and bottom of the lock using a flathead screwdriver.

    • Remove the third 6 mm Phillips screw in the middle using a Phillips #1 screwdriver.

  6. How to Change Mortise Lock and its Cylinder: Schritt 6, Bild 1 von 2 How to Change Mortise Lock and its Cylinder: Schritt 6, Bild 2 von 2
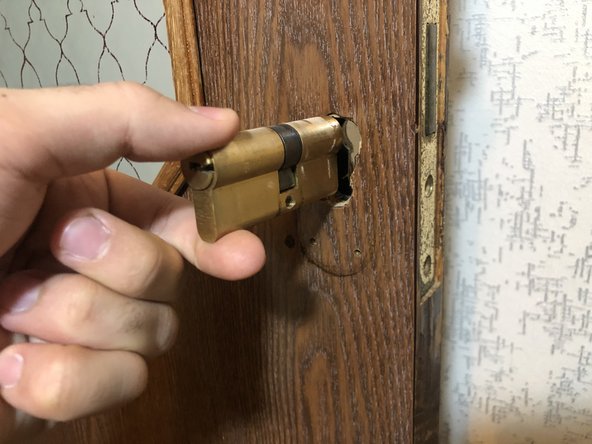
    • Pull the lock cylinder out to either side of the door.

  7. How to Change Mortise Lock and its Cylinder: Schritt 7, Bild 1 von 3 How to Change Mortise Lock and its Cylinder: Schritt 7, Bild 2 von 3 How to Change Mortise Lock and its Cylinder: Schritt 7, Bild 3 von 3
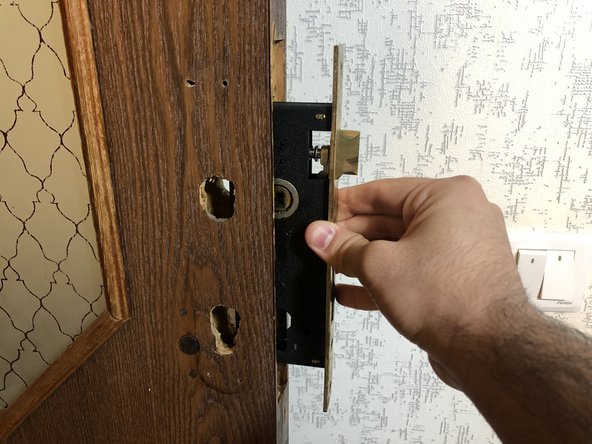
    • Grasp the mortise lock on either side and pull it out from the edge of the door.

Abschluss

To reassemble your device, follow these instructions in reverse order.

Ein:e weitere:r Nutzer:in hat diese Anleitung absolviert.

Hikmat Guliyev

Mitglied seit: 01/16/21

172 Reputation

1 Anleitung geschrieben

Team

York University, Team S1-G11, O'Regan Winter 2021 Mitglied von York University, Team S1-G11, O'Regan Winter 2021

YORK-O'REGAN-W21S1G11

1 Mitglied

1 Anleitung geschrieben

0 Kommentare

Kommentar hinzufügen

Seitenaufrufe:

Letzte 24 Stunden: 4

Letzte 7 Tage: 15

Letzte 30 Tage: 83

Insgesamt: 1,877