Einleitung
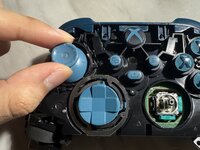
Is your Xbox controller analog stick moving on its own? This common issue, known as "stick drift," is often caused by dirt, wear and tear, or physical damage.
The first step is always to clean around the analog stick. If the drift persists, this guide will show you how to replace the internal potentiometer—the sensor that detects stick movement—without requiring any soldering.
This video provides detailed information about the components of the trimmer potentiometer sensor, including the wiper.
In this guide, the model of the Xbox Series controller used was model 1914, but this process also works for previous models.
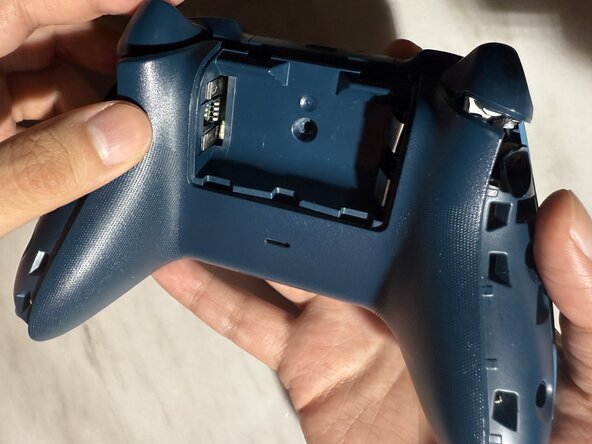
Before you begin this repair, make sure the controller is off and remove the batteries from the back of the device.
Was du brauchst
-
-
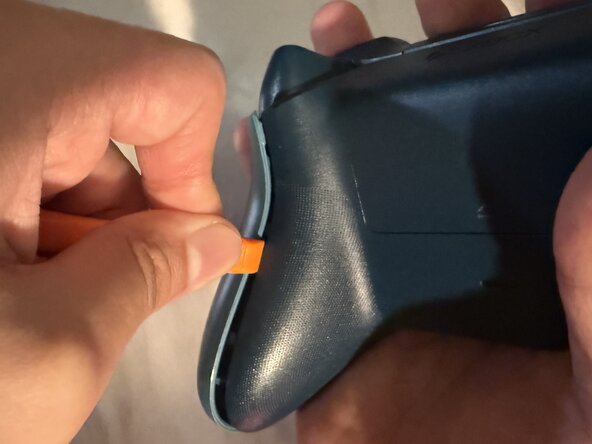
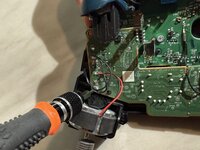
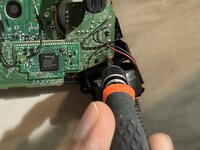
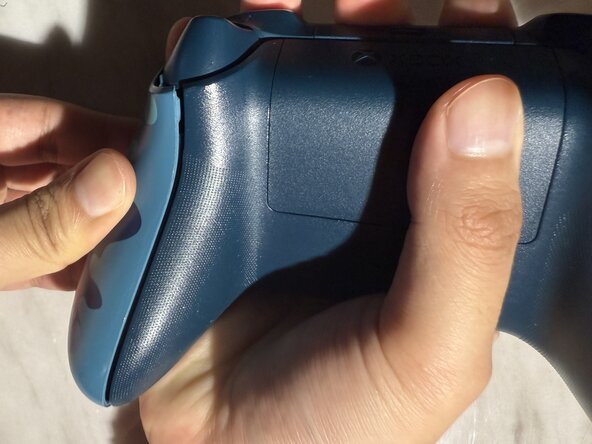
Wedge your spudger into the seam between the back and side panels.
-
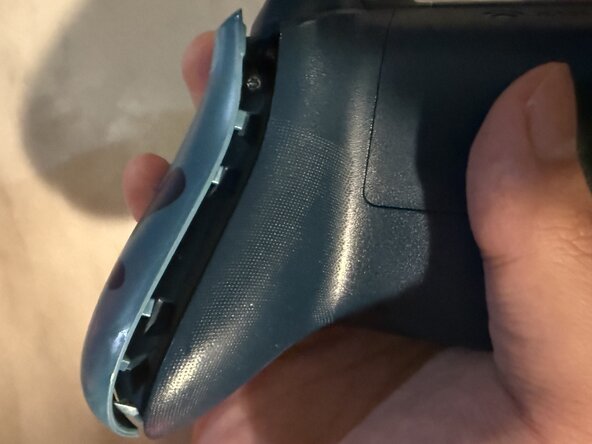
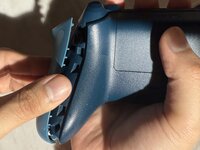
Grip the controller firmly and pry the side panel away by moving the spudger back and forth. Work your way around the entire seam using this motion.
-
-
-
You can either peel the sticker or punch a hole through the center to access the 2.4 mm screw.
-
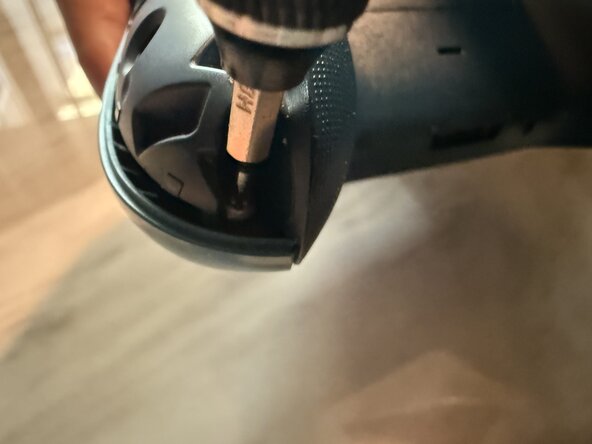
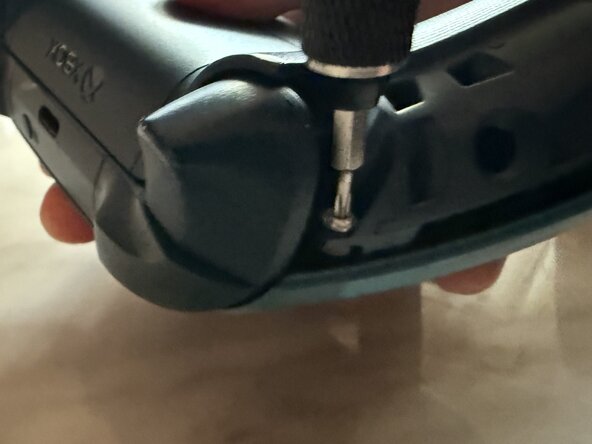
Remove the screw in the middle using the TR8 Torx screwdriver. Also, remove the two 2.4 mm screws on both sides of the controller.
-
-
-
Turn the controller over and remove the front panel.
-
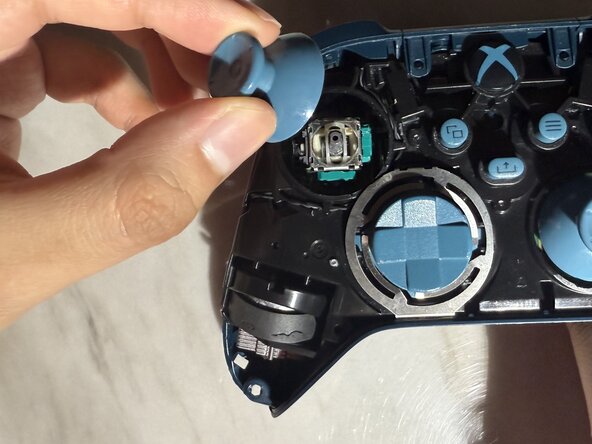
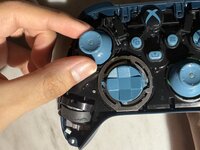
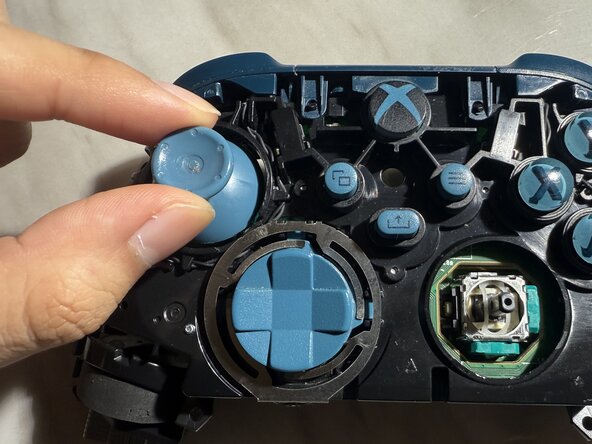
Remove both thumb sticks by pulling them up.
-
-
-
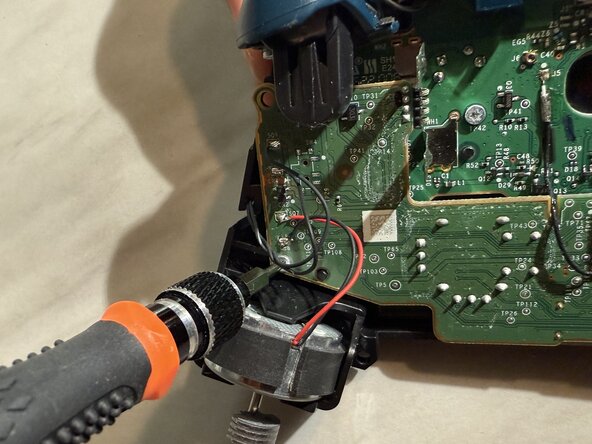
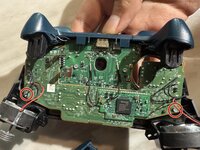
Turn the controller over and remove the two 1.75 mm screws using the T6 Torx screwdriver.
-
-
-
-
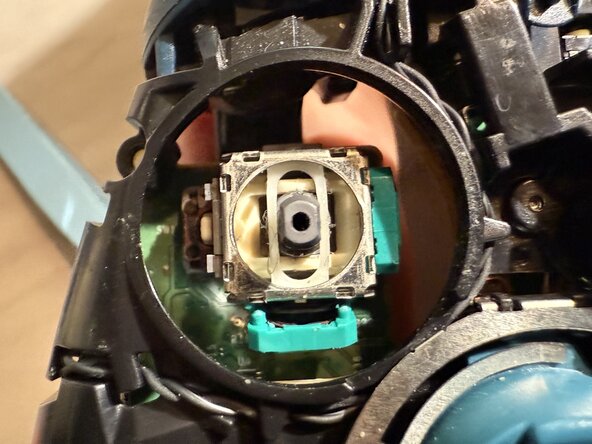
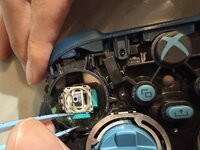
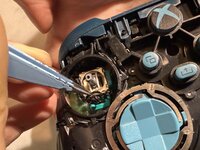
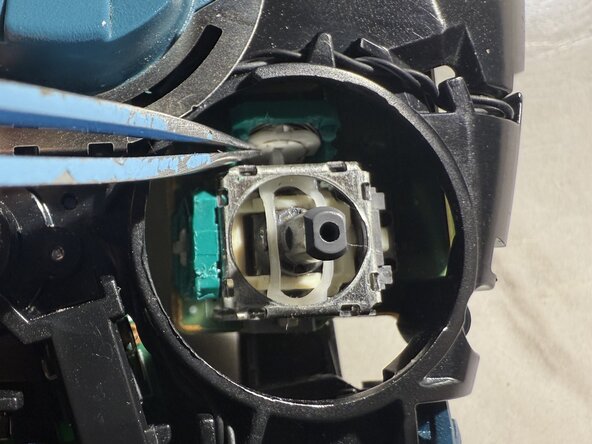
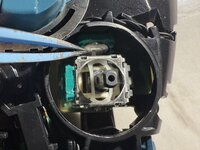
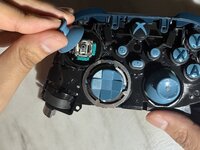
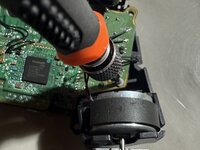
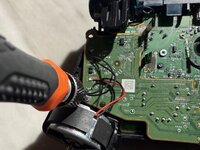
Face the controller up, and with your tweezer, open the sensor housing by gently pushing away from the analog stick sensor.
-
Pull the old sensor wheel out of the sensor housing.
-
-
-
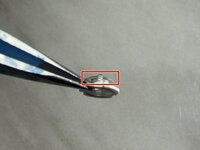
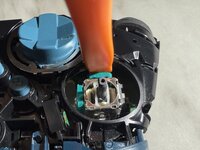
Align the sensor wheel so that the sensor arms are facing upwards.
-
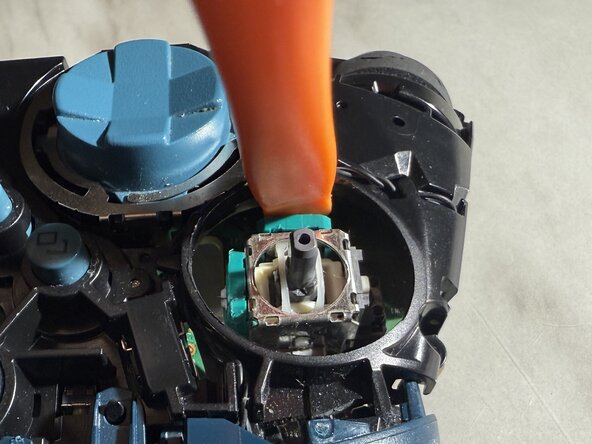
Insert the sensor wheel into the sensor housing.
-
Push the sensor housing back in using the spudger to close it back in.
-
-
-
Flip the controller over and place the front panel back.
-
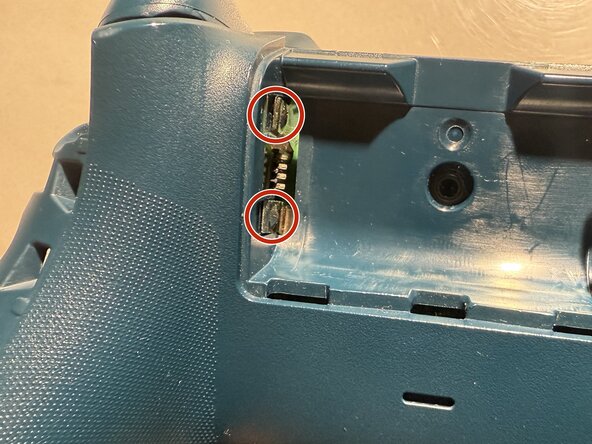
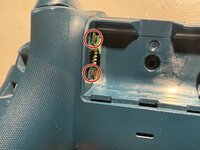
Turn it around and align the back panel so that the two battery terminal contacts are outside.
-


I hope this guide has been helpful!
Rückgängig: Ich habe diese Anleitung nicht absolviert.
2 weitere Personen haben diese Anleitung absolviert.
Team

CSU Los Angeles, Team 5-22, Harris Spring 2025 Mitglied von CSU Los Angeles, Team 5-22, Harris Spring 2025
CSULA-HARRIS-S25S5G22
1 Mitglied
2 Anleitungen geschrieben
1 Kommentar zur Anleitung
Es no funciona ya que directamente los contactos de carbono de los potecimetros son los que están ya desgastados debido a la friccion de funcionamiento, directamente se debe de reemplazar los potecimetros completos, no únicamente el sensor de contacto.