Einleitung
This guide is a tutorial on how to reassemble your Rubik's cube if a piece has popped from the tensions. This may happen if the springs become loose. There is an explanation at the end of the guide on how to tighten your tensions so that it doesn't occur as often in the future. You only need a Phillips head screwdriver to adjust the tensions.
Was du brauchst
-
-
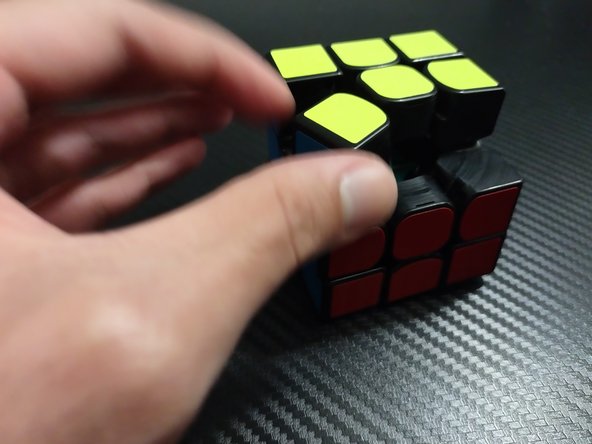
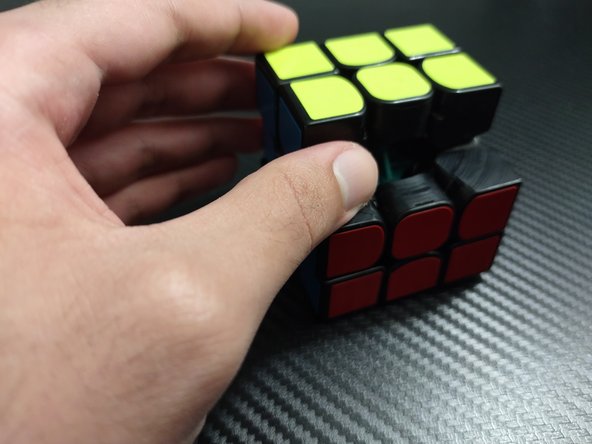
Place your cube down and look for the popped pieces.
-
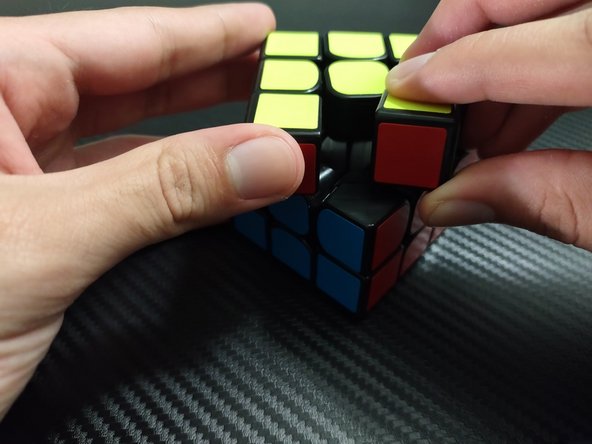
Collect all the popped pieces and group the corners and the edges separately.
-
-
-
Place the pieces layer by layer to make it easier to put the cube back together.
-
If only pieces that popped are from the second and third layer, start with the edges of the second layer.
-
-
-
-
Remove the cap to expose the screw attached to the core.
-
Tighten the loose screws. (It can be anywhere from 180° to 360°)
-


This simple yet effective fix will help you prevent any future pops in your Rubik's cube. I hope this guide helped you a lot!
This simple yet effective fix will help you prevent any future pops in your Rubik's cube. I hope this guide helped you a lot!
Rückgängig: Ich habe diese Anleitung nicht absolviert.
3 weitere Personen haben diese Anleitung absolviert.

Team

University of Puerto Rico Mayagüez, Team 2-17, Cools Stephens Spring 2022 Mitglied von University of Puerto Rico Mayagüez, Team 2-17, Cools Stephens Spring 2022
UPRM-COOLS STEPHENS-S22S2G17
1 Mitglied
1 Anleitung geschrieben