Einleitung
The Letter Buttons (A,B,X,Y) can become jammed or unresponsive over time on Xbox One controllers. I made this guide to help with this problem and avoid paying for new controllers (Because let's be real, Xbox one controllers are pricey as hell).
Was du brauchst
-
-
Using a prying tool, unclip and remove the back parts of each handle.
-
Remove the battery in the center of the back panel.
-
-
-
Using a TR9 Torx screwdriver, remove the top and bottom screw of each handle and the one screw within the battery area (five screws total).
-
Remove the front and back plate of the controller by pulling them apart.
-
-
-
Carefully remove the right and left thumbsticks by pulling them off of the controller.
-
-
-
-
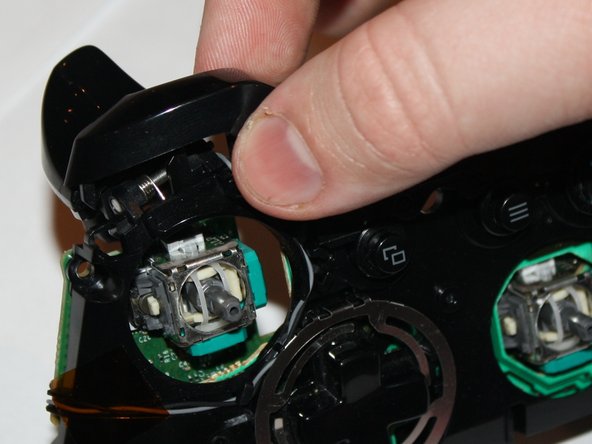
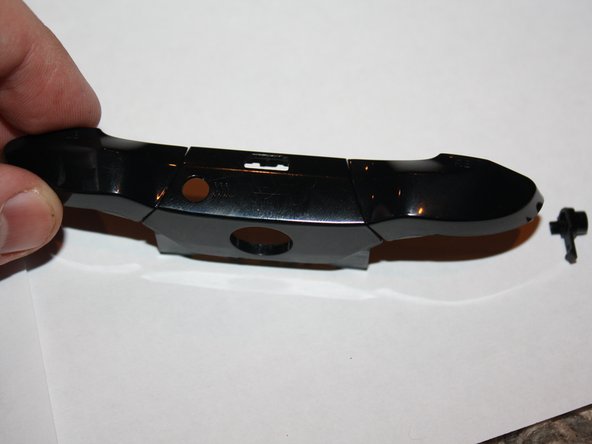
Using your hands or a prying tool, gently remove the top bumper strip from the top of the controller.
-
-
-
Using a TR6 Torx screwdriver, remove the two screws on the top motherboard and unclip it.
-
After unclipping the top motherboard, the 3.5 mm audio jack piece will fall out. Set this aside for the reassembly of the controller.
-
-
-
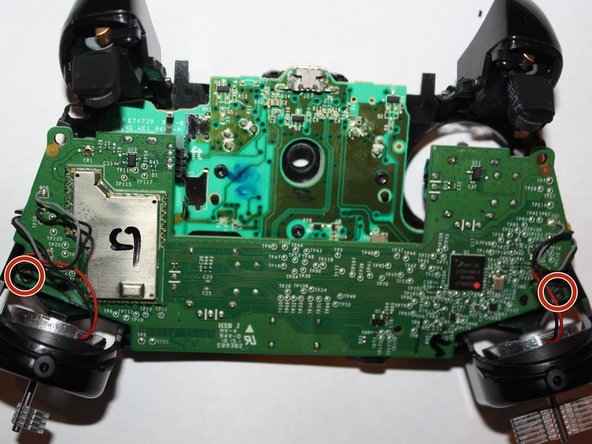
Using the TR6 Torx screwdriver, remove the six screws on the bottom motherboard.
-
Carefully remove the motherboard from the controller.
-
-
-
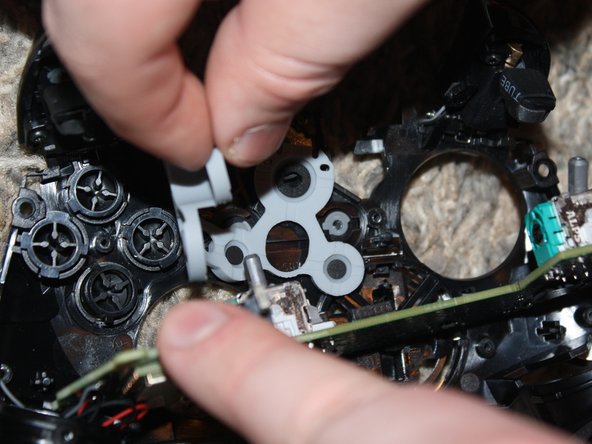
Remove the rubber button cover holding the buttons in the controller.
-
Once the cover has been removed, flip the controller over to dump out all the plastic buttons.
-
Set aside all the buttons as they will be important for reassembly.
-
-
-
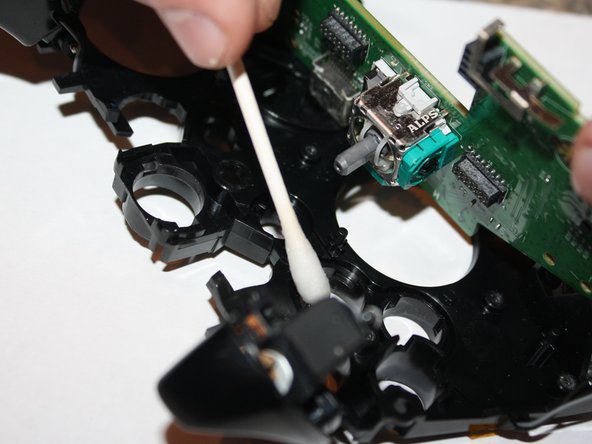
While holding a q-tip, gently pour a small amount of rubbing alcohol onto the q-tip.
-
Use the the q-tip to rub the inside where the buttons go in order to clean out any debris or dirt that might be in there.
-


To reassemble your device, do the opposite of what you did to take it apart. I'm not gonna show you how to put it back together.
To reassemble your device, do the opposite of what you did to take it apart. I'm not gonna show you how to put it back together.
Rückgängig: Ich habe diese Anleitung nicht absolviert.
3 weitere Personen haben diese Anleitung absolviert.
