Einleitung
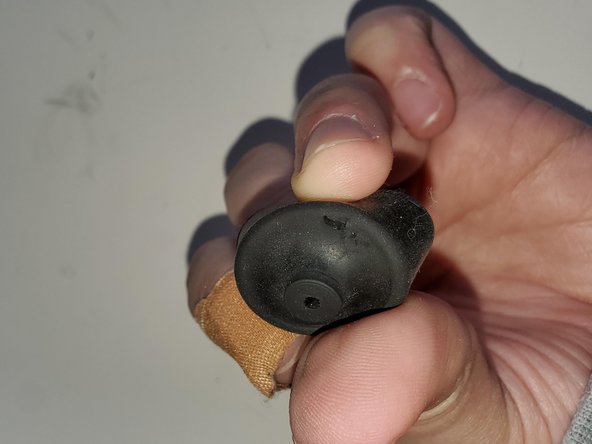
For the fellow fish lovers and aquarium owners, this guide can be used to fix an Air Tech 2K0 Aquarium Pump. Ideally, this pump is used in small ten gallon or less tanks and is great for Betta fish that do not like strong currents.
Over time, these air pumps suffer from wear and tear from use. The rubber diaphragm found inside that vibrates and compresses air through the tubing line can break down, ultimately causing the absence of bubbles in the tank even though the pump itself is still running. If your pump is brand new, check the assembly of the tubing to ensure airflow is not being hindered or blocked. If that is not the case, or your pump is just old and worn in, this guide might be useful in restoring the bubbles back to your tank.
Before beginning any work on the pump, make sure it is disconnected from the power source.
Was du brauchst
-
-
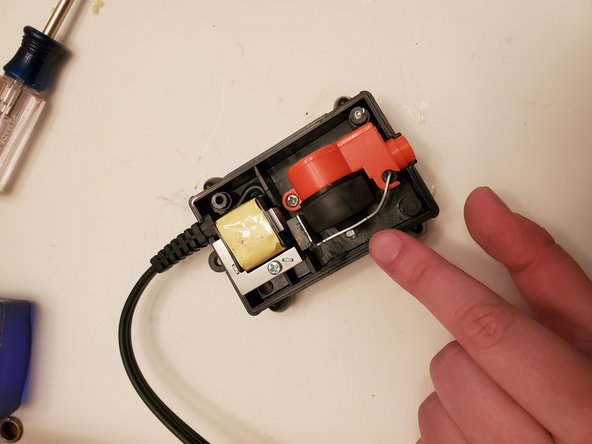
Begin disassembling the air pump by removing the screws (2.9mm x 13mm) with the small Philips screwdriver.
-
-
-
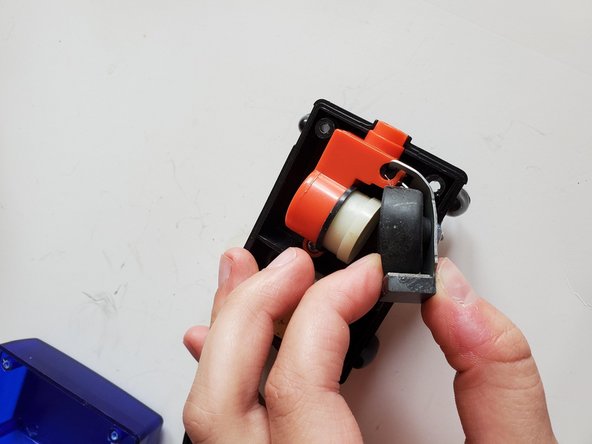
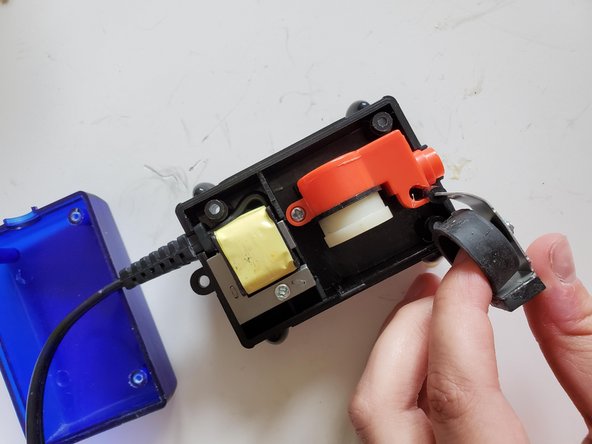
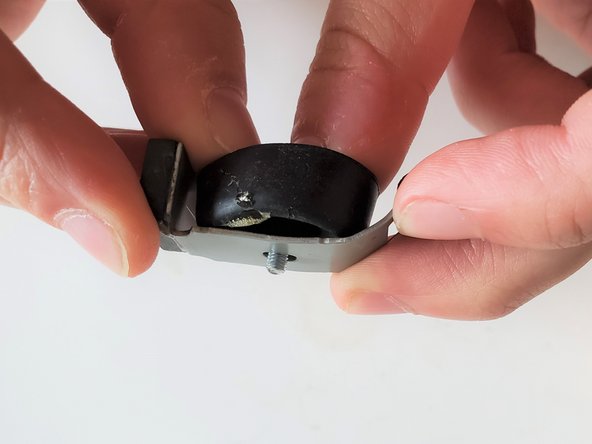
Once the entire piece is removed, unscrew the the rubber diaphragm from the metal part.
-
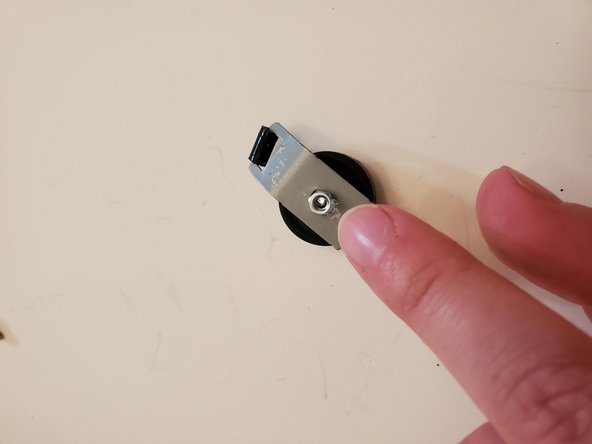
Begin by twisting off the washer.
-
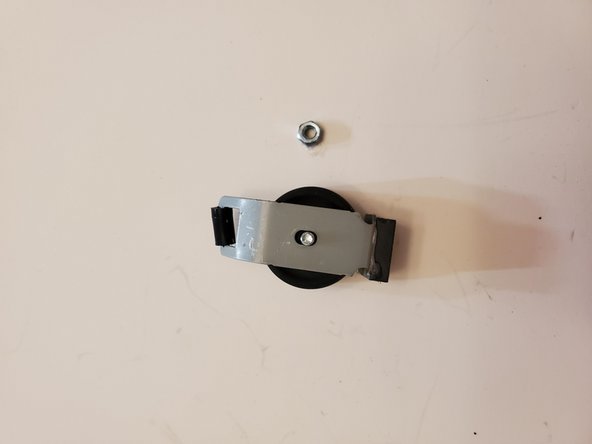
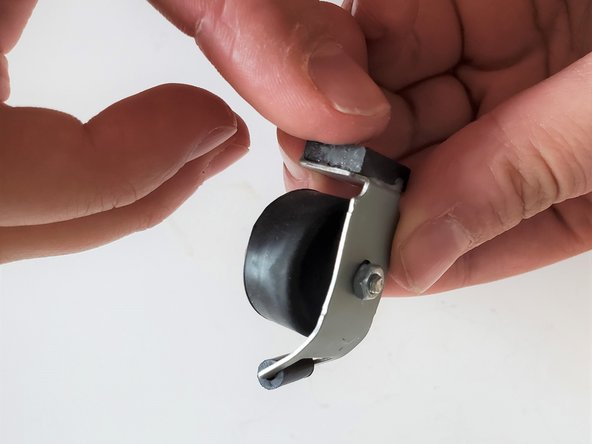
From here, remove the metal piece and the screw (1.25mm x 8mm) from the center of the diaphragm.
-
-
-
-
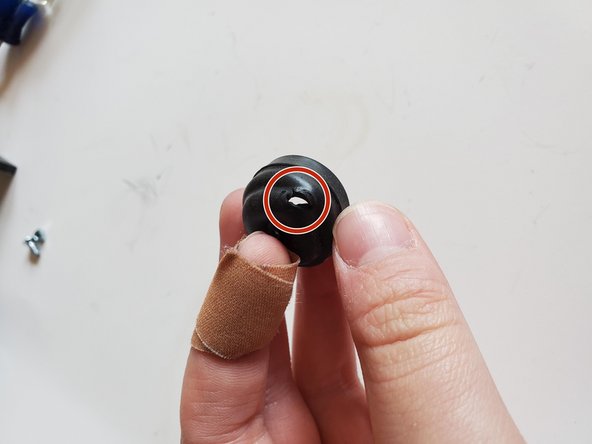
Examine the diaphragm for damage.
-
Here, you can see a hole in the diaphragm that needs to be repaired.
-
-
-
Using the Gorilla Glue, coat the diaphragm on both the inside and outside of the damaged area to ensure adhesion.
-
-
-
From here, follow Step 4 in reverse to reassemble the diaphragm and its attached metal piece:
-
Insert the screw (1.25mm x 8mm) through the hole of the diaphragm.
-
Place the metal piece flush against the back of the diaphragm, making sure to line up the screw with the hole.
-
Finally, screw the washer back on to ensure a secure fit between all the pieces.
-
-
-
Place the reassembled diaphragm back into the slot you initially removed it from.
-
-
-
Place the cover back on the air pump, lining up the holes for the three screws (13mm x 2.9mm).
-
-
-
Place the three screws (2.9mm x 13mm) and use the Philips screwdriver to secure them in place.
-


To reassemble your device, follow these instructions in reverse order.
To reassemble your device, follow these instructions in reverse order.
Rückgängig: Ich habe diese Anleitung nicht absolviert.
Ein:e weitere:r Nutzer:in hat diese Anleitung absolviert.
Team

UMass Dartmouth, Team S3-G9, Saloman Spring 2021 Mitglied von UMass Dartmouth, Team S3-G9, Saloman Spring 2021
UMASSD-SALOMAN-S21S3G9
1 Mitglied
1 Anleitung geschrieben