Diese Version enthält möglicherweise inkorrekte Änderungen. Wechsle zur letzten geprüften Version.
Was du brauchst
-
Dieser Schritt ist noch nicht übersetzt. Hilf mit, ihn zu übersetzen!
-
Start by removing the two screws on the bottom of the device as shown.
-
-
Dieser Schritt ist noch nicht übersetzt. Hilf mit, ihn zu übersetzen!
-
Remove the top plastic cover from the device. The back is snapped on so it would help to have leverage from a prying tool.
-
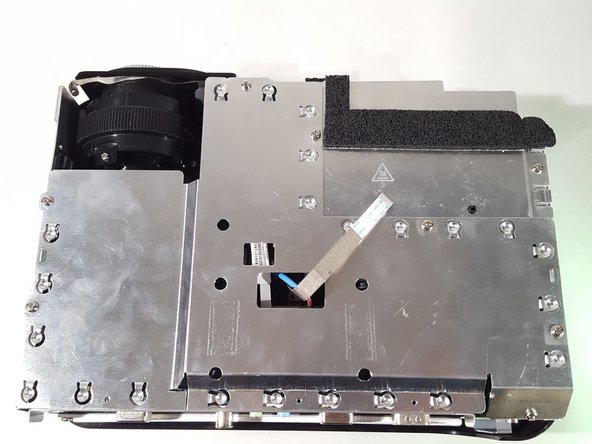
Remove the ribbon cable attached to the plastic piece just removed. Remember its orientation for re-assembling later.
-
-
-
Dieser Schritt ist noch nicht übersetzt. Hilf mit, ihn zu übersetzen!
-
Unscrew the screws from the metal shielding to remove it.
-
-
Dieser Schritt ist noch nicht übersetzt. Hilf mit, ihn zu übersetzen!
-
Move any wires out of the way of the fan so they won't grind up on it during operation.
-
If the cables do not stay out of the way, tape them down away from the fan.
-


Team

University of Memphis, Team S1-G3, Kim Spring 2018 Mitglied von University of Memphis, Team S1-G3, Kim Spring 2018
UM-KIM-S18S1G3
3 Mitglieder
5 Anleitungen geschrieben