Einleitung
If you have areas of damage in your baseboards or crown molding, this guide describes a fast fix in a few simple steps. You’ll need tools you likely have around your home. We will waterproof exposed wood with wood glue, build up the areas with wood filler, sand, and touch up the damaged areas so they look like new. This guide is for areas of damage where full sections of lumber are not needed to be replaced.
Before beginning, be sure to become familiar with the primary products - wood glue and wood filler. Some products contain warnings about skin exposure which you’ll want to be aware of when choosing your tools.
While the time estimate is 2-4 hours, much of that is waiting for the product to dry. You can certainly accomplish this project with large breaks in that time.
Was du brauchst
-
-
Sand the damaged area with the 120 grit sandpaper or a sanding block.
-
Use a utility knife to smooth rougher areas if needed.
-
-
-
Build up the affected areas with the wood filler. This can be applied with your hands (as individual product safety allows), a spare piece of cardboard, or a popsicle stick.
-
Allow to dry a few hours or overnight (based on product directions).
-
-
-
-
Cut or fold the 150 grit sandpaper sheet into various pieces to allow proper fit into the various grooves of your baseboard.
-
-
-
Sand the dried wood filler with 150 grit sandpaper.
-
Start from the inside of the baseboard and move out toward the repaired area.
-
Avoid a sawing or back-and-forth motion with the sandpaper to achieve a smooth finish.
-
-
-
Wipe with a slightly damp cloth.
-
Repeat step 3 as needed.
-
Wait at least one hour.
-
Repeat step 6 for the final sanding.
-


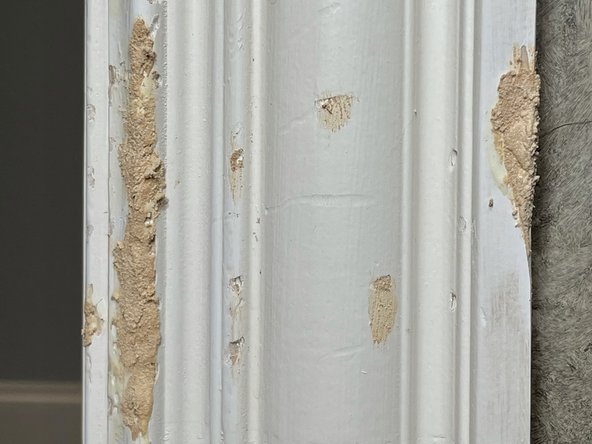


Clean-up should be a breeze, and you should be ready to finish your weekend with loads of time to spare after this simple project!
Clean-up should be a breeze, and you should be ready to finish your weekend with loads of time to spare after this simple project!
Rückgängig: Ich habe diese Anleitung nicht absolviert.
2 weitere Personen haben diese Anleitung absolviert.



Team

University of North Texas, Team 1-2, Friess Fall 2021 Mitglied von University of North Texas, Team 1-2, Friess Fall 2021
UNT-FRIESS-F21S1G2
1 Mitglied
3 Anleitungen geschrieben
