Einleitung
This guide demonstrates how to repair a huggie earring that no longer clasps shut. This is often because the earring's main post has shifted, making the two complementary notches misalign. This guide describes how to restore the main post to its original position and fix your earring.
Was du brauchst
-
-
Clean the post and clasp of the earring with a dry cloth.
-
-
-
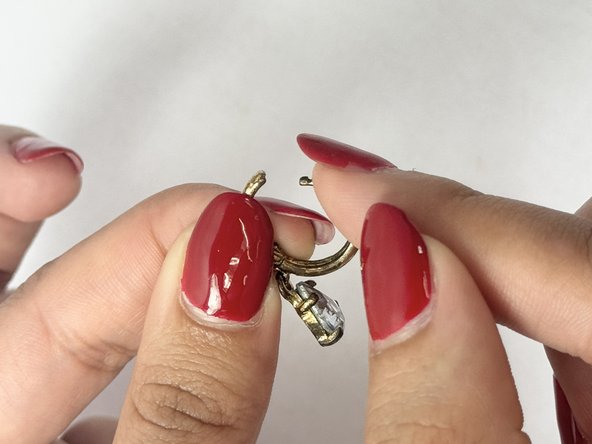
Close the earring and note where the main post hits the notch on the opposite side.
-
-
-
-
Ensure the post is lined up with the opposite notch. If not, gently bend it with your finger until it is in a suitable position.
-
-
-
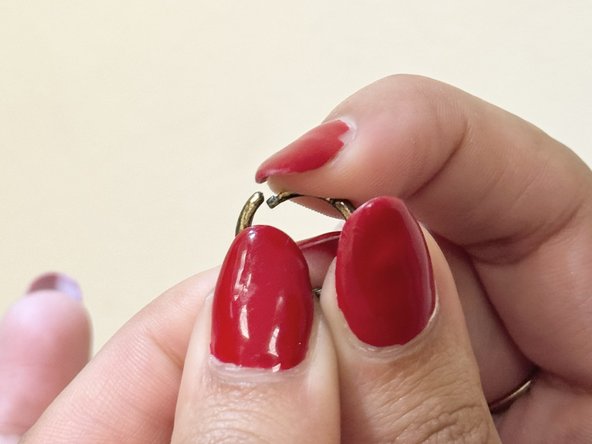
Grip the earring post with a small plier or tweezer and push the post slightly upward.
-
-
-
If the earring isn’t clicking, push the post further upward using pliers.
-
Adjust, then check again.
-
-
-
If the earring clicks but is hard to open, push the post downward using pliers.
-
-
-
Make final adjustments until the huggie clasp clicks and the earring closes securely.
-


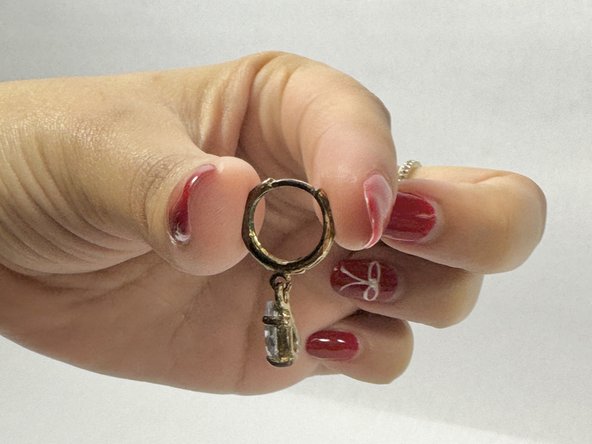


Your earring is now fixed! If the post bends again, repeat the same steps to repair.
Your earring is now fixed! If the post bends again, repeat the same steps to repair.

Team

UC Davis, Team 4-6, Whithaus Spring 2024 Mitglied von UC Davis, Team 4-6, Whithaus Spring 2024
UCD-WHITHAUS-S24S4G6
3 Mitglieder
1 Anleitung geschrieben