Einleitung
Resin charms are a popular form of jewelry. Since they are made of plastic, they have the potential to snap. When this happens, they are usually considered trash, so we wanted to provide a guide that will help people extend the life span of this type of jewelry. Working with resin may even lead the viewer to start creating their own jewelry!
Was du brauchst
-
-
Fit the broken pieces together with the flattest side of the charm facing towards you.
-
-
-
-
Pick up the pieces so the crack is facing up.
-
Bend the pieces to create a slight gap.
-
-
-
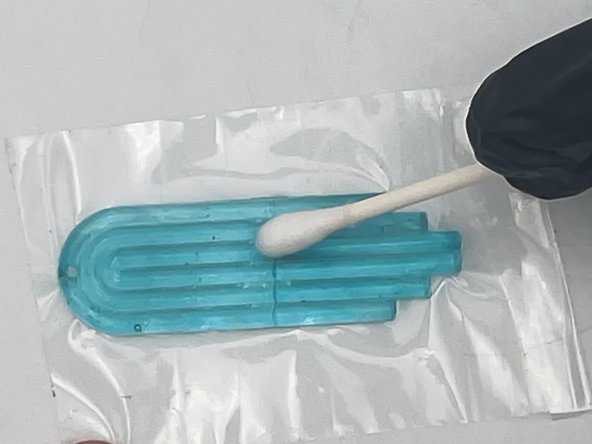
Use a cotton swab to spread the resin in the crack.
-
Pick up the excess resin with a cotton swab.
-
-
-
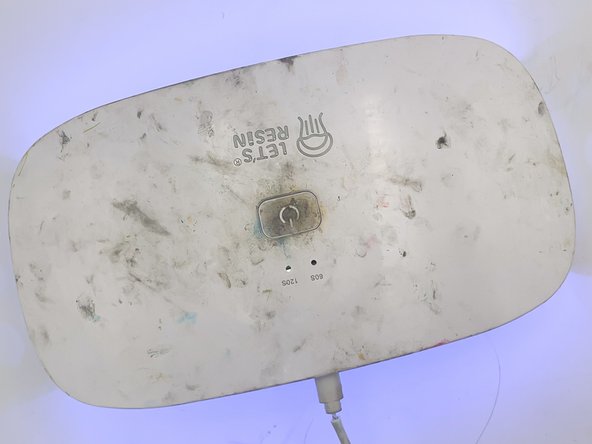
Turn on the UV light.
-
Put the charm under the UV light for 120 seconds per side.
-
Remove the charm.
-


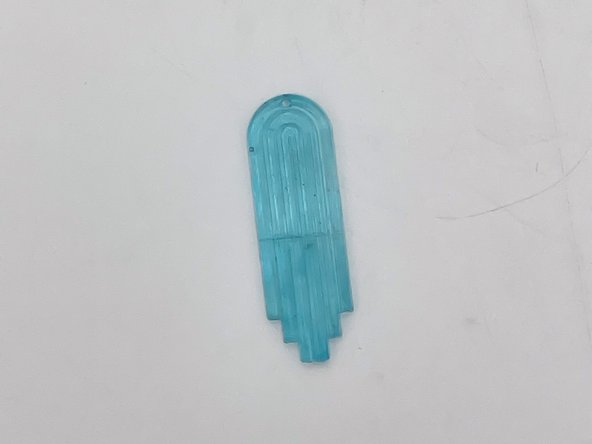
Now your charm is repaired and can once again be worn or displayed!
Now your charm is repaired and can once again be worn or displayed!
Team

UC Davis, Team 2-7, Whithaus Spring 2024 Mitglied von UC Davis, Team 2-7, Whithaus Spring 2024
UCD-WHITHAUS-S24S2G7
3 Mitglieder
1 Anleitung geschrieben