Diese Version enthält möglicherweise inkorrekte Änderungen. Wechsle zur letzten geprüften Version.
Was du brauchst
-
Dieser Schritt ist noch nicht übersetzt. Hilf mit, ihn zu übersetzen!
-
Find colored thread to match the color of the lunch bag and a needle.
-
-
Dieser Schritt ist noch nicht übersetzt. Hilf mit, ihn zu übersetzen!
-
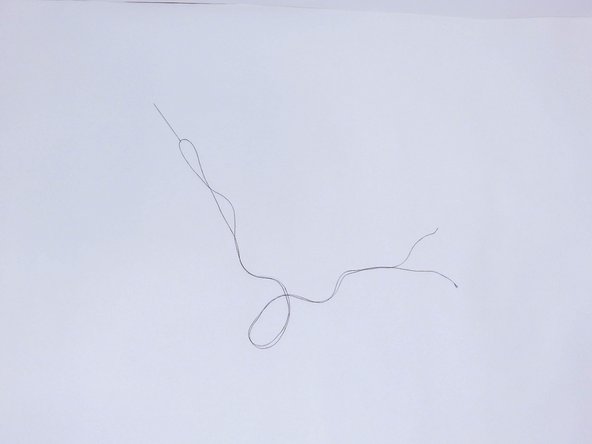
Gather thread that is 3 to 4 times the length of the part that needs to be sewn. Measure 18 inches of thread and double it.
-
Cut the thread to match the length of the ruler.
-
-
Dieser Schritt ist noch nicht übersetzt. Hilf mit, ihn zu übersetzen!
-
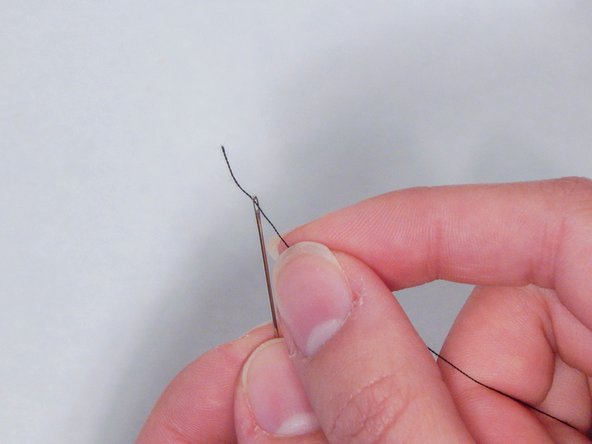
Loop one end of the thread through needle.
-
Move the needle to the middle of the thread to have even amounts of thread on each side.
-
-
-
Dieser Schritt ist noch nicht übersetzt. Hilf mit, ihn zu übersetzen!
-
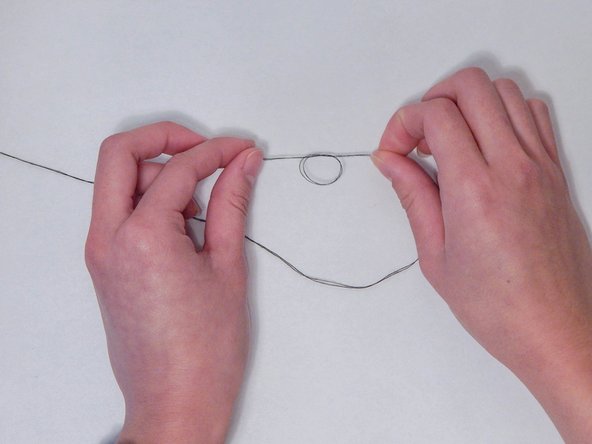
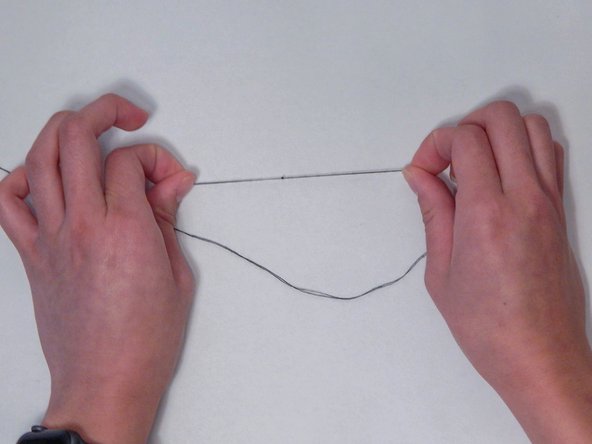
Tie knot at the end of string and repeat 3x. Try to place all knots in the same place.
-
-
Dieser Schritt ist noch nicht übersetzt. Hilf mit, ihn zu übersetzen!
-
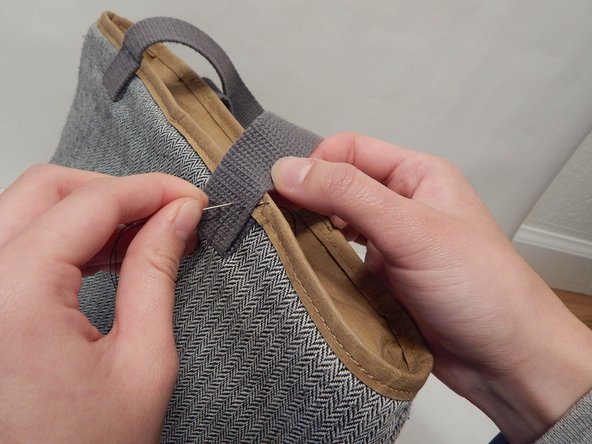
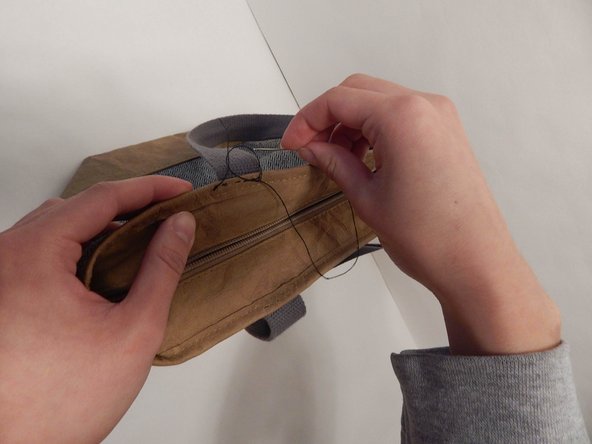
Thread the needle through the lunchbox and handle. Pull all the way through, until the knot stops. Start on the inside, so the knot is not visible at the end. Stick the needle the opposite direction, about a ¼” away from the first stitch. Leave room between your first and second stitch.
-
-
Dieser Schritt ist noch nicht übersetzt. Hilf mit, ihn zu übersetzen!
-
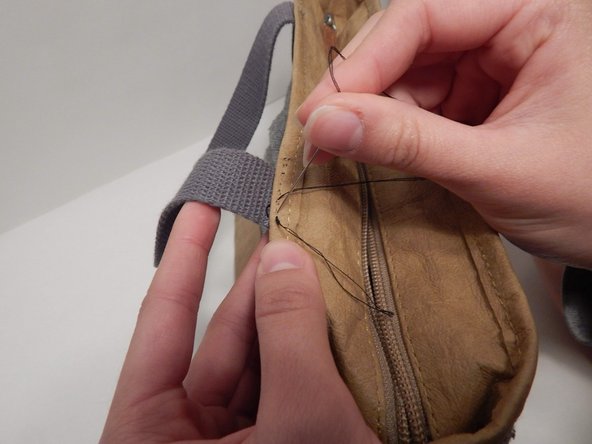
Thread the needle back through the lunchbox and handle in the space between your first and second stitch.
-
Continue to stitch every other space, until you have sewed the handle back in place.
-
-
Dieser Schritt ist noch nicht übersetzt. Hilf mit, ihn zu übersetzen!
-
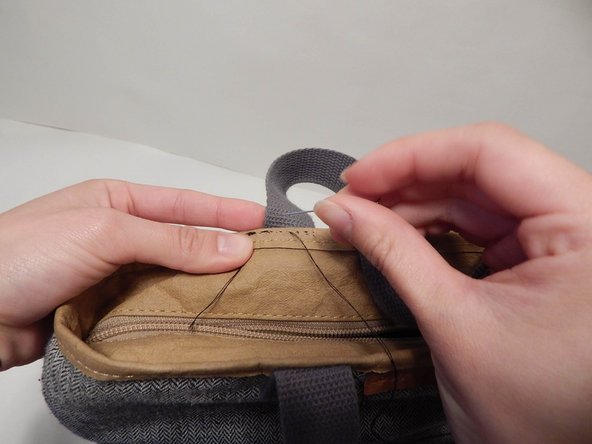
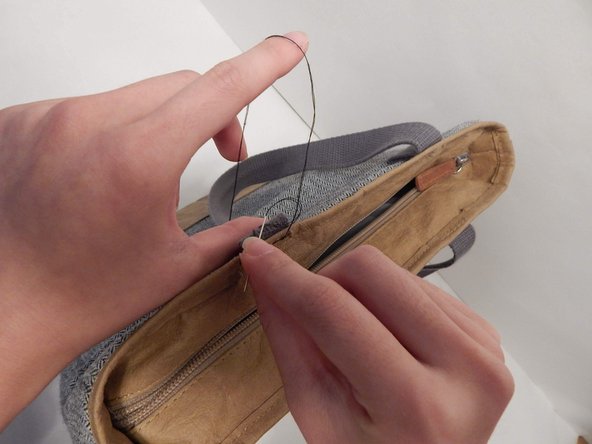
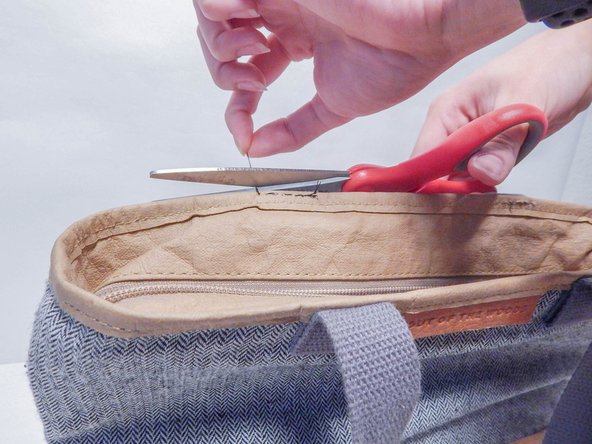
To end the last stitch, thread the needle between the lunchbox and thread of your last stitch. Rather than pulling the thread completely through, thread the needle back through the excess thread to make a knot.
-
You can continue looping the needle about the thread to make the knot extra secure.
-
-
Dieser Schritt ist noch nicht übersetzt. Hilf mit, ihn zu übersetzen!
-
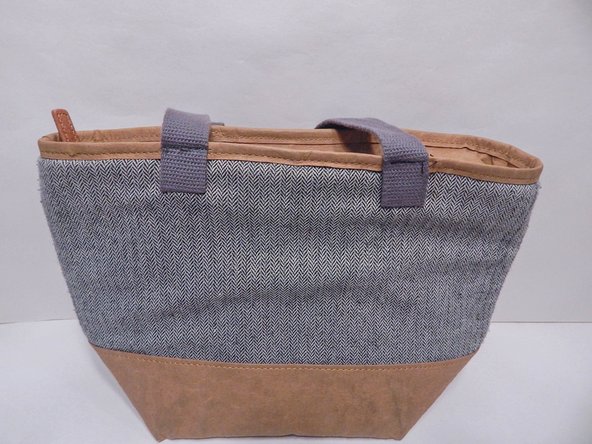
Trim the excess thread as short as possible to make the stitches look clean and to avoid snagging. Your bag should now be good as new!
-


Rückgängig: Ich habe diese Anleitung nicht absolviert.
Ein:e weitere:r Nutzer:in hat diese Anleitung absolviert.
Team

UC Davis, Team S1-G5, Bender Fall 2018 Mitglied von UC Davis, Team S1-G5, Bender Fall 2018
UCD-BENDER-F18S1G5
3 Mitglieder
1 Anleitung geschrieben