Zum Hauptinhalt wechseln

How to Replace a Broken Lanyard Clasp

Was du brauchst

  1. How to Replace a Broken Lanyard Clasp, Clasp: Schritt 1, Bild 1 von 3 How to Replace a Broken Lanyard Clasp, Clasp: Schritt 1, Bild 2 von 3 How to Replace a Broken Lanyard Clasp, Clasp: Schritt 1, Bild 3 von 3
    • Use a seam ripper to carefully rip the seam holding the existing clasp.

  2. How to Replace a Broken Lanyard Clasp: Schritt 2, Bild 1 von 3 How to Replace a Broken Lanyard Clasp: Schritt 2, Bild 2 von 3 How to Replace a Broken Lanyard Clasp: Schritt 2, Bild 3 von 3
    • Remove the existing clasp from the lanyard.

    • Use thread nippers to remove any remaining strings or fraying edges from the lanyard.

    • Make sure to trim as close to the base of the lanyard as possible without cutting into the main material.

  3. How to Replace a Broken Lanyard Clasp: Schritt 3, Bild 1 von 3 How to Replace a Broken Lanyard Clasp: Schritt 3, Bild 2 von 3 How to Replace a Broken Lanyard Clasp: Schritt 3, Bild 3 von 3
    • Using a tape measure, measure out 24 inches (2 ft) of your choice of thread.

    • Snip the thread at the correct length with thread nippers.

    • Use as much thread as you think is necessary, keep in mind that a larger amount of thread can be tangled more easily.

  4. How to Replace a Broken Lanyard Clasp: Schritt 4, Bild 1 von 2 How to Replace a Broken Lanyard Clasp: Schritt 4, Bild 2 von 2
    • Feed one end of the cut thread through the eye of the needle.

    • Sometimes licking the end of the thread can make it easier to thread through the needle.

  5. How to Replace a Broken Lanyard Clasp: Schritt 5, Bild 1 von 1
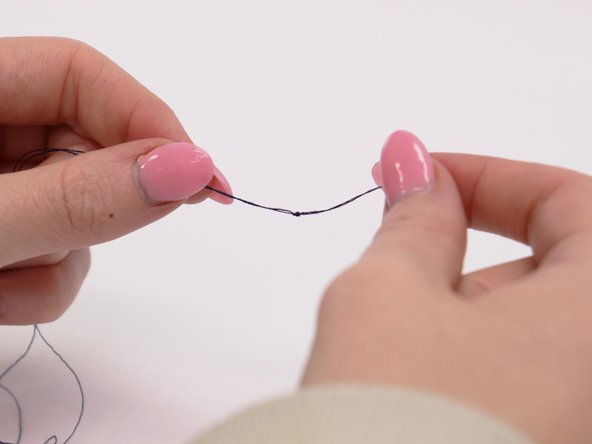
    • Pull the thread through the needle until the needle sits directly in the middle of the thread.

  6. How to Replace a Broken Lanyard Clasp: Schritt 6, Bild 1 von 3 How to Replace a Broken Lanyard Clasp: Schritt 6, Bild 2 von 3 How to Replace a Broken Lanyard Clasp: Schritt 6, Bild 3 von 3
    • With the lower part of the thread, cross both sides over each other.

    • Tie the two sides together, making sure the knot stays towards the bottom of the thread.

  7. How to Replace a Broken Lanyard Clasp: Schritt 7, Bild 1 von 3 How to Replace a Broken Lanyard Clasp: Schritt 7, Bild 2 von 3 How to Replace a Broken Lanyard Clasp: Schritt 7, Bild 3 von 3
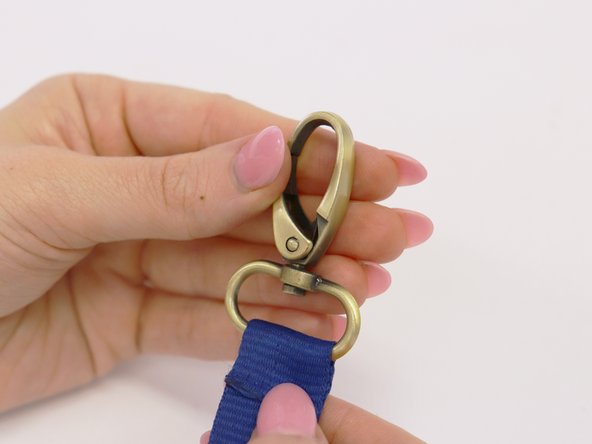
    • Line up both sides of the lanyard.

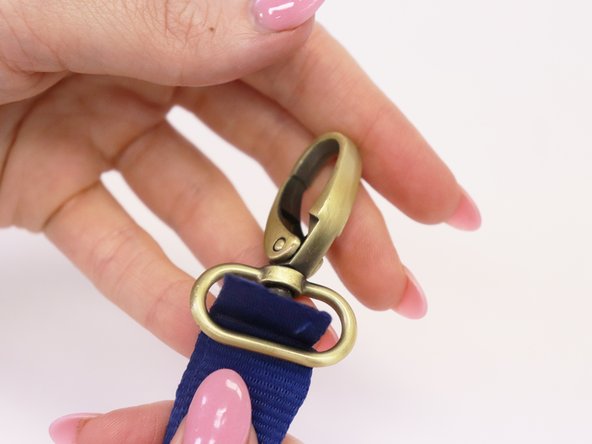
    • Place the joined ends through the bottom of the new clasp.

    • Fold the lanyard over the bottom of the clasp.

    • Different lanyards may be configured differently. Follow the previous fold lines on your lanyard to best note how to rejoin the ends.

  8. How to Replace a Broken Lanyard Clasp: Schritt 8, Bild 1 von 2 How to Replace a Broken Lanyard Clasp: Schritt 8, Bild 2 von 2
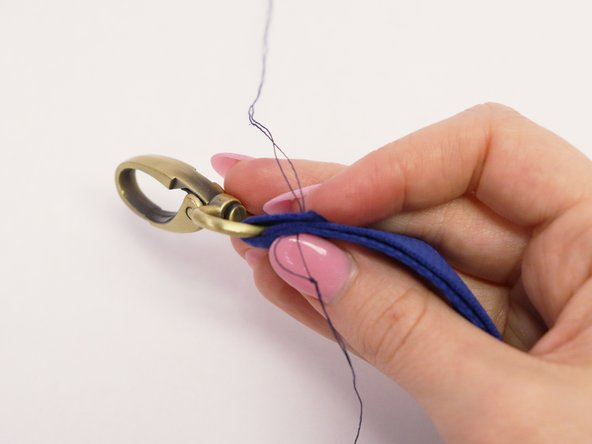
    • Take the threaded needle and poke it through on one side of the lanyard.

    • Pull the needle and thread all the way through until the knot catches on the underside of the lanyard.

    • Make sure your needle goes through all the layers of the lanyard, paying particular attention to include the folded part.

  9. How to Replace a Broken Lanyard Clasp: Schritt 9, Bild 1 von 3 How to Replace a Broken Lanyard Clasp: Schritt 9, Bild 2 von 3 How to Replace a Broken Lanyard Clasp: Schritt 9, Bild 3 von 3
    • Push the needle back down through all layers of the lanyard.

    • Pull all the way through until the thread is tight.

    • Continue moving back and forth across the lanyard until you reach the other end.

    • Keep the stitches as close together as possible for better stability.

  10. How to Replace a Broken Lanyard Clasp: Schritt 10, Bild 1 von 1
    • Leave enough thread to comfortably tie a knot, so avoid cutting it too close to the lanyard.

    • Clip the thread in the middle of the remaining length.

    • Make sure you place your needle in a safe place now that is it free from the thread.

  11. How to Replace a Broken Lanyard Clasp: Schritt 11, Bild 1 von 3 How to Replace a Broken Lanyard Clasp: Schritt 11, Bild 2 von 3 How to Replace a Broken Lanyard Clasp: Schritt 11, Bild 3 von 3
    • Cross the edges of the thread still attached to the lanyard.

    • Tie them together, making sure to tighten them down to the lanyard.

    • Repeat this a couple more times to ensure it won't come undone.

  12. How to Replace a Broken Lanyard Clasp: Schritt 12, Bild 1 von 1
    • Clip the remaining thread.

    • The stitching should be secure so cut closely to the knot on the end.

  13. How to Replace a Broken Lanyard Clasp: Schritt 13, Bild 1 von 1
    • All done! Enjoy your new lanyard clasp.

Ziellinie

Eine weitere Person hat diese Anleitung absolviert.

Keely Hunt

Mitglied seit: 01/30/24

238 Reputation

1 Anleitung geschrieben

Team

UC Davis, Team 2-6, Andersen Winter 2024 Mitglied von UC Davis, Team 2-6, Andersen Winter 2024

UCD-ANDERSEN-W24S2G6

3 Mitglieder

1 Anleitung geschrieben

0 Kommentare

Kommentar hinzufügen

Seitenaufrufe:

Letzte 24 Stunden: 2

Letzte 7 Tage: 15

Letzte 30 Tage: 74

Insgesamt: 238