Einleitung
Active End: The end of the tie that will be used to tie the knot. This can be either the wide end or narrow end of the tie depending on the tie knot.
Shirt Collar: A band of material around the neck of a shirt that can either be folded or unfolded.
Neck Loop: The loop of the tie that goes around the collar.
Keeper Loop: A piece of fabric that is sewn onto the underside of the wide end of the tie that can be used to keep the narrow end of the tie hidden.
Prince Albert: A larger knot than the four-in-hand, this knot is also meant to have a slender, tighter look.
Was du brauchst
-
-
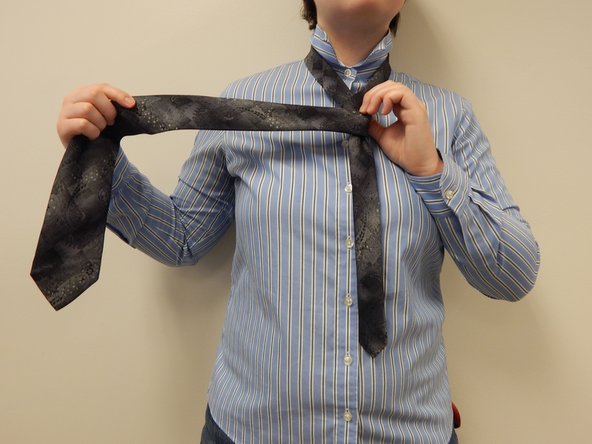
Wrap the tie around the back of your neck with the narrow end on the left side of your body and the wide end on the right side.
-
The wide end of the tie will be your active end.
-
-
-
Take the active end and cross it over the narrow end, so that it points to the left.
-
-
-
-
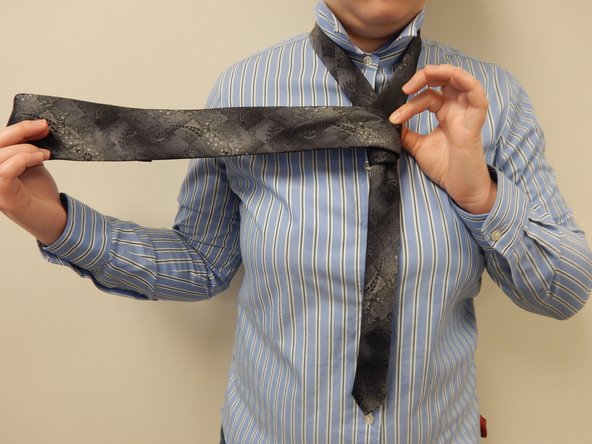
Wrap the active end over the narrow end, so that it now points to the left.
-
Note: Leave this wrap a little loose, as it will be used in step 9.
-
-
-
Pull the active end down through the wraps you created in steps 5 (see image 2) and 7 (see image 3).
-
-
-
Tighten the knot by pulling down on the active end and up on the knot, adjusting for size and evenness.
-
-
-
Tighten the neck loop by pulling down on the narrow end of the tie and sliding the knot up toward your neck.
-
-
-
Tuck the narrow end of the tie through the keeper loop.
-
Fold your collar down when the knot is finished.
-


Congratulations! You've successfully tied the Prince Albert knot!
Congratulations! You've successfully tied the Prince Albert knot!
Rückgängig: Ich habe diese Anleitung nicht absolviert.
2 weitere Personen haben diese Anleitung absolviert.
Team

The Electric Warthogs Mitglied von The Electric Warthogs
Community
3 Mitglieder
5 Anleitungen geschrieben