Einleitung
Bike rim maintenance is an integral part of ensuring a bicycle works properly. Neglecting a bent rim can further compromise the bike's structural integrity, as every turn wears down the brake pads due to scraping.
This guide will show you how to straighten or true your bent bicycle rim using common tools. Truing the bike rim only requires a pair of pliers, and a desire to get one's mode of transportation working as good as new again!
Was du brauchst
-
-
Bring your bike somewhere with ample space so you have room to work.
-
-
-
Flip the bike on its seat so the wheel can spin freely.
-
Use the spokes to spin the affected wheel.
-
Continue spinning the wheel until it is clear where the bend is occurring.
-
-
-
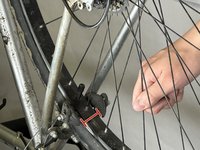
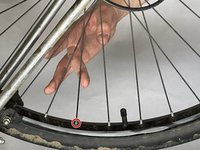
Locate the bend by spinning the wheel to see where it doesn't align with the brake.
-
-
-
-
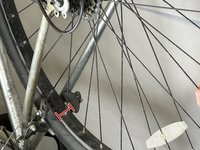
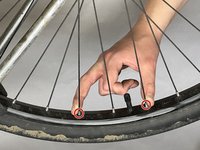
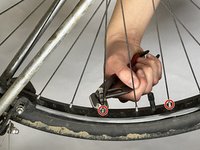
Locate the two nearest spoke nipples opposite to the bend direction and tighten them a half turn using an adjustable wrench or reaming pliers.
-
-
-
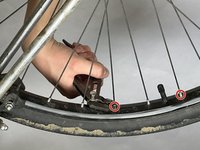
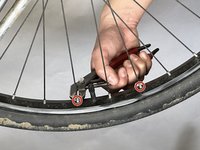
Loosen the spoke nipples opposite to the ones being tightened to reduce stress in the wrong direction.
-
-
-
Assess the dent in the bike rim and assure it's mostly straightened out relative to the break pad.
-


To reassemble your device, follow these instructions in reverse order.
To reassemble your device, follow these instructions in reverse order.
Rückgängig: Ich habe diese Anleitung nicht absolviert.
Eine weitere Person hat diese Anleitung absolviert.

Team
