Einleitung
Knitted beanies or pullovers are easy to snag during use, resulting in a loose thread loop. But it's not serious, and not hard to fix - follow this guide to find out how!
Was du brauchst
-
-
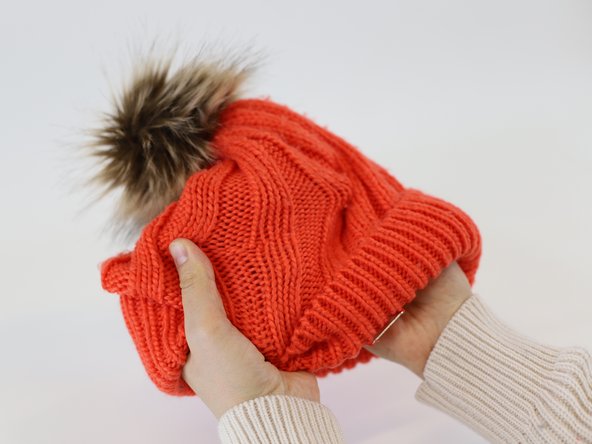
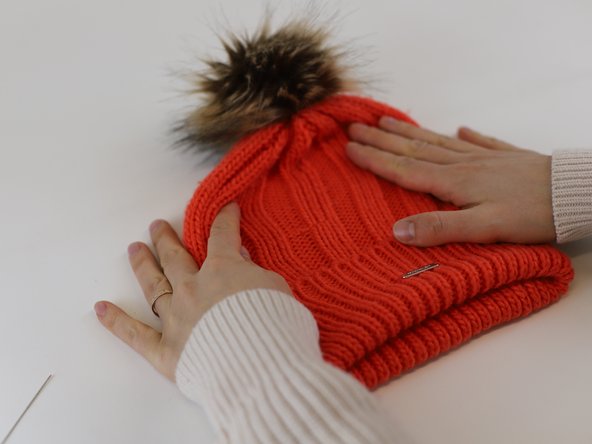
Identify the snag
-
Prepare your needle - for this guide we are using a specialized "snag repair needle" which has a textured end. These are available from most sewing shops.
-
-
-
-
Pass the needle through the bottom of the snag loop.
-
Wrap the thread around the sharp end of the needle.
-
Then, pass the needle through the fabric. The snag loop will also be pulled through by the textured part of the needle. Keep pulling it through, until both the needle and the snag loop are on the inside of the item.
-
-
-
Pull tightly on the thread to secure it to the back of the fabric.
-
Then, reposition the fabric appearance on the front, by stretching it to balance the tension.
-
🛠️🏆👏 Congratulations! The repair is complete, and you're ready to go!
-


In need of another repair? Don't worry! Check out our other guides to find quick solutions for your favourite clothing, footwear and equipment!
In need of another repair? Don't worry! Check out our other guides to find quick solutions for your favourite clothing, footwear and equipment!

Team
