Diese Übersetzung enthält möglicherweise noch nicht die neuesten Änderungen der Original-Anleitung. Hilf mit, die Übersetzung zu aktualisieren oder sieh dir die Original-Anleitung an.
Einleitung
Eine schnelle Anleitung, um eine gebrochene Rückabdeckung des Xperia Z3 zu ersetzen.
Was du brauchst
-
Dieser Schritt ist noch nicht übersetzt. Hilf mit, ihn zu übersetzen!
-
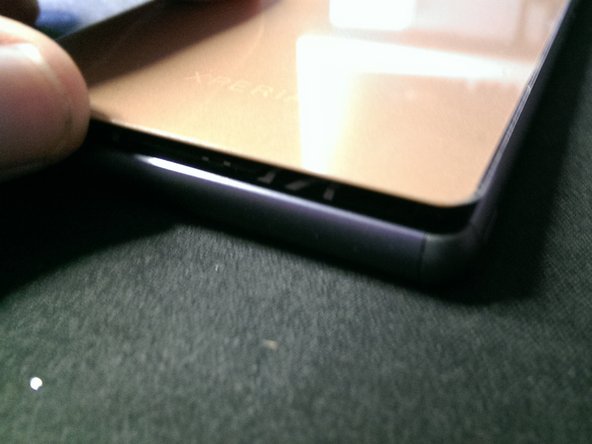
The cover we are going to replace.
-
-
Dieser Schritt ist noch nicht übersetzt. Hilf mit, ihn zu übersetzen!
-
Start by using a blow-dryer on the hottest setting. Heat the entire backside of the phone, and focus on the edges for a minute or two.
-
-
Dieser Schritt ist noch nicht übersetzt. Hilf mit, ihn zu übersetzen!
-
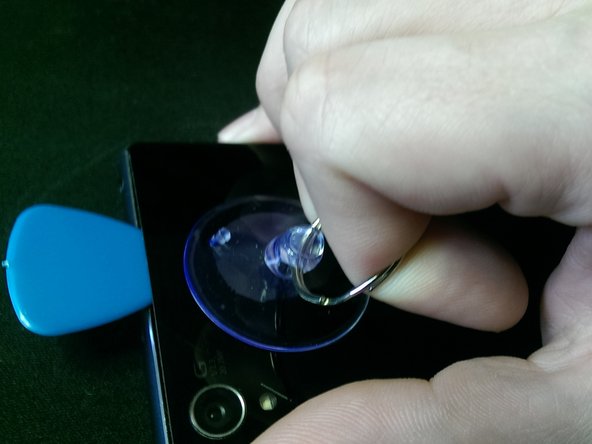
Use a suction-cup to pull up the back-cover about 1mm. Insert a pick and use a second one to make the opening larger.
-
-
Dieser Schritt ist noch nicht übersetzt. Hilf mit, ihn zu übersetzen!
-
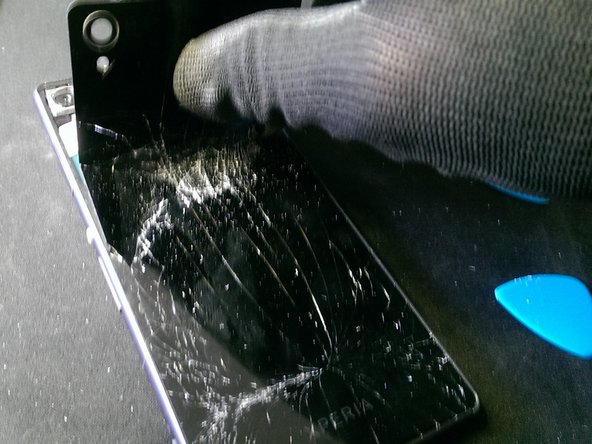
Use the picks to get the cover off as far as possible. After this, wear gloves and try to pull off the glass. It will break in this step, so be careful for any pieces of sharp glass!
-
-
-
Dieser Schritt ist noch nicht übersetzt. Hilf mit, ihn zu übersetzen!
-
Continue removing the looser pieces. Use plastic tools, so you don't damage the electronics inside.
-
-
Dieser Schritt ist noch nicht übersetzt. Hilf mit, ihn zu übersetzen!
-
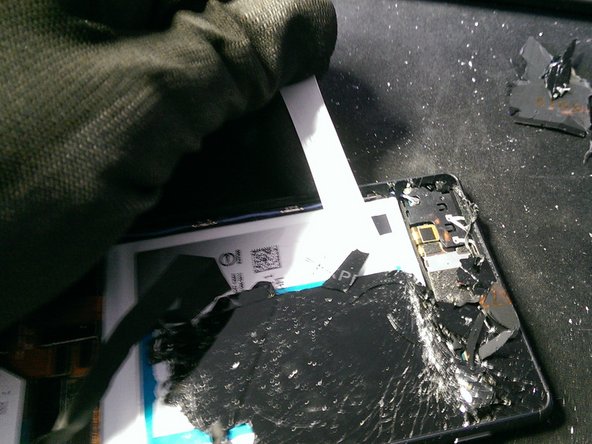
Use the black tabs to pull the white double-sided tape. Remember not to pull these up, but stretch them to the sides. Pull carefully to avoid snapping.
-
-
Dieser Schritt ist noch nicht übersetzt. Hilf mit, ihn zu übersetzen!
-
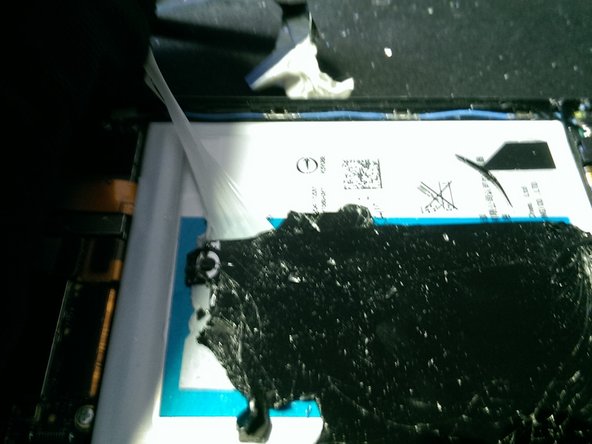
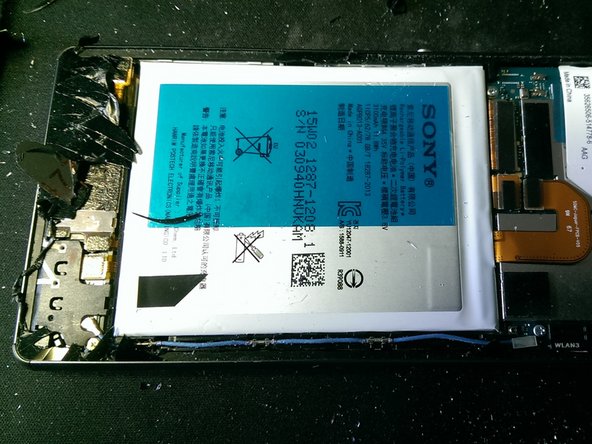
You can now take off the glass that was attached to the battery.
-
Carefully remove all the glass and tape that's left.
-
Clean out all the glass with a small soft brush. I used the tip of an soft toothbrush.
-
-
Dieser Schritt ist noch nicht übersetzt. Hilf mit, ihn zu übersetzen!
-
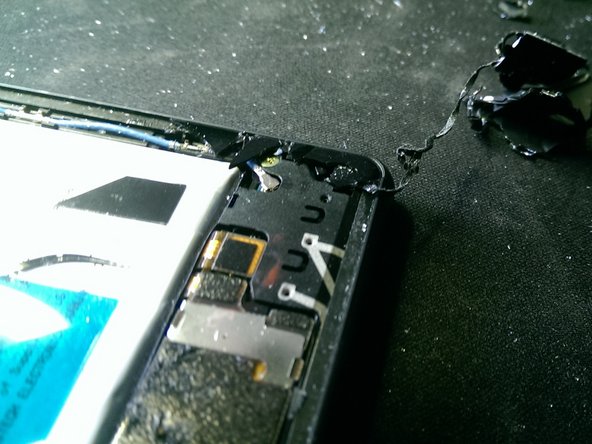
Be sure to clean all the glass! Use tape to carefully pick up the small pieces.
-
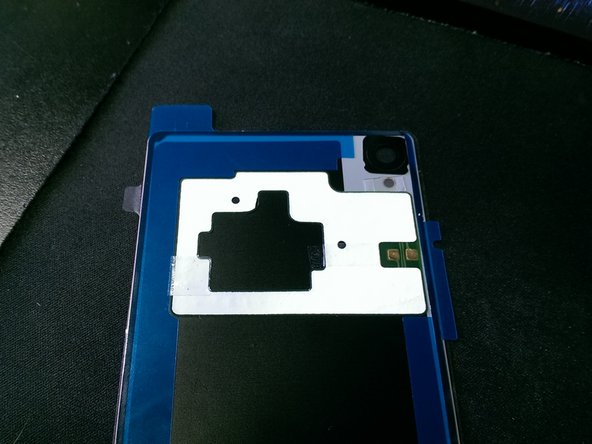
We still need to remove the NFC sticker to place in the new cover.
-
Carefully peel it off the old cover.
-
-
Dieser Schritt ist noch nicht übersetzt. Hilf mit, ihn zu übersetzen!
-
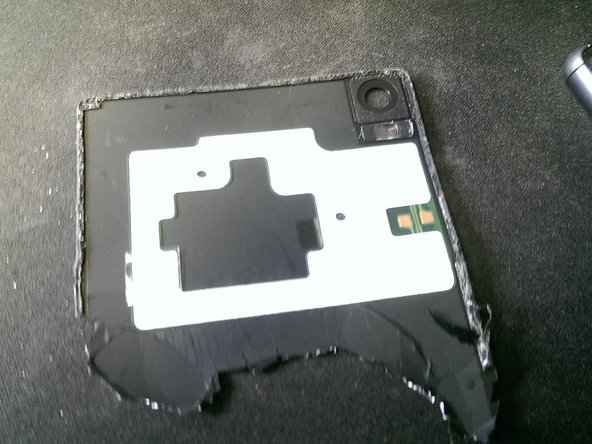
Place the NFC sticker in the free space in the tape on the inside of the new cover.
-
Press it down.
-
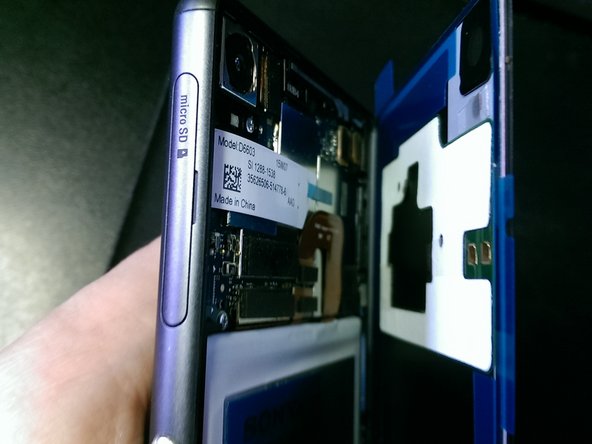
The contact sensitive area on the sticker will line up with the connectors on the motherboard.
-
-
Dieser Schritt ist noch nicht übersetzt. Hilf mit, ihn zu übersetzen!
-
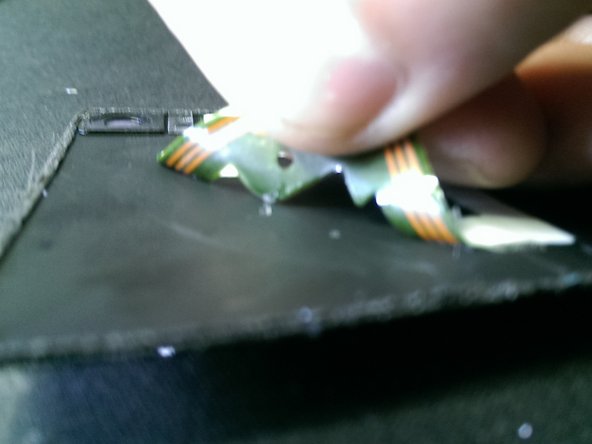
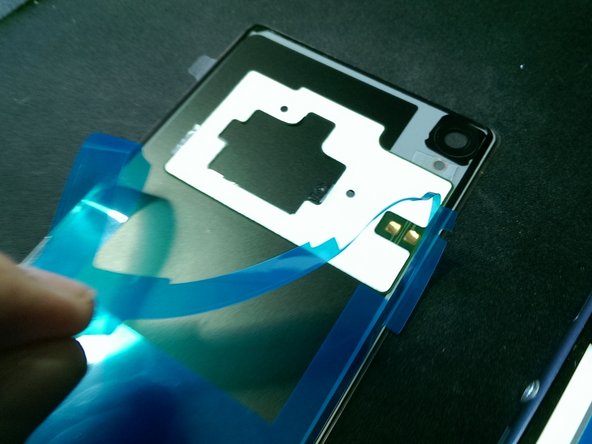
This is our new cover. Why not a new color? Not too expensive on eBay. This is an aftermarket version.
-
Peel off the protective plastic.
-
-
Dieser Schritt ist noch nicht übersetzt. Hilf mit, ihn zu übersetzen!
-
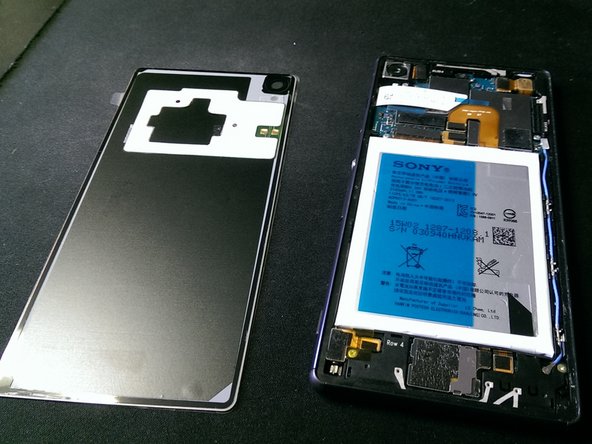
Line the cover up with one of the corners and align it along the long edge.
-
Before you drop it in, you can make small adjustment to line it up with the opposite corner.
-
Gently press it down along all edges and about two thirds down, where the cover sticks to the battery.
-
-
Dieser Schritt ist noch nicht übersetzt. Hilf mit, ihn zu übersetzen!
-
Wipe all smudges off the back with a microfiber cloth.
-
Give it one last press along the edges while wiping.
-
And we're done. A nice new gold back cover for an Xperia Z3.
-
If you want you can protect the glass with a tempered screen-protector. Keep in mind that this may influence your case choice.
-


Dieses Smartphone ist eigentlich wasserdicht und sollte es nach der Reparatur immer noch sein.
Dieses Smartphone ist eigentlich wasserdicht und sollte es nach der Reparatur immer noch sein.
Rückgängig: Ich habe diese Anleitung nicht absolviert.
48 weitere Nutzer:innen haben diese Anleitung absolviert.
Besonderer Dank geht an diese Übersetzer:innen:
14%

Fabian Neidhardt hilft uns, die Welt in Ordnung zu bringen! Wie kann ich mithelfen?
Hier starten ›
11 Kommentare
My new back just won't stay stuck down. Can ib use super glue on it? I think half the battle is the phone heating up and loosening the glue.
I'd be careful using superglue. Some sticky kit might be better. Maybe heating up the new one and holding it down with clamps or a book should make it stick better too.
larsjj -