Einleitung
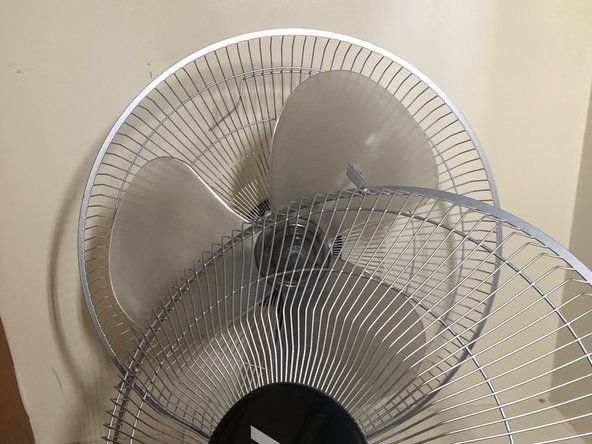
If your FC Desk Fan is making a rattling sound when you turn it on or if you notice the main body shaking while the fan blades are spinning, you will need to tighten the inner screws to keep the fan from potentially falling apart.
The inner screws hold the head and motor box of the fan securely to the main body. These screws can slowly come undone due to the natural vibration from the fan spinning.
Before beginning, be sure to turn the fan off completely and to disconnect it from any external power source.
Was du brauchst
-
-
Unlatch the four hinges located around the edge of the fan cage by gently pulling them away from the fan cage.
-
-
-
Locate, loosen and remove the screw that is found at the bottom of the cage using a Phillips #1 screwdriver.
-
-
-
-
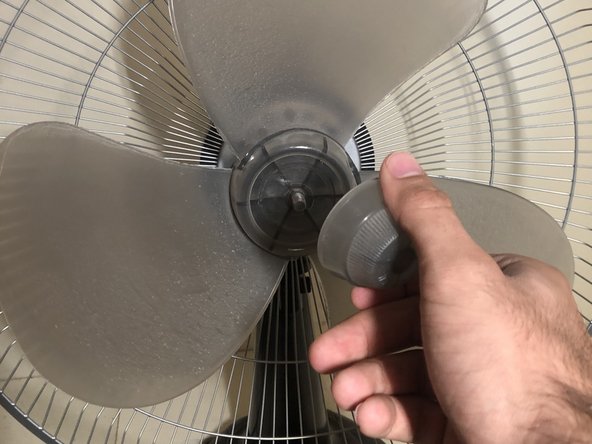
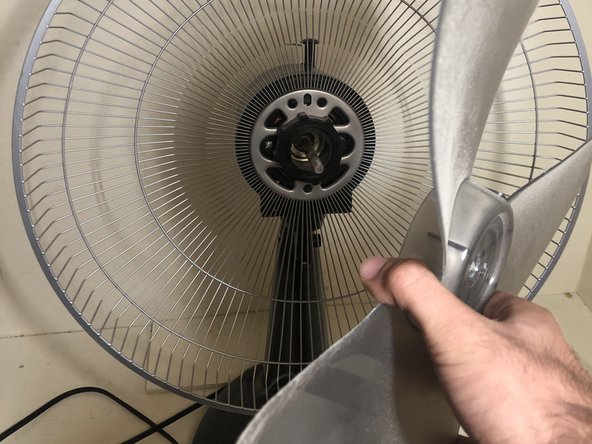
Remove the front half of the cage from the fan by wiggling gently it until it disconnects from the rest of the fan.
-
-
-
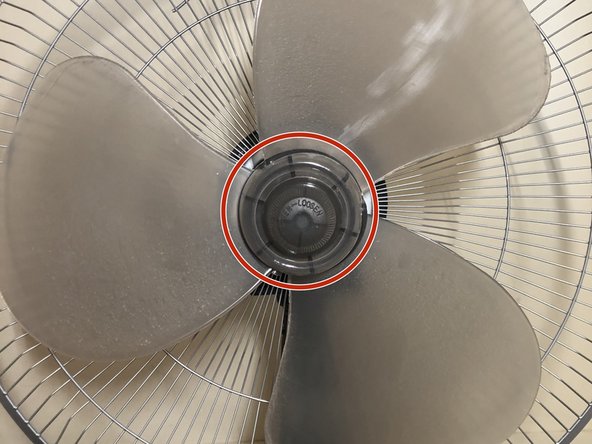
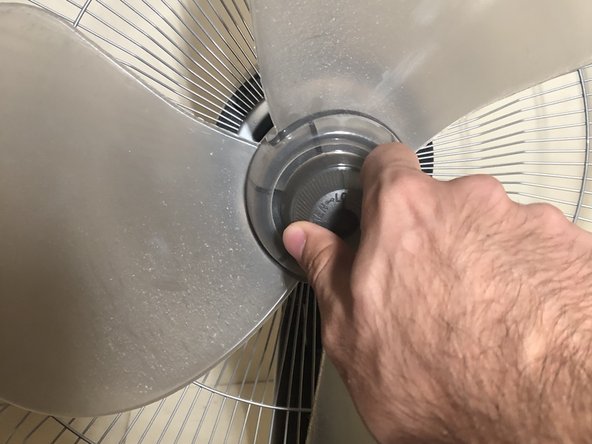
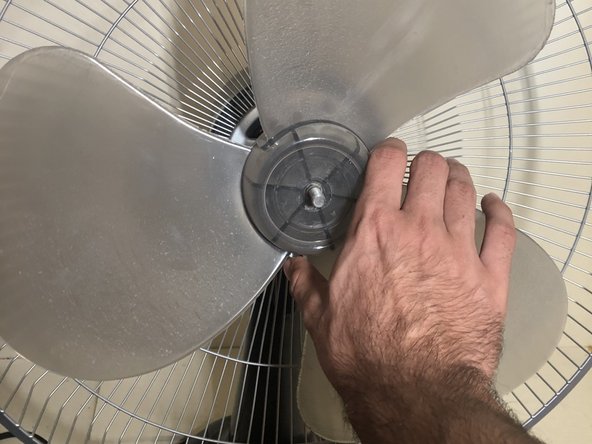
Twist the now exposed central fan cap clockwise to remove it from the fan blades.
-
-
-
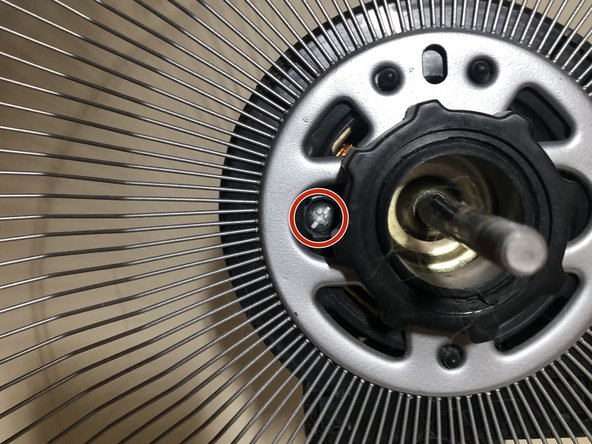
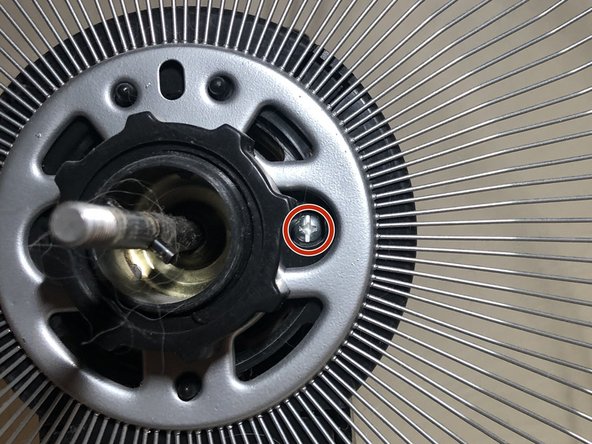
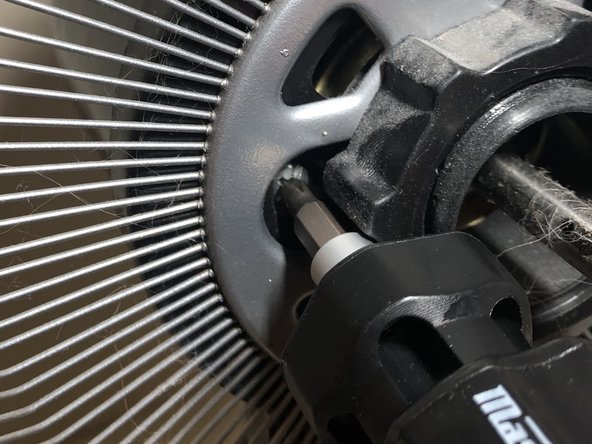
Remove or tighten the two inner screws as necessary, making sure the screws are tightened only until you are met with slight resistance when reassembling.
-


To reassemble your device, follow these instructions in reverse order.
To reassemble your device, follow these instructions in reverse order.
Rückgängig: Ich habe diese Anleitung nicht absolviert.
Ein:e weitere:r Nutzer:in hat diese Anleitung absolviert.
Team

York University, Team 2-2, O'Regan Fall 2023 Mitglied von York University, Team 2-2, O'Regan Fall 2023
YORK-O'REGAN-F23S2G2
1 Mitglied
1 Anleitung geschrieben