Einleitung
You can use these instructions for almost all VAUDE trolleys and replace the handle yourself. For our models Futuna, Rotuma, Turin and Tuvana, however, we recommend you ask a repair specialists at VAUDE to do the replacement.
Was du brauchst
-
-
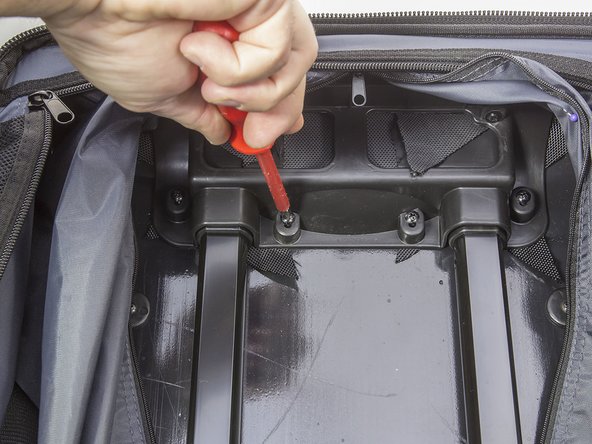
Unscrew the two screws in the lower section on the handle assembly using a Phillips screwdriver.
-
-
-
-
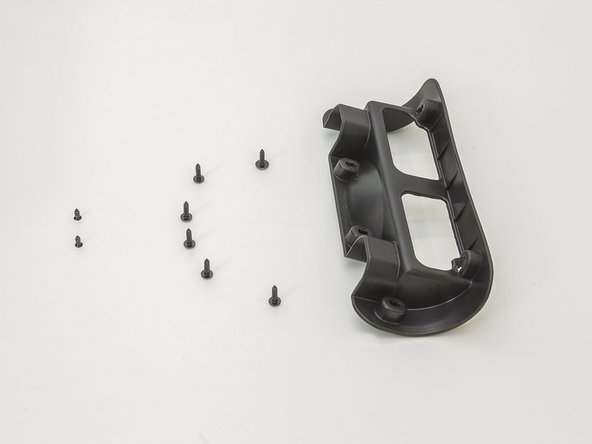
Using a Phillips screwdriver, unscrew the 6 marked screws attaching the handle to the upper section.
-
Follow the instructions in reverse order, to complete the repair/replacement.
Follow the instructions in reverse order, to complete the repair/replacement.
Besonderer Dank geht an diese Übersetzer:innen:
100%
Diese Übersetzer:innen helfen uns, die Welt zu reparieren! Wie kann ich mithelfen?
Hier starten ›
Ein Kommentar
so I take it from this that we’re screwed if the top bit is riveted (which is quite common by the way!)


