Einleitung
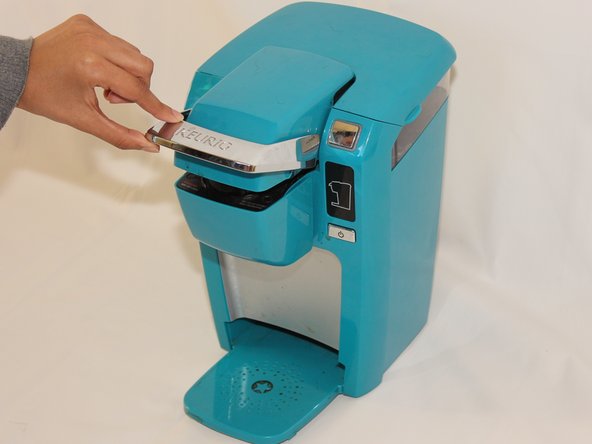
This guide will help walk you though the unclogging of the Keurig Mini's water drain. You will need a #1 Philips screw driver to get inside of the device.
Was du brauchst
-
-
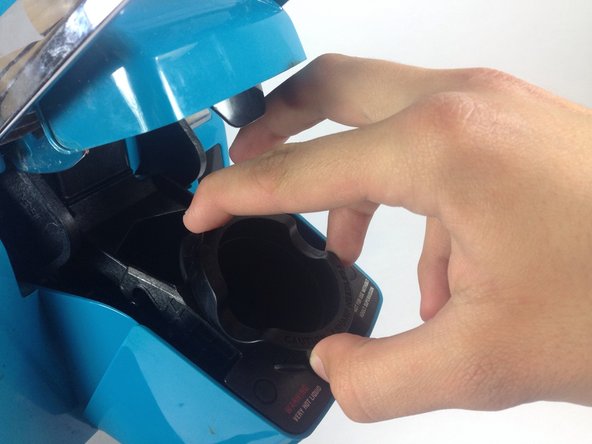
Firmly place a finger on each one of the three tabs that hold the K-cup holder into place, pushing in lightly. The tabs are difficult to see, but they are there and will make the removal easier. The top tab is located in the same location as the white triangle and the bottom two are located under the plastic bumps highlighted in the picture.
-
-
-
Firmly rock the K-cup holder from side to side, loosening the K-cup holder from its seat.
-
-
-
Open the top lid of the Keurig.
-
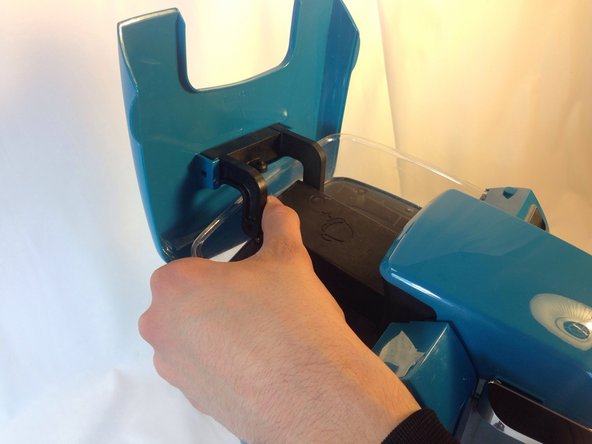
Pull directly outwards on one of the arms that holds the top lid in place. It will take some force to get the arm off the peg. Once one side is off, repeat the process on the second arm.
-
-
-
-
Unscrew the two 9mm #1 Philips screws that hold the top plastic cover in place.
-
-
-
Set the Keurig in an upright position with the front side facing you.
-
Pull the cover off the top of the Keurig. It should come off easily with little force.
-
-
-
Push down lightly on the nozzle that the hose was attached to. The plastic housing along with the needle should pop off without much force.
-
-
-
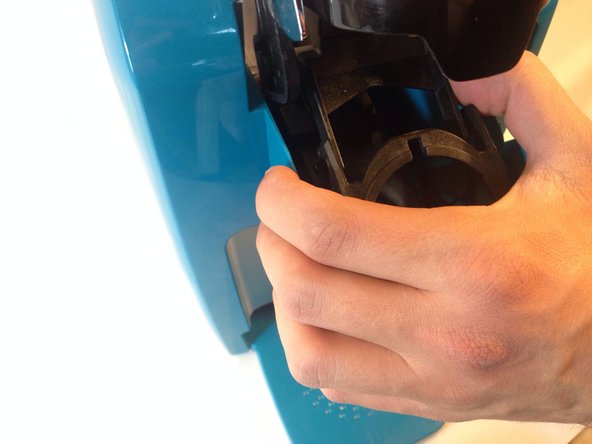
Push in on one of the arms attached to the K-cup holder plastic housing to remove it from its rails. The arms are identical for both sides so once one side is free repeat the process for the second side.
-
Once the arms are removed, the configuration should look like the picture. The K-cup holder housing should be separated from the arms.
-
-
-
Use a Phillips #1 screw driver to remove the four 12 mm screws that hold the arm assembly in place.
-
-
-
Lift up the arm and pull up the handle assembly. It should easily come off.
-
This white tab falls off easily, remove it and set it aside to ensure it is not lost.
-
-
-
Lift up the top arm assembly to get it out of the way. Once it is out of the way, clear out any obstructions in the drain.
-
Use your finger or a slender object to clean the drain. Avoid pushing material further down the drain as that may cause obstructions deeper in the system.
-


To reassemble your device, follow these instructions in reverse order.
To reassemble your device, follow these instructions in reverse order.
Rückgängig: Ich habe diese Anleitung nicht absolviert.
13 weitere Personen haben diese Anleitung absolviert.
Team

Cal Poly, Team 17-1, Forte Winter 2014 Mitglied von Cal Poly, Team 17-1, Forte Winter 2014
CPSU-FORTE-W14S17G1
5 Mitglieder
17 Anleitungen geschrieben
10 Kommentare
This helped a lot. I used a large syringe. We used to raise birds & had a variety of sizes. Put the syringe on the tube & pulled several times.Seemed to free any clog at the very bottom. Put back together & it's working now.but I notice sprinkles of water as is heats up now. Just need to figure what could be causing this.
So my keurig was not clogged. BUT. After taking it apart and putting it back together, it works now! #sweetcaffeinatedvictory
This was very helpful. My Keurig is working again. Thanks.