Diese Version enthält möglicherweise inkorrekte Änderungen. Wechsle zur letzten geprüften Version.
Was du brauchst
-
Dieser Schritt ist noch nicht übersetzt. Hilf mit, ihn zu übersetzen!
-
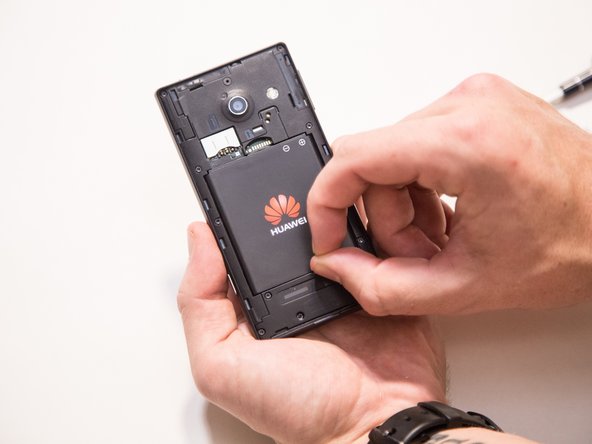
Flip the device over so that the back of the phone is facing you and the screen is against your palm.
-
-
Dieser Schritt ist noch nicht übersetzt. Hilf mit, ihn zu übersetzen!
-
Locate the slit at the bottom of the back cover.
-
Using your fingernail, lift up on the back cover to expose the battery.
-
-
Dieser Schritt ist noch nicht übersetzt. Hilf mit, ihn zu übersetzen!
-
Lift the back cover off the phone.
-
-
Dieser Schritt ist noch nicht übersetzt. Hilf mit, ihn zu übersetzen!
-
Find the indented notch at the base of the battery.
-
Lift the battery out of the phone with your fingers by pressing forward and lifting upward.
-
-
-
Dieser Schritt ist noch nicht übersetzt. Hilf mit, ihn zu übersetzen!
-
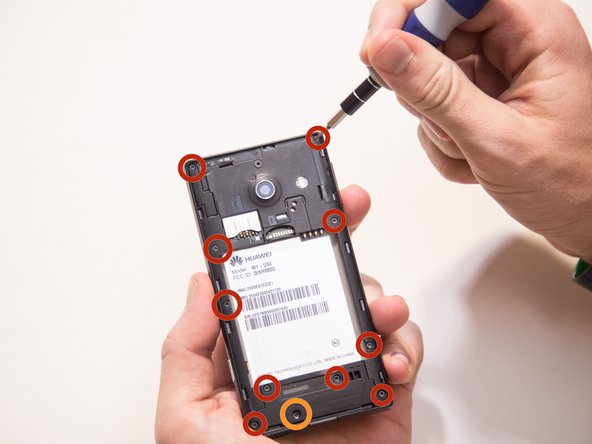
After removing the battery, remove the screws using a T6 screwdriver.
-
There are eleven screws that hold the middle cover to the rest of the phone.
-
The screw that is marked by the orange circle is covered by a white dot.
-
-
Dieser Schritt ist noch nicht übersetzt. Hilf mit, ihn zu übersetzen!
-
After all the screws are removed, use your fingers to remove the lower section of the middle cover.
-
Pull the lower section of the middle cover outward towards you, exposing the circuit board underneath.
-
-
Dieser Schritt ist noch nicht übersetzt. Hilf mit, ihn zu übersetzen!
-
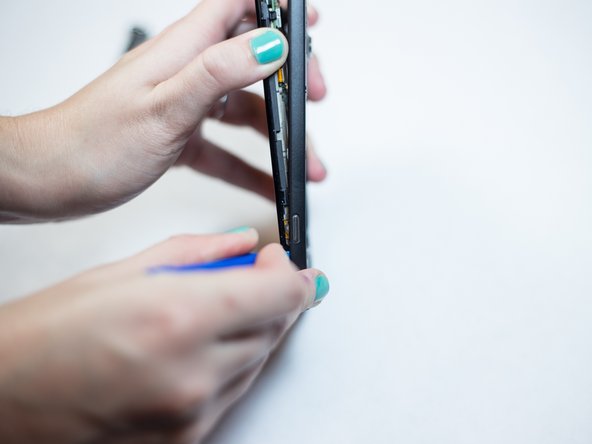
Begin working your way around the sides of the cover plate, unsnapping it gently.
-
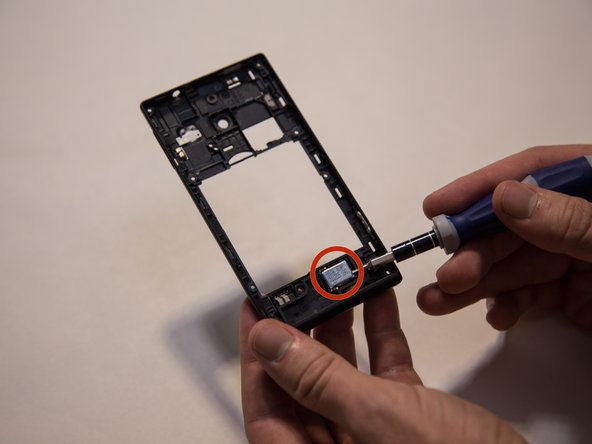
The middle cover is a thin piece of plastic with the external speaker inside of it.
-
-
Dieser Schritt ist noch nicht übersetzt. Hilf mit, ihn zu übersetzen!
-
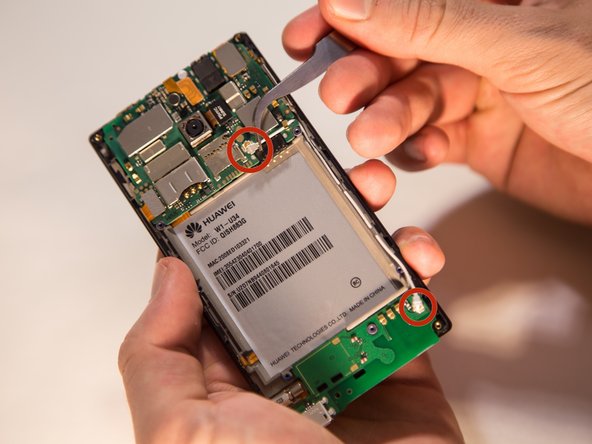
The antenna is a thin white wire that connects to the circuit board in two locations.
-
-
Dieser Schritt ist noch nicht übersetzt. Hilf mit, ihn zu übersetzen!
-
Lift gently at each connector of the white wire to disconnect the antenna from the port.
-
-
Dieser Schritt ist noch nicht übersetzt. Hilf mit, ihn zu übersetzen!
-
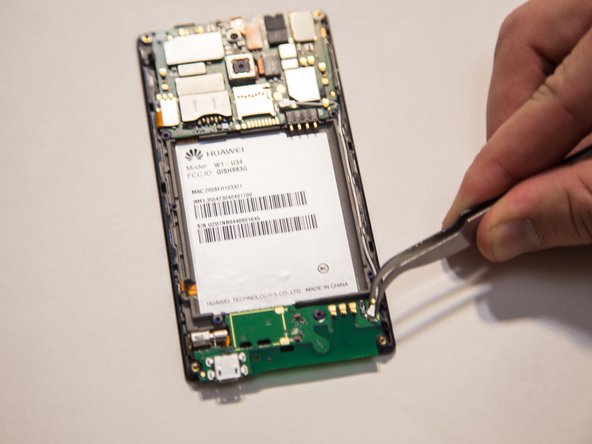
Use a plastic spudger or your fingers to gently pry up the four flex cables from the main board.
-
-
Dieser Schritt ist noch nicht übersetzt. Hilf mit, ihn zu übersetzen!
-
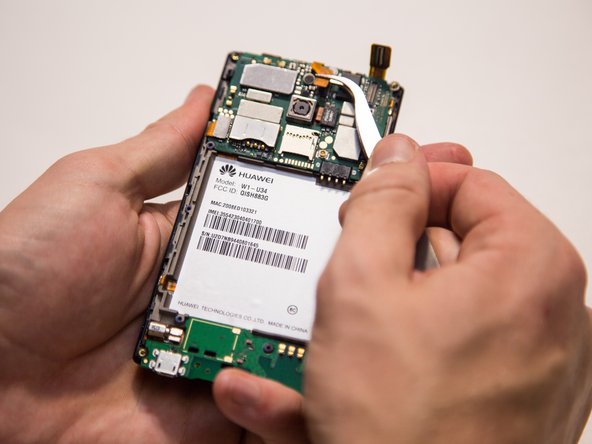
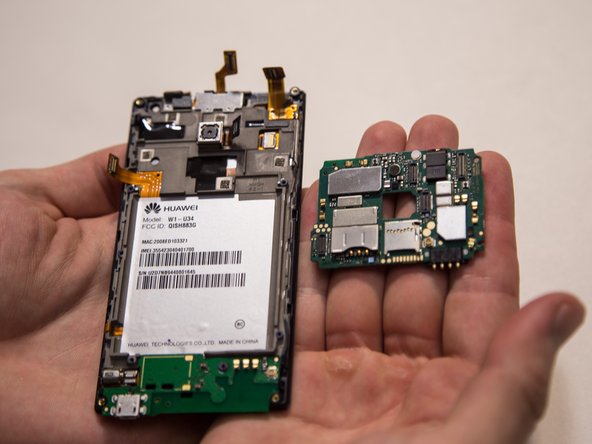
Gently pry up near the small black clip with your fingers or a plastic spudger to detach the main board.
-


Rückgängig: Ich habe diese Anleitung nicht absolviert.
Ein:e weitere:r Nutzer:in hat diese Anleitung absolviert.

Team

USF Tampa, Team 16-6, Blackwell Winter 2016 Mitglied von USF Tampa, Team 16-6, Blackwell Winter 2016
USFT-BLACKWELL-W16S16G6
3 Mitglieder
22 Anleitungen geschrieben