Diese Version enthält möglicherweise inkorrekte Änderungen. Wechsle zur letzten geprüften Version.
Was du brauchst
-
Dieser Schritt ist noch nicht übersetzt. Hilf mit, ihn zu übersetzen!
-
Use the 0.8 Sim driver bit to remove the SIM tray by inserting it into the hole on the side of the device.
-
Once the hole is pressed in firm, the SIM tray will pop out. This allows you to grab it and extract it from the device.
-
-
Dieser Schritt ist noch nicht übersetzt. Hilf mit, ihn zu übersetzen!
-
Make a thumbs-up and use it to grip the plastic opening tool with the flat end pointing in the direction of your thumb.
-
Place the flat end of the opening tool slightly inside the charging port and place your thumb on the back of the phone.
-
Press into the phone with your thumb while pulling the opening tool back with your fist to begin prying the back off.
-
-
Dieser Schritt ist noch nicht übersetzt. Hilf mit, ihn zu übersetzen!
-
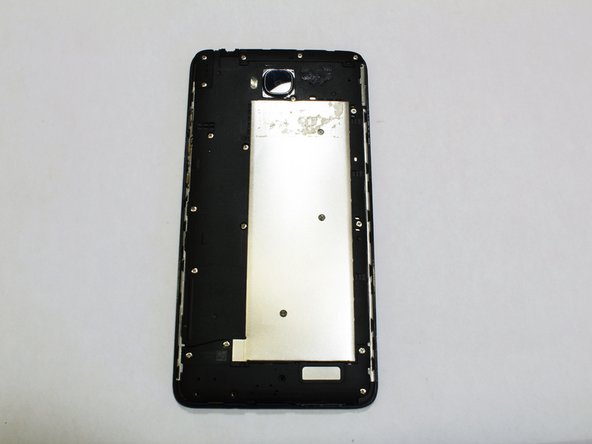
Slide the flat end of the spudger along the edge of the device, prying off the back cover.
-
Carefully remove the back cover. This may be difficult due to glue on the inside.
-
-
-
Dieser Schritt ist noch nicht übersetzt. Hilf mit, ihn zu übersetzen!
-
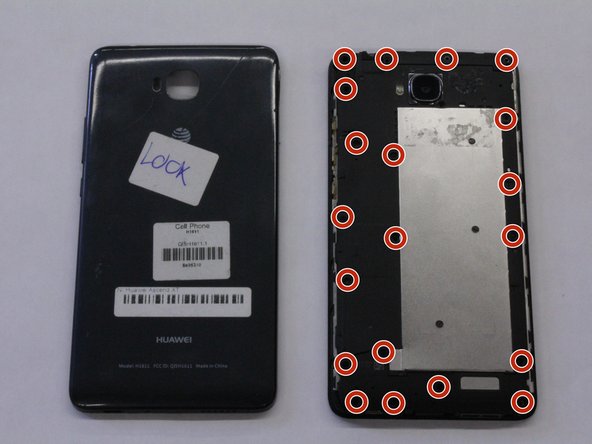
Use the Phillips head bit to remove 20 screws.
-
-
Dieser Schritt ist noch nicht übersetzt. Hilf mit, ihn zu übersetzen!
-
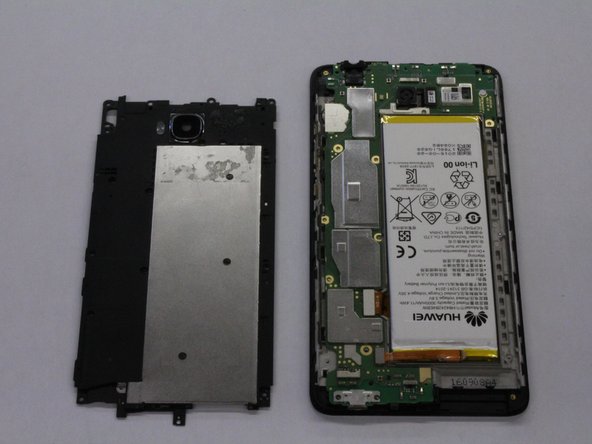
Carefully pull off the speaker assembly.
-
Carefully pull off the antenna assembly.
-
Carefully pull off the top left tab.
-
Carefully remove the back plate assembly.
-
-
Dieser Schritt ist noch nicht übersetzt. Hilf mit, ihn zu übersetzen!
-
Carefully disconnect battery ribbon wire from lower left corner of circuit board.
-
-
Dieser Schritt ist noch nicht übersetzt. Hilf mit, ihn zu übersetzen!
-
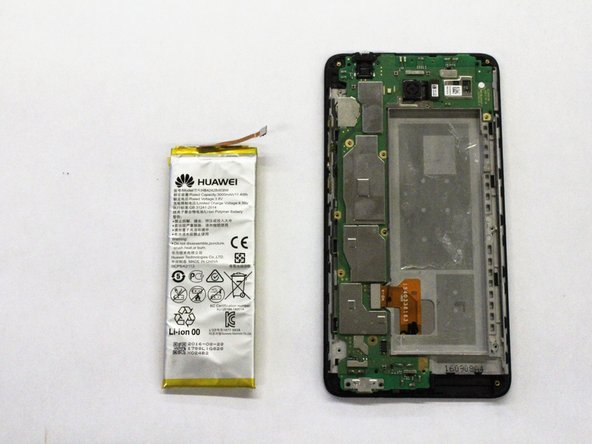
Use the spudger to pry lithium battery away from battery compartment.
-
Insert new battery and connect.
-
-
Dieser Schritt ist noch nicht übersetzt. Hilf mit, ihn zu übersetzen!
-
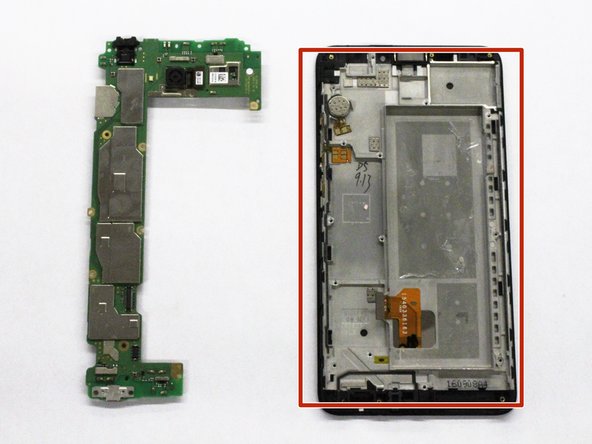
Carefully disconnect screen assembly ribbon wire from mother board.
-
Carefully remove the mother board from the screen assembly.
-
Replace screen assembly.
-


Rückgängig: Ich habe diese Anleitung nicht absolviert.
Ein:e weitere:r Nutzer:in hat diese Anleitung absolviert.
Team

The Citadel Military College of South Carolina, Team S3-G8, Eggleston Fall 2018 Mitglied von The Citadel Military College of South Carolina, Team S3-G8, Eggleston Fall 2018
CMCSC-EGGLESTON-F18S3G8
5 Mitglieder
10 Anleitungen geschrieben