Was du brauchst
-
-
To begin with, the sim tray is best removed. With this model and to do this repair it is not really necessary but in any case a good habit to start with.
-
-
-
Remove the 2 screws at the bottom that hold the screen module in place.
-
-
-
Start by heating the screen to make the glue soft and smooth. The glued areas are the upper corners, around the ear speaker and thin glue strips on the sides. The most glued zone is the bottom: almost the entire black bottom with the Huawei logo is glued.
-
In this example I tried to lift the display too quickly and the LCD was damaged by the already splintered underside. No extra profit to be made for this repair via sale of a broken screen: (
-
-
-
-
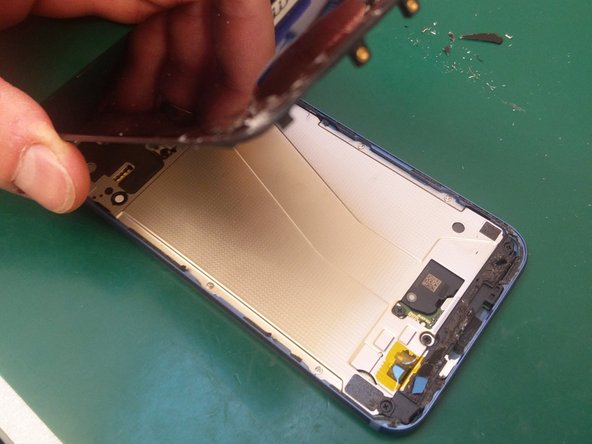
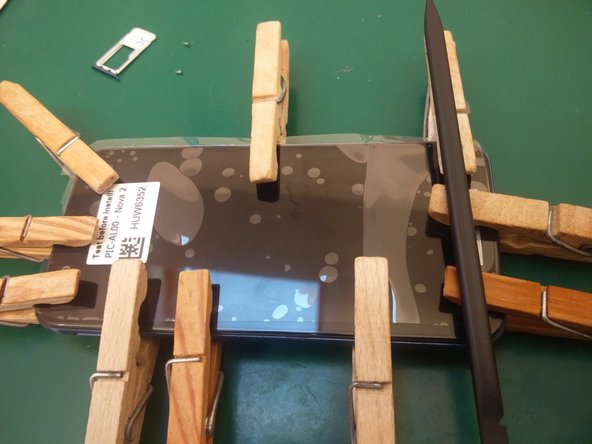
After all the glue has been successfully cut using a pick or plastic card / playing card, you can carefully tilt the screen. Hold the top approximately in position and lift the bottom (see image). If resistance is encountered, the screen must also be heated up.
-
The screen opens in a similar way to the iPhone 5/6 series.
-
-
-
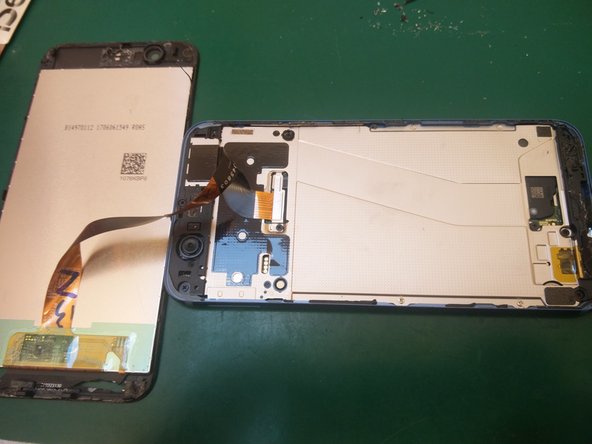
Now the display can be placed next to the device. Make sure that there are no excessive tensile forces or stresses on the connecting cable. Remove the Philips screw that holds the cover in place.
-
-
-
Start by disconnecting the battery connector using a plastic spatula. It is always a good practice to disconnect the battery as soon as possible when carrying out a repair.
-
Then disconnect the screen connector.
-
-
-
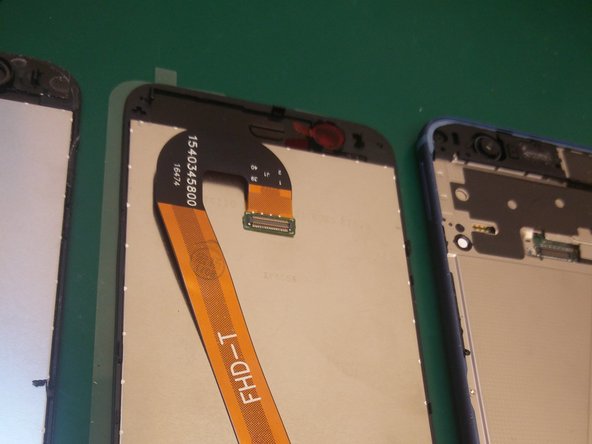
Carefully compare the old with the new screen and make sure that all protective films and stickers are removed (possibly after testing the screen). For example, I had a red stick on the camera fitting for protection against scratches and dirt.
-
This is also an ideal time to carefully study and remember all glued areas.
-
-
-
Remove the old glue on the edges of the frame as much as possible.
-
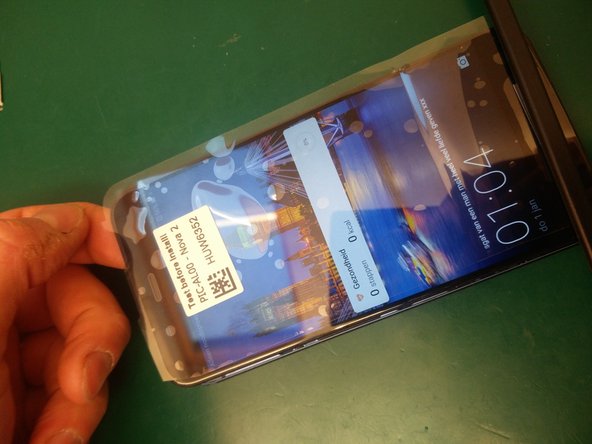
First, click the screen connector back in. The battery connector can then be reconnected and the screen can be tested before gluing the screen.
-
-
-
Apply glue to all previously studied areas with glue residues on the old screen, namely the edges, the entire black bottom of the screen, the top corners and around the ear speaker.
-
Align the new screen neatly with the frame. Press the screen gently. Avoid applying too much force to the screen to prevent LCD damage. You should hear slight clicking sounds when the pins and crosses on the frame are anchored in the chassis.
-
In the end, do not forget to screw in the 2 screws at the bottom, replace the sim tray and place any covers.
-


Enjoy your "as good as new" Nova 2!
Enjoy your "as good as new" Nova 2!
Rückgängig: Ich habe diese Anleitung nicht absolviert.
5 weitere Nutzer:innen haben diese Anleitung absolviert.
Besonderer Dank geht an diese Übersetzer:innen:
100%

Diese Übersetzer:innen helfen uns, die Welt zu reparieren! Wie kann ich mithelfen?
Hier starten ›
6 Kommentare
Thank you! It worked perfectly!
Thank you !! it was very helpful!!
How about if the screen is still good but suddenly i have noticed its opening on the lower left part?
Can i just put some glue on the opening parts or i still have to open the whole screen?
Thanks. I will try it soon.