Diese Version enthält möglicherweise inkorrekte Änderungen. Wechsle zur letzten geprüften Version.
Was du brauchst
-
Dieser Schritt ist noch nicht übersetzt. Hilf mit, ihn zu übersetzen!
-
Wedge your thumb nail, or the flat end of a spudger, into the bottom left corner and pry off.
-
-
Dieser Schritt ist noch nicht übersetzt. Hilf mit, ihn zu übersetzen!
-
Use the flat end of a spudger, or fingernail, to lift up the battery and pull out.
-
-
Dieser Schritt ist noch nicht übersetzt. Hilf mit, ihn zu übersetzen!
-
Remove the thirteen 3mm Phillips #00 screws from the back panel.
-
-
Dieser Schritt ist noch nicht übersetzt. Hilf mit, ihn zu übersetzen!
-
Use the flat end of a spudger to pry off the back panel.
-
-
Dieser Schritt ist noch nicht übersetzt. Hilf mit, ihn zu übersetzen!
-
Remove a single 3mm Phillips #00 screw from the motherboard.
-
-
-
Dieser Schritt ist noch nicht übersetzt. Hilf mit, ihn zu übersetzen!
-
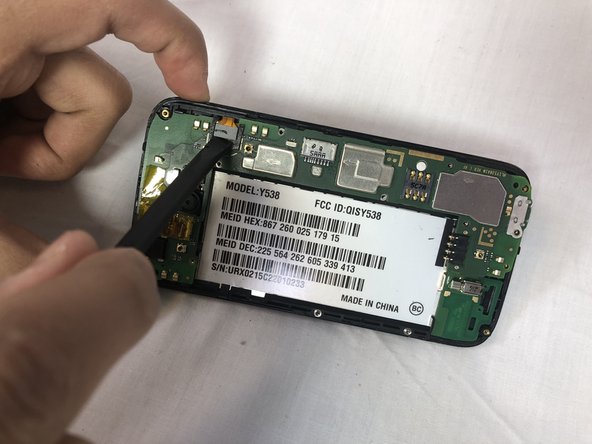
Using the flat end of a spudger to disconnect the motherboard ribbon cable.
-
-
Dieser Schritt ist noch nicht übersetzt. Hilf mit, ihn zu übersetzen!
-
Firmly hold the second ribbon cable's plastic film cover and pull up to disconnect.
-
-
Dieser Schritt ist noch nicht übersetzt. Hilf mit, ihn zu übersetzen!
-
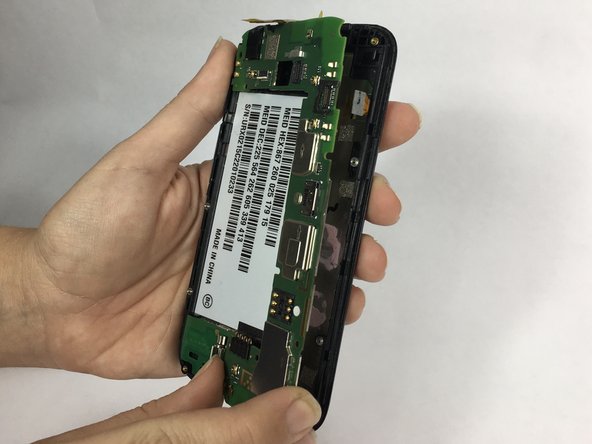
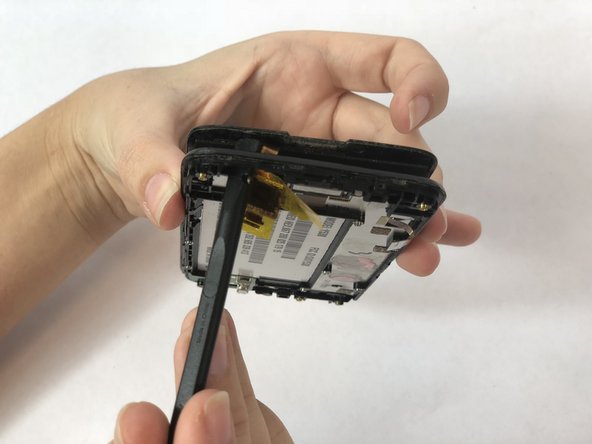
Wedge the flat end of a spudger underneath the motherboard and pry upwards to separate it from the frame.
-
-
Dieser Schritt ist noch nicht übersetzt. Hilf mit, ihn zu übersetzen!
-
Using an iOpener heat source tool, warm the screen of the phone to loosen adhesive of the screen.
-
-
Dieser Schritt ist noch nicht übersetzt. Hilf mit, ihn zu übersetzen!
-
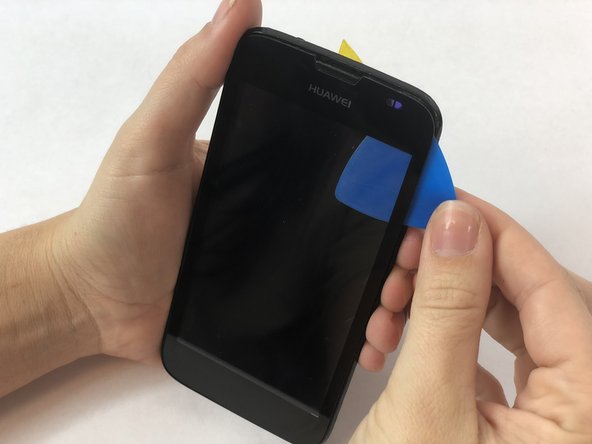
Wedge an opening pick underneath the screen and slowly work your way around the screen.
-
-
Dieser Schritt ist noch nicht übersetzt. Hilf mit, ihn zu übersetzen!
-
Using multiple Opening Picks, work your way around the edges making sure not to place too much pressure at any one point.
-
With each pass, move the Opening Pick further to complete separation.
-
-
Dieser Schritt ist noch nicht übersetzt. Hilf mit, ihn zu übersetzen!
-
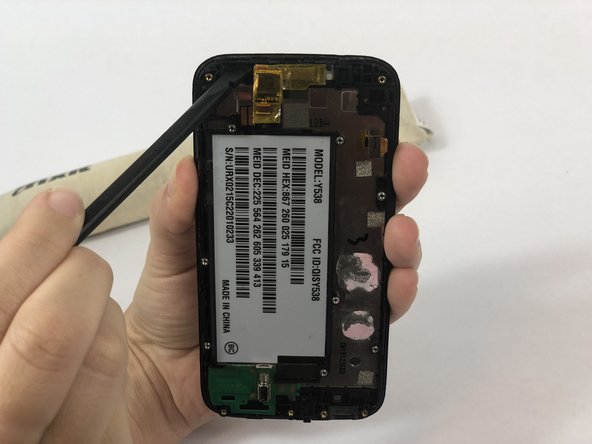
Once screen is sufficiently separated, holding the sides of the frame firmly, use the Spudger to press through the small access window to the screen at the top let and completely separate the screen from the frame.
-
-
Dieser Schritt ist noch nicht übersetzt. Hilf mit, ihn zu übersetzen!
-
Pull screen away from frame making sure the ribbon cable stays attached.
-


Team

USF Tampa, Team S1-G1, Nance Spring 2018 Mitglied von USF Tampa, Team S1-G1, Nance Spring 2018
USFT-NANCE-S18S1G1
4 Mitglieder
12 Anleitungen geschrieben