Was du brauchst
-
-
Take off the back covering of the phone along with the battery and SIM card.
-
The SIM card is located above the battery.
-
-
-
Using the Phillips #00 Screwdriver, take out the four small screws located at the four corners of the phone.
-
-
-
Using the same screwdriver, take out the two bigger screws located on each side of the battery compartment.
-
NOTE: Save the screws. They will be needed for reassembly.
-
-
-
-
Once all the screws are removed, use the iPod opening tool to pry off the back covering of the phone along the edge of the back cover and you will have access to the motherboard.
-
Note: The power and volume buttons will fall out of the phone. Set aside for reassembly.
-
-
-
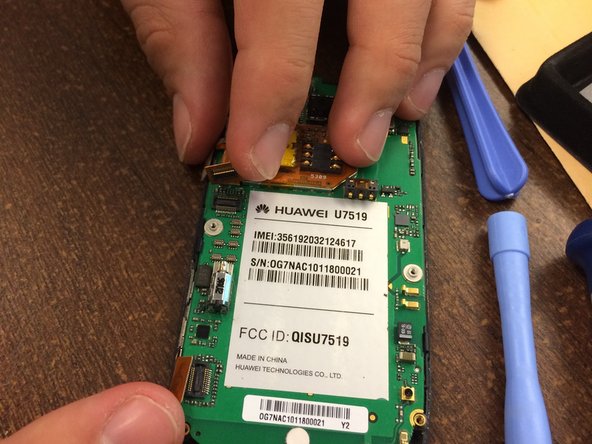
To remove front encasing from the motherboard, first pull back the orange tabs.
-
-
-
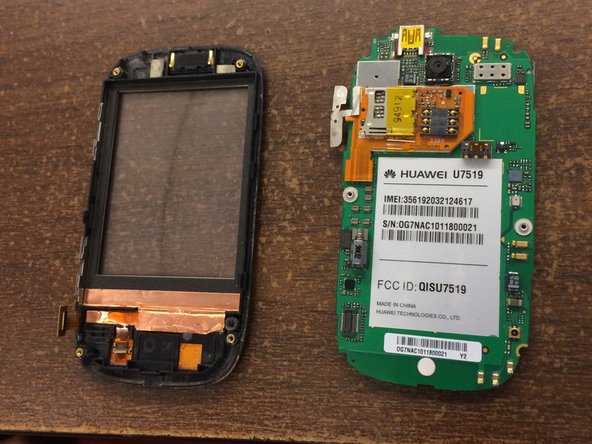
Once the orange tabs are pulled back, carefully pull the motherboard apart from the front casing.
-
-
-
The camera is not removable from the motherboard. Therefore, a new motherboard must be purchased in order to replace the camera.
-


To reassemble your device, follow these instructions in reverse order.
To reassemble your device, follow these instructions in reverse order.
Rückgängig: Ich habe diese Anleitung nicht absolviert.
2 weitere Nutzer:innen haben diese Anleitung absolviert.
Team

Ohio State, Team 1-1, Meza Spring 2014 Mitglied von Ohio State, Team 1-1, Meza Spring 2014
OSU-MEZA-S14S1G1
4 Mitglieder
6 Anleitungen geschrieben