Einleitung
After a few months blending smoothies, the Impuls blender stopped working. We knew this might be the end of this cheap blender and tend to buy a new one. However fixing the blender is even cheaper than buying a new one and makes you feel good. That is why we started opening the blender and get to the inside to be able to use it again.
Was du brauchst
-
-
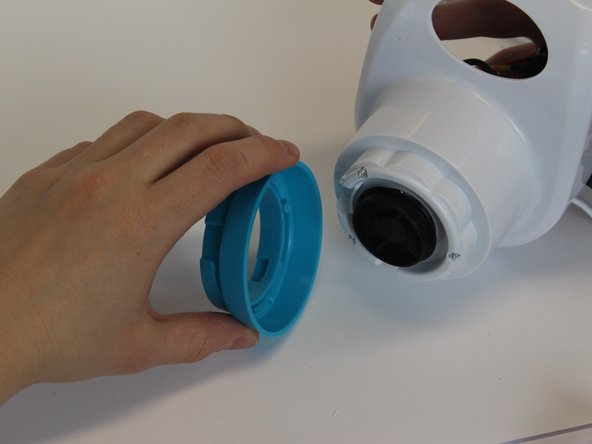
Here you see the Impuls blender
-
First, seperate the the blender jar from the bottom part by turning it and put it aside.
-
-
-
Turn the bottom part over and look at the bottom.
-
Take the rubber parts out of the 4 holes to reveal the screws.
-
Take the 4 screws out using a Phillips screwdriver.
-
-
-
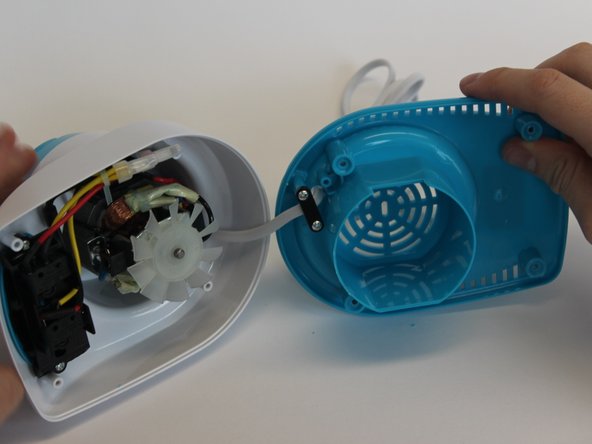
Take the blue bottom part off the rest of the product to reveal the inside.
-
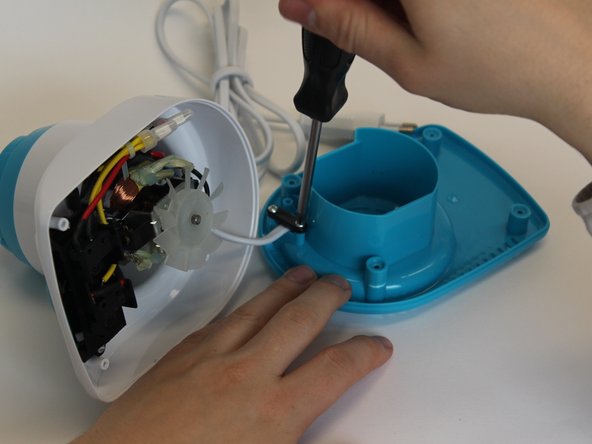
Unscrew the black piece to be able to slide the blue part away from the rest.
-
-
-
-
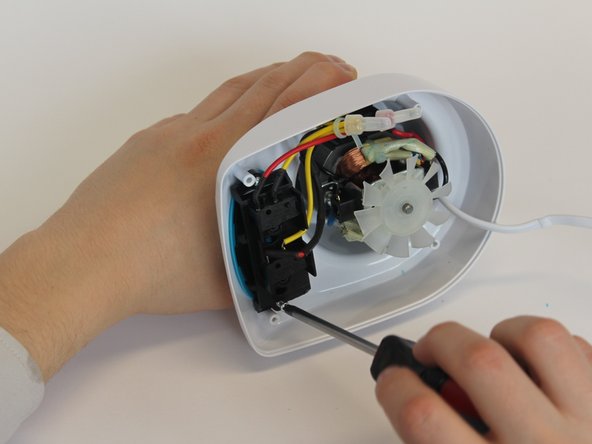
When you look to the inside, you see that there are two components; the buttons and the motor.
-
Unscrew the part that contains the buttons and take it off.
-
-
-
Take out the 3 screws that are deep inside.
-
Take off the blue part on top that was fixed with those screws.
-
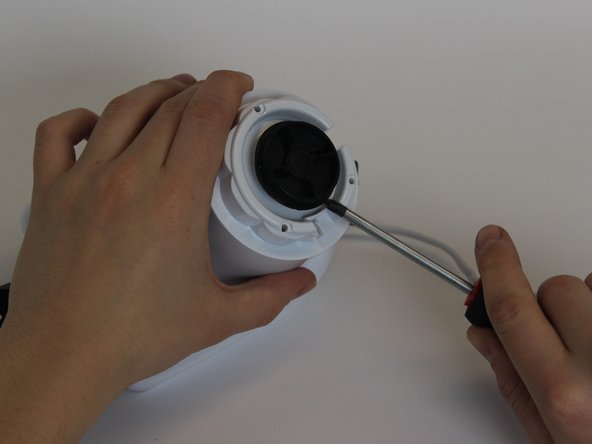
Pull the black disc out by using the screwdriver as lever from multiple sides.
-
-
-
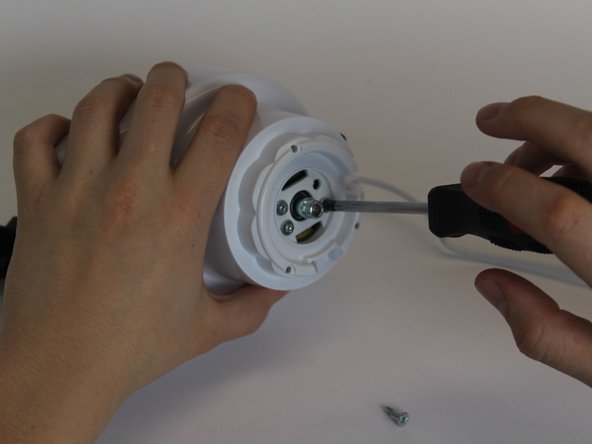
When you have taken off the black piece and revealed the 4 screws, unscrew them all.
-
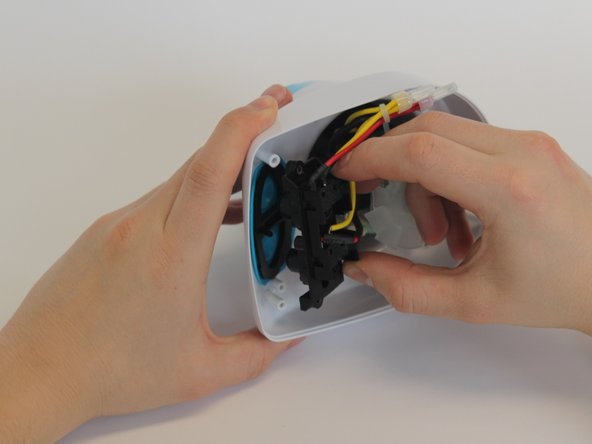
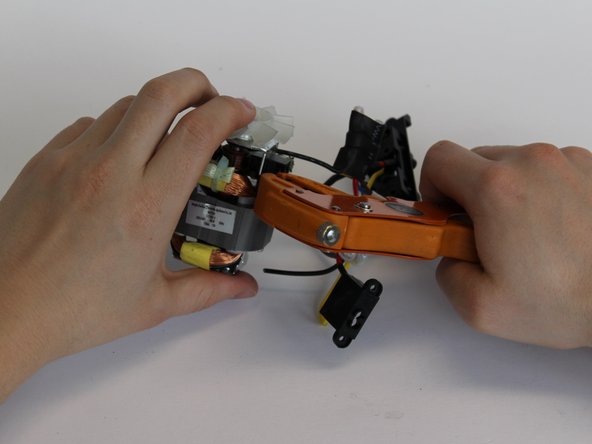
Take out the motor part and the rest of the electronics.
-
-
-
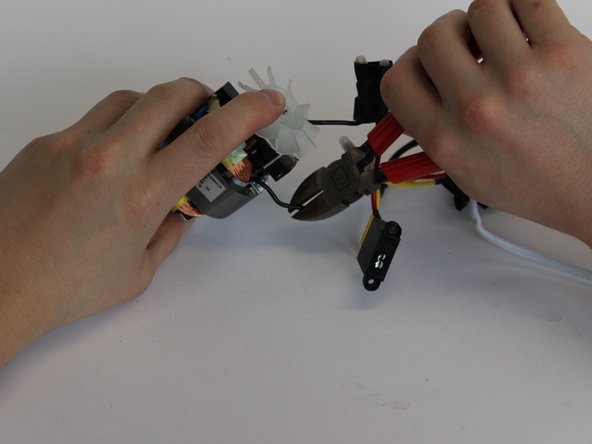
Find the fraction in the wire.
-
Cut off the broken part
-
Strip both sides of the wire that have to be attached again.
-
-
-
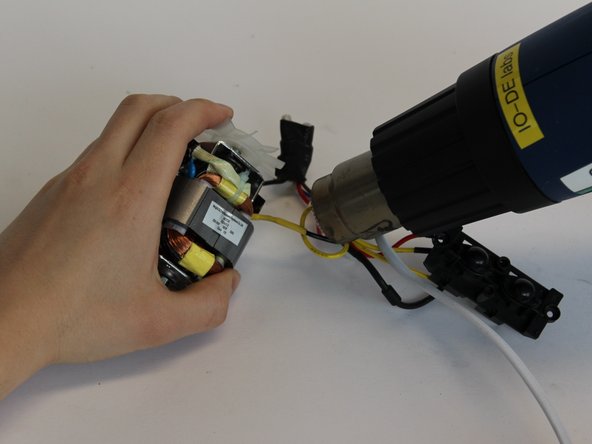
If you will use a shrink sleeve to cover the electronic wire, it has to be put on the wire first. Otherwise if electrical tape is used, this can be done afterwards.
-
Solder the two wires with a soldering iron.
-
Shrink the sleeve with a heater or put the electrical tape around the soldered wire.
-


To reassemble your device, follow the instructions in reverse order.
To reassemble your device, follow the instructions in reverse order.
Rückgängig: Ich habe diese Anleitung nicht absolviert.
Eine weitere Person hat diese Anleitung absolviert.
Team

Delft University of Technology, Team S1-G10, Flipsen Spring 2017 Mitglied von Delft University of Technology, Team S1-G10, Flipsen Spring 2017
TUD-FLIPSEN-S17S1G10
3 Mitglieder
1 Anleitung geschrieben