Einleitung
You will need knowledge of how to use a soldering iron station. For more information regarding soldering visit: Soldering Skills
Take caution with the wires. Do not tug and pull on them with excess force.
Ensure that the hand held monitor is off and unplugged prior to starting this guide.
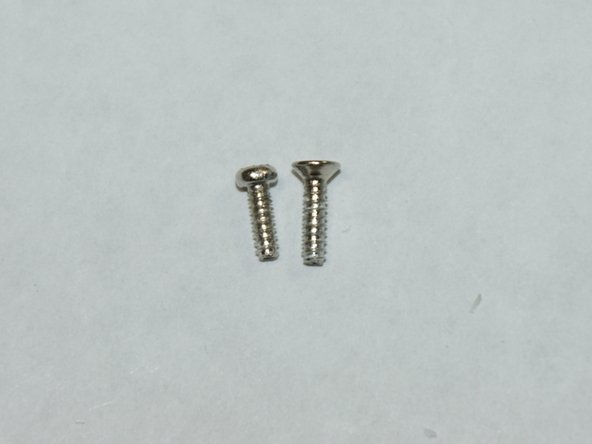
Secure screws to avoid losing them.
Screws are small and can pose a possible choking hazard for small children.
Was du brauchst
-
-
Remove the battery by pushing in on the right side and then pulling the battery up and out of the body of the hand held monitor.
-
-
-
-
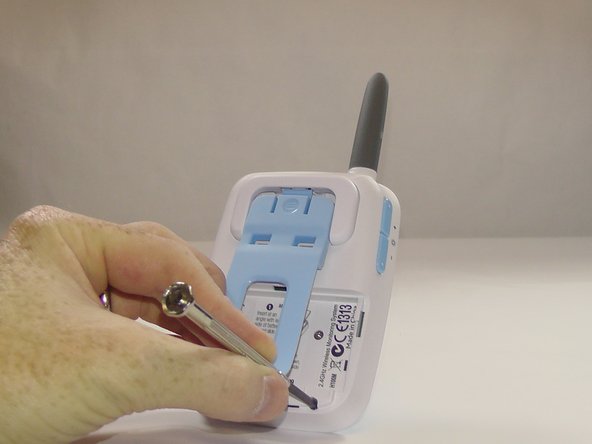
Remove the four 6.0 mm Phillips screws located on the back of the hand held monitor using a Phillips #2 screwdriver.
-
-
-
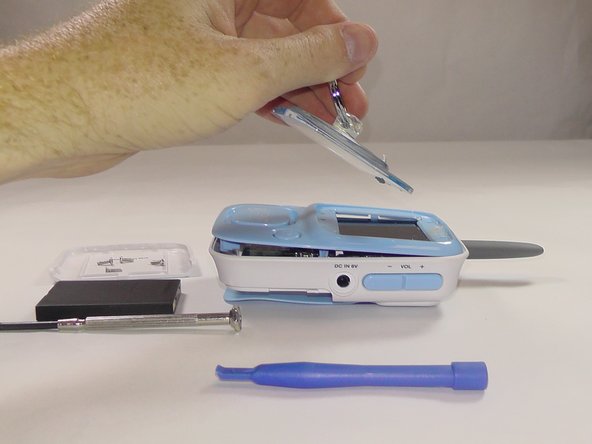
Carefully remove the clear face plate on the front of the hand held monitor using a plastic spudger and a suction cup.
-
-
-
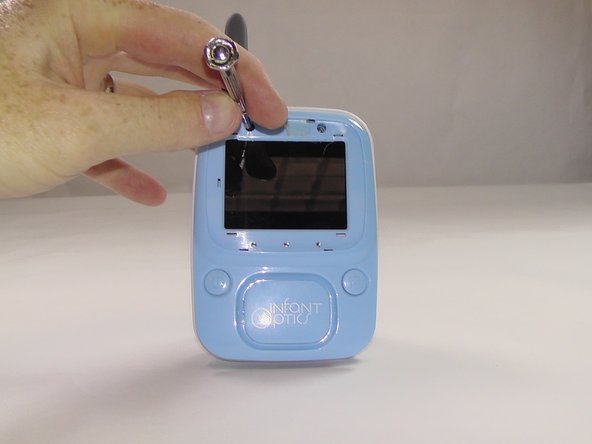
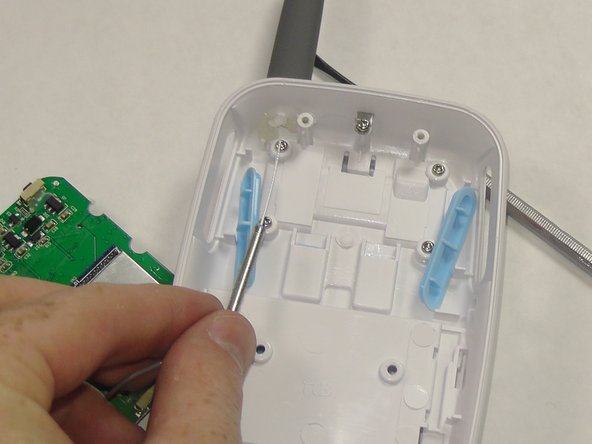
Using a Phillips #2 screwdriver, remove the two 6.0 mm Phillips screws that are exposed after removing the face plate.
-
-
-
Using a drill carefully drill out the plastic posts that connect the mother board to the face plate.
-
-
-
Carefully open the hand held monitor and flip the screen (highlighted in red) out of the way.
-
-
-
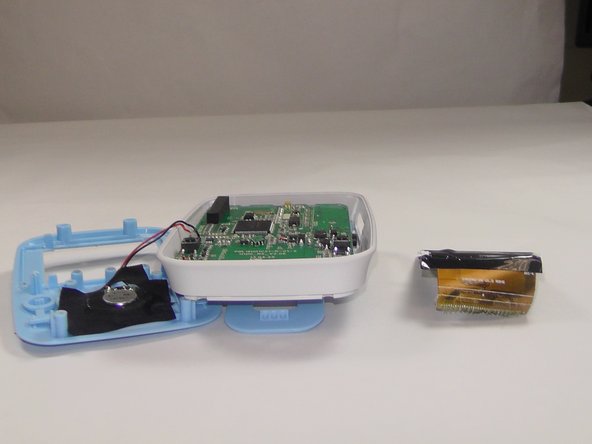
Remove the hand held monitor screen from the mother board by carefully pulling from the point where it is attached with an adhesive to the mother board.
-
-
-
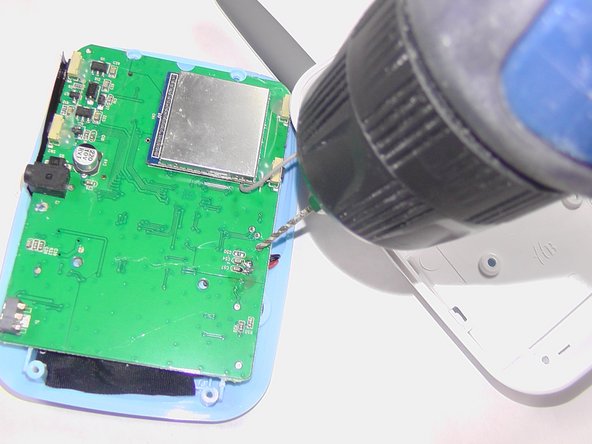
Using a soldering iron remove the leads from the speaker on the front plate of the hand held monitor.
-
-
-
Remove the adhesive around the antenna wire.
-
Remove the antenna wire from the back plate of the hand held monitor.
-


To reassemble your device, follow these instructions in reverse order.
To reassemble your device, follow these instructions in reverse order.
Rückgängig: Ich habe diese Anleitung nicht absolviert.
3 weitere Nutzer:innen haben diese Anleitung absolviert.
Team

USF Tampa, Team 6-2, Remmell Fall 2015 Mitglied von USF Tampa, Team 6-2, Remmell Fall 2015
USFT-REMMELL-F15S6G2
5 Mitglieder
5 Anleitungen geschrieben
Ein Kommentar
Great pictures! They enabled me to find the two hidden screws. I removed them (and the other obvious screws) and then bent charging pin back to intended position. The monitor is now charging again! Thanks!!