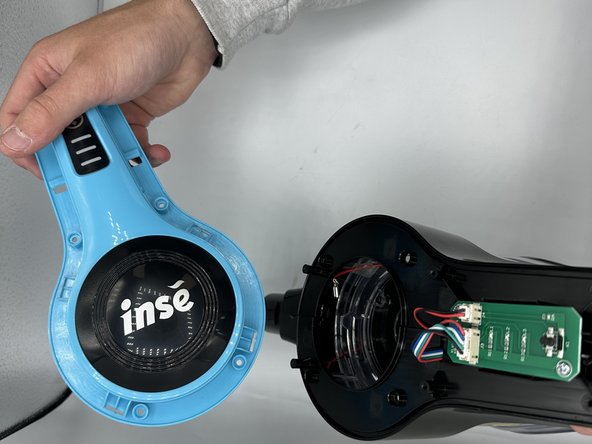
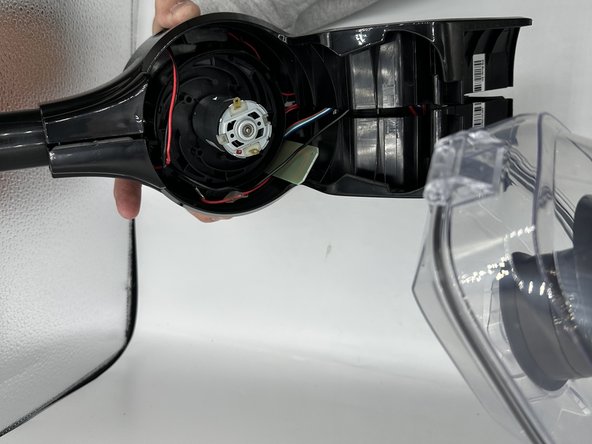
Zum Hauptinhalt wechseln

Inse N500 Dustbin Replacement

Was du brauchst

  1. Inse N500 Dustbin Replacement, Dustbin: Schritt 1, Bild 1 von 3 Inse N500 Dustbin Replacement, Dustbin: Schritt 1, Bild 2 von 3 Inse N500 Dustbin Replacement, Dustbin: Schritt 1, Bild 3 von 3
    • Unclip the plastic band from the vacuum head.

  2. Inse N500 Dustbin Replacement: Schritt 2, Bild 1 von 2 Inse N500 Dustbin Replacement: Schritt 2, Bild 2 von 2
    • Remove six 6 mm screws using a Phillips #0 screwdriver.

  3. Inse N500 Dustbin Replacement: Schritt 3, Bild 1 von 2 Inse N500 Dustbin Replacement: Schritt 3, Bild 2 von 2
    • Remove the vacuum head guard.

  4. Inse N500 Dustbin Replacement: Schritt 4, Bild 1 von 2 Inse N500 Dustbin Replacement: Schritt 4, Bild 2 von 2
    • Remove the ten 4 mm screws using a Phillips #0 screwdriver.

    • There are five screws on each side of the vacuum.

  5. Inse N500 Dustbin Replacement: Schritt 5, Bild 1 von 2 Inse N500 Dustbin Replacement: Schritt 5, Bild 2 von 2
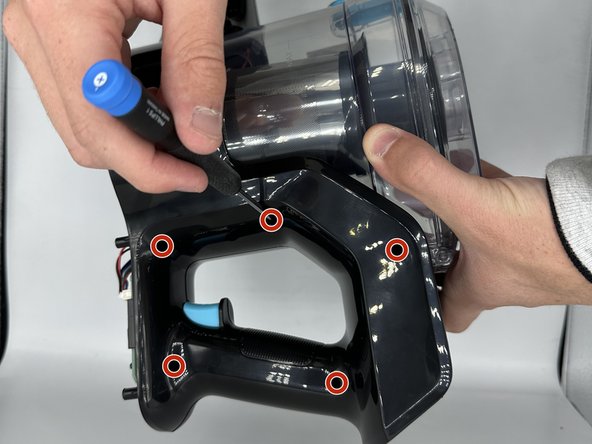
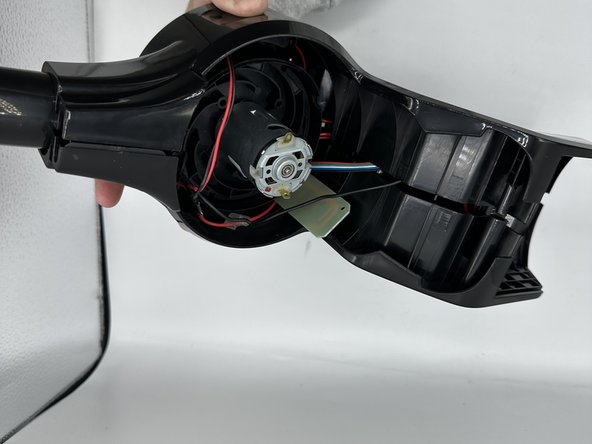
    • Remove the single 4 mm screw from the circuit board using a Phillips #0 screwdriver.

  6. Inse N500 Dustbin Replacement: Schritt 6, Bild 1 von 2 Inse N500 Dustbin Replacement: Schritt 6, Bild 2 von 2
    • Unfasten the remaining clips.

  7. Inse N500 Dustbin Replacement: Schritt 7, Bild 1 von 3 Inse N500 Dustbin Replacement: Schritt 7, Bild 2 von 3 Inse N500 Dustbin Replacement: Schritt 7, Bild 3 von 3
    • Remove the dustbin.

Abschluss

To reassemble your device, follow these instructions in reverse order.

Eine weitere Person hat diese Anleitung absolviert.

Team

0 Kommentare

Kommentar hinzufügen

Seitenaufrufe:

Letzte 24 Stunden: 0

Letzte 7 Tage: 1

Letzte 30 Tage: 10

Insgesamt: 58