Einleitung
The Insignia Flex 10.1 NS-P10W8100 left speaker is located under a ZIF connectors from the motherboard. Although the ZIF connector does not connect to the speaker, it is good practice to remove the ZIF connector so the speaker will not damage it.
Was du brauchst
-
-
Carefully open the laptop and remove the keyboard by disconnecting it.
-
Place keyboard to the side as you will not need it.
-
-
-
Lay the screen flat on its surface and use the iFixit opening tool to remove the cover by gently prying the back cover from the screen.
-
-
-
Use your fingers and pry the back cover from the screen. You may need to wiggle the cover a bit to separate the pieces.
-
If the back cover does not come off work your fingers around the corners and slowly pry the cover off.
-
-
-
-
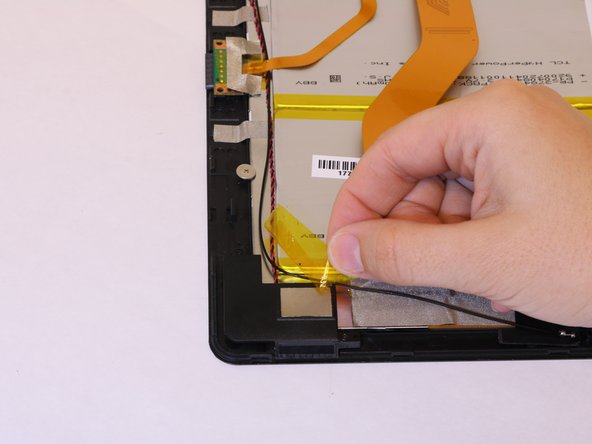
Using a fingernail, gently pull back on the yellow tape holding the speaker wire in place.
-
Looking on the right side of the device remove the second piece of tape the same way.
-
-
-
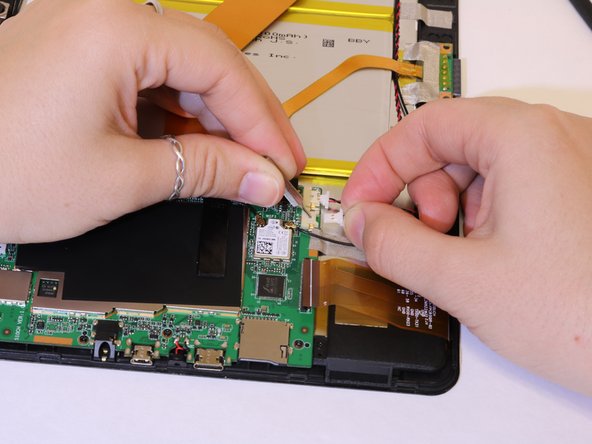
Remove the black tape covering the ribbon connector.
-
Then use a fingernail to lift up the black edge on top of the ribbon connector.
-
-
-
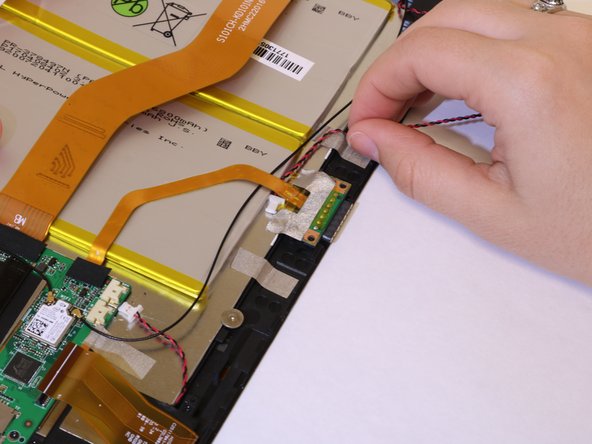
Gently pull on the speaker wire connector from the motherboard.
-
Then continue to slide the cable gently to clear it from other components.
-
The longer speaker wire has to be removed from under the smaller ribbon wire connected to the keyboard connector.
-
-
-
Using a Phillips #2 screwdriver, remove the two 4 mm screws holding the speakers in place.
-


To reassemble your device, follow these instructions in reverse order.
To reassemble your device, follow these instructions in reverse order.
Team

Western Carolina University, Team S1-G2, Virtue Spring 2019 Mitglied von Western Carolina University, Team S1-G2, Virtue Spring 2019
WCU-VIRTUE-S19S1G2
4 Mitglieder
5 Anleitungen geschrieben