Einleitung
This guide will show the steps required to disassemble an Insignia Ice Maker and replace the fan inside. It should take approximately 5-10 minutes.
Was du brauchst
-
-
-
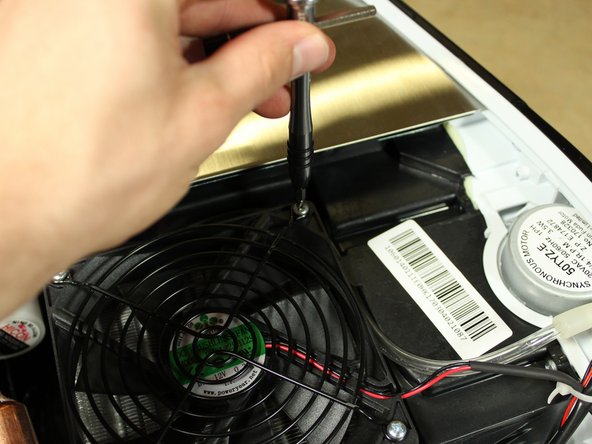
Locate the fan on the side of the Ice maker and undo the 4 screws holding it in place.
-
-
-
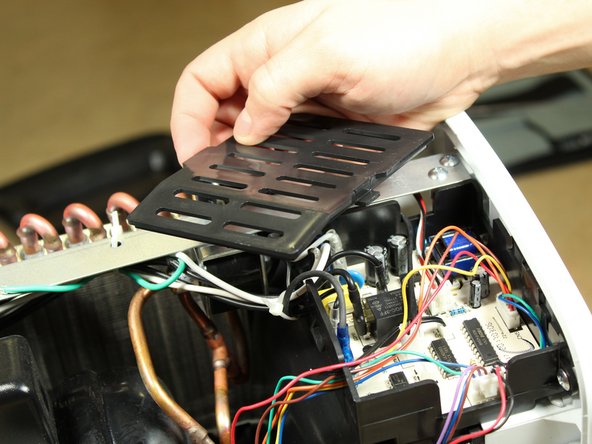
Remove the cover from the circuit board by pressing against the lever to the side. A pry tool may be needed.
-
-
-
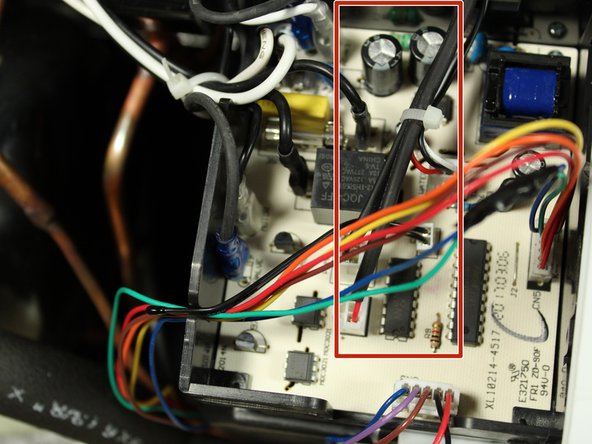
Follow the fan's power cable and unplug.
-
You may have to cut a zip tie holding the cable in place.
-


To reassemble your device, follow these instructions in reverse order.
To reassemble your device, follow these instructions in reverse order.
Rückgängig: Ich habe diese Anleitung nicht absolviert.
Ein:e weitere:r Nutzer:in hat diese Anleitung absolviert.

Team

Cal Poly, Team S21-G3, Banghart Winter 2018 Mitglied von Cal Poly, Team S21-G3, Banghart Winter 2018
CPSU-BANGHART-W18S21G3
2 Mitglieder
5 Anleitungen geschrieben