Zum Hauptinhalt wechseln

Installing a Petsafe Removable Dog Panel

Was du brauchst

  1. Installing a Petsafe Removable Dog Panel, Petsafe Dog Panel: Schritt 1, Bild 1 von 1
    • Make sure you have all the tools necessary.

  2. Installing a Petsafe Removable Dog Panel: Schritt 2, Bild 1 von 1
    • Receive your PetSafe dog door in the mail.

  3. Installing a Petsafe Removable Dog Panel: Schritt 3, Bild 1 von 2 Installing a Petsafe Removable Dog Panel: Schritt 3, Bild 2 von 2
    • Measure the height of the sliding glass door frame.

  4. Installing a Petsafe Removable Dog Panel: Schritt 4, Bild 1 von 3 Installing a Petsafe Removable Dog Panel: Schritt 4, Bild 2 von 3 Installing a Petsafe Removable Dog Panel: Schritt 4, Bild 3 von 3
    • Remove your lock latch from the sliding door frame.

    • Lock latches may vary

  5. Installing a Petsafe Removable Dog Panel: Schritt 5, Bild 1 von 2 Installing a Petsafe Removable Dog Panel: Schritt 5, Bild 2 von 2
    • Slide the top of your dog panel into the top track of the sliding glass door.

    • Place the bottom portion of the dog panel into the bottom track of the sliding glass door.

  6. Installing a Petsafe Removable Dog Panel: Schritt 6, Bild 1 von 2 Installing a Petsafe Removable Dog Panel: Schritt 6, Bild 2 von 2
    • Measure 12” from the top, down the side of your sliding glass door frame and mark it.

    • Mark 1” above the pet flap onto the edge of your sliding glass door.

  7. Installing a Petsafe Removable Dog Panel: Schritt 7, Bild 1 von 3 Installing a Petsafe Removable Dog Panel: Schritt 7, Bild 2 von 3 Installing a Petsafe Removable Dog Panel: Schritt 7, Bild 3 von 3
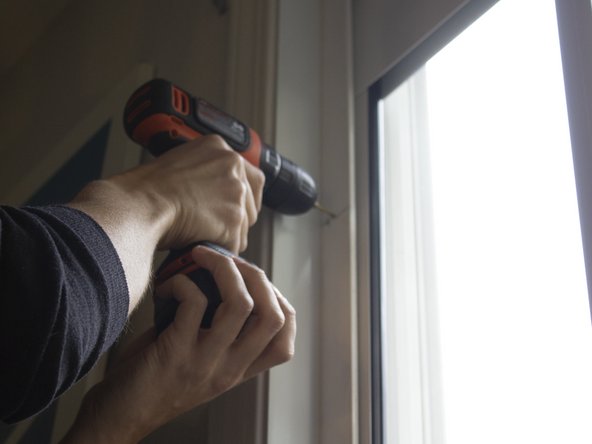
    • With a 9/64ths drill bit, drill clearance holes into the marks made on the sliding glass door frame

    • DO NOT GO THROUGH THE DOG PANEL

  8. Installing a Petsafe Removable Dog Panel: Schritt 8, Bild 1 von 3 Installing a Petsafe Removable Dog Panel: Schritt 8, Bild 2 von 3 Installing a Petsafe Removable Dog Panel: Schritt 8, Bild 3 von 3
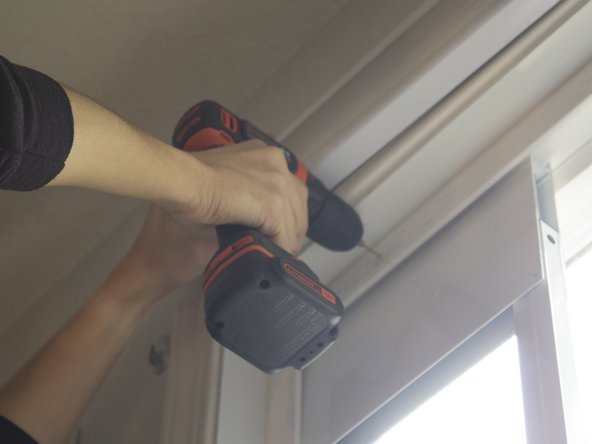
    • Fasten the panel to the interior side of the sliding glass frame with the provided ⅝” screws.

    • MAKE SURE YOU ARE DRILLING OUTSIDE OF THE RIBBED LINE ON THE DOG PANEL.

    • DO NOT OVERTIGHTEN.

  9. Installing a Petsafe Removable Dog Panel: Schritt 9, Bild 1 von 2 Installing a Petsafe Removable Dog Panel: Schritt 9, Bild 2 von 2
    • Tighten the screws with a screwdriver.

  10. Installing a Petsafe Removable Dog Panel: Schritt 10, Bild 1 von 3 Installing a Petsafe Removable Dog Panel: Schritt 10, Bild 2 von 3 Installing a Petsafe Removable Dog Panel: Schritt 10, Bild 3 von 3
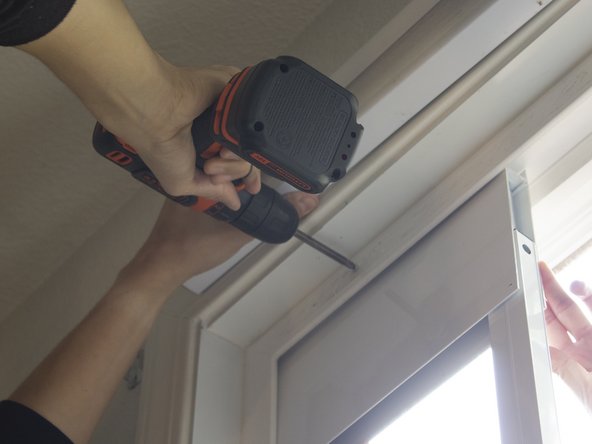
    • Repeat steps 8 and 9 to secure the dog panel into place. Follow these steps when drilling into the clearance hole marked at the top of the frame.

  11. Installing a Petsafe Removable Dog Panel: Schritt 11, Bild 1 von 1
    • Slide your sliding door flush against the dog door.

Abschluss

To reassemble your device, follow these instructions in reverse order.

Eine weitere Person hat diese Anleitung absolviert.

Joshua Novello

Mitglied seit: 10/26/18

196 Reputation

1 Anleitung geschrieben

Team

UC Davis, Team S1-G1, Bender Fall 2018 Mitglied von UC Davis, Team S1-G1, Bender Fall 2018

UCD-BENDER-F18S1G1

3 Mitglieder

1 Anleitung geschrieben

2 Kommentare

My dog won’t push hard enough for the magnet to open. Is there a way to temporarily remove the magnet on either the frame or the flap?

LisaD - Antwort

LisaD put a piece of masking tape over the magnet or a couple of layers of tape to make it easier to open maybe?

Robert Merry -

Kommentar hinzufügen

Seitenaufrufe:

Letzte 24 Stunden: 3

Letzte 7 Tage: 10

Letzte 30 Tage: 34

Insgesamt: 1,186