Einleitung
Diese Anleitung zeigt dir, wie du den Intel NUC8i7BEH zerlegst. Du kannst diese Anleitung auch benutzen, wenn du einen anderen Intel NUC mit der gleichen Bauform hast.
Was du brauchst
-
-
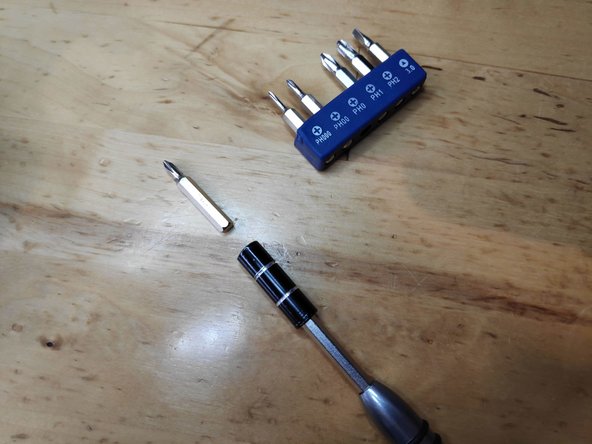
Stelle den NUC auf den Kopf, um die Schrauben zu sehen, und suche einen PH2 Kreuzschlitzschraubendreher/-bit heraus.
-
-
-
Lockere die unteren Schrauben an der unteren Gehäuseklappe mit einem Kreuzschlitzschraubendreher/-bit #2.
-
Die Schrauben können nicht komplett herausgenommen werden und werden daher auch nicht herausfallen, wenn du den Deckel aufklappst.
-
-
-
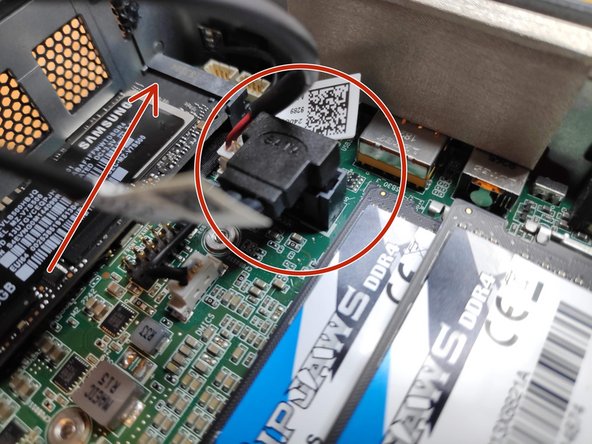
Hebe die Abdeckung leicht an und behalte die Kabel vom Motherboard im Auge. Diese Kabel sind für die Stromzufuhr und Dateiübertragung des 2,5" HDD Slots.
-
Trenne die Kabel vorsichtig vom Motherboard ab und lege die HDD-Halterung beiseite.
-
Auf dem letzten Bild ist der Steckplatz für eine SSD mit einem roten Pfeil markiert. Hier würdest du eine Blade-SSD einbauen und sie mit einer Schraube befestigen.
-
-
-
Wechsel zu dem PH1 Bit.
-
Schraube die V-NAND SSD ab und schiebe sie vorsichtig aus ihrem Anschluss.
-
-
-
-
Entferne die WiFi- und Bluetooth-Antennenkabel. Sei dabei äußerst vorsichtig, da sonst der Anschluss vom Motherboard beschädigt werden kann.
-
Trenne das Stereo-Mikrofonkabel vom Motherboard.
-
Achte auf das WiFi-Kabel, das unter einem schwarzen Stück Klebeband versteckt ist.
-
-
-
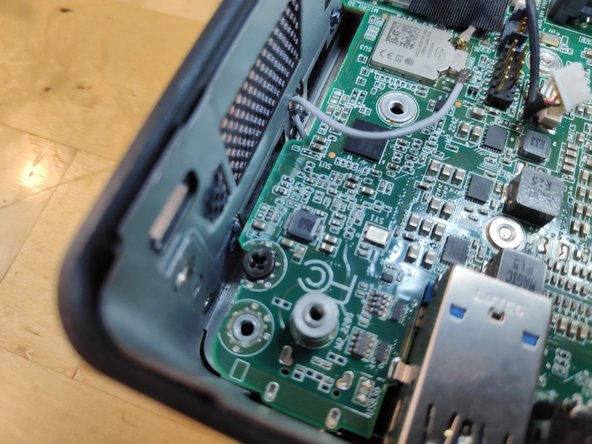
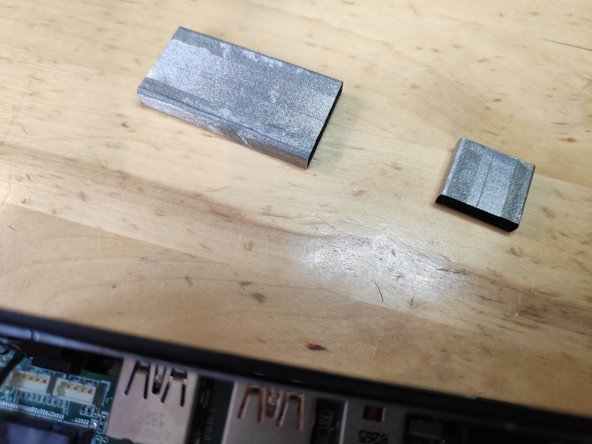
Nicht alle Polster sind zwingend notwendig, nur die beiden Polster auf dem letzten Bild sind wichtig.
-
-
-
Heble das Motherboard mit einem geeigneten Tool (Plastik) aus dem Gehäuse.
-
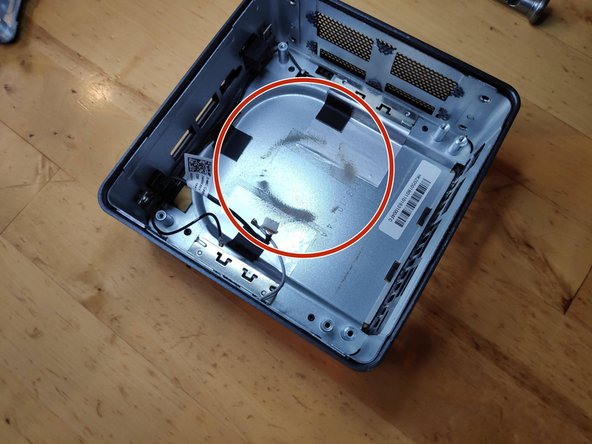
Rot eingekreist sind die Anzeichen von Staub, die sofort zu sehen sind.
-


Um dein Gerät wieder zusammenzubauen, folge den Schritten dieser Anleitung in umgekehrter Reihenfolge.
Um dein Gerät wieder zusammenzubauen, folge den Schritten dieser Anleitung in umgekehrter Reihenfolge.
Rückgängig: Ich habe diese Anleitung nicht absolviert.
31 weitere Nutzer:innen haben diese Anleitung absolviert.
Besonderer Dank geht an diese Übersetzer:innen:
100%


Diese Übersetzer:innen helfen uns, die Welt zu reparieren! Wie kann ich mithelfen?
Hier starten ›
11 Kommentare
I’ve awarded the 30 points because these how to in steps are just great. One little critic, having read other stuff I understood the later models had greater risks of breaking things because of the more complicated wifi and mic cables, and these steps could have been better explained, like do the wifi cables plug in or slide off a splade like connection, and what can I use as a pry tool from around the house. These are the frightening steps to someone who has not done this unit before, while just about everything else isn’t much different to opening and taking parts out of a laptop.
Thank You, I was having fan noise issues with my NUCi7BEH and was trying to figure out how to pop the MOBO from the case.
This guide was fantastic, loads of dust collected on the heat sink, clean air and it seems to be running great now.
Ave temp before this clean out was 65ºC but would spike from 90-100ºC under any load at all, even the VMs just spinning up.
Now after clean, all is good, temps idle sitting at around 35ºC now and under load about 70º C. Huge difference.
Big Thanks to Vladimir for making this wonderful guide.
Thanks, Vladimir Knobel, for putting together this excellent instruction with video and pictures. I used it to remove and replace my fan. I greatly appreciate it!!
merci, ça m’a bien aidé et j’espère avoir résolu ce pb de ventirad, j’ai pu dépoussiérer. encore merci.