Einleitung
If the device will not charge and you have either tried a different working outlet or a different charger or even replaced the battery in the JBL Flip 5 speaker, you may want to try replacing the charging port.
Was du brauchst
-
-
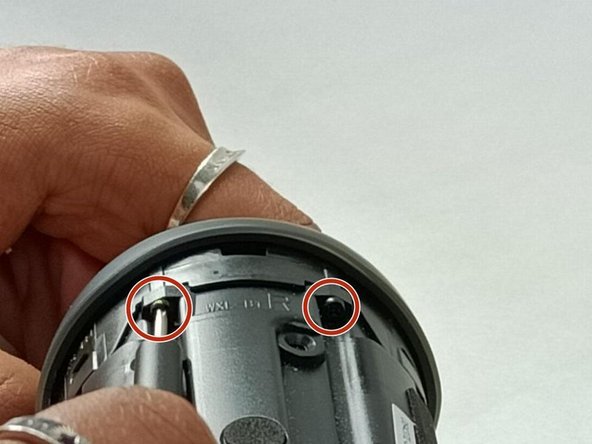
Insert the flat edge of the metal spudger underneath the corner of the outer case.
-
Use the spudger to pry open the plastic clips that secure the outer case.
-
-
-
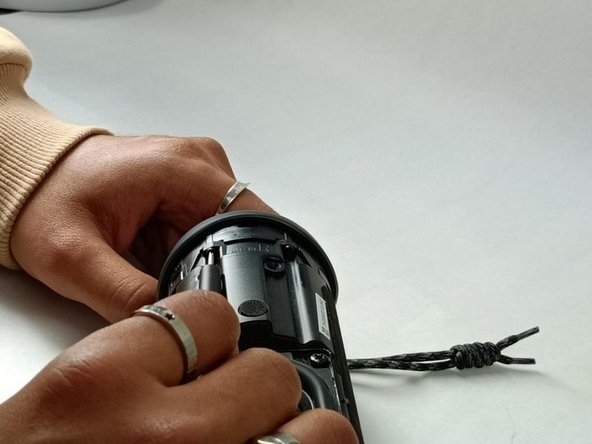
Once all the clips are released, you will be able to pull up that edge of the case.
-
-
-
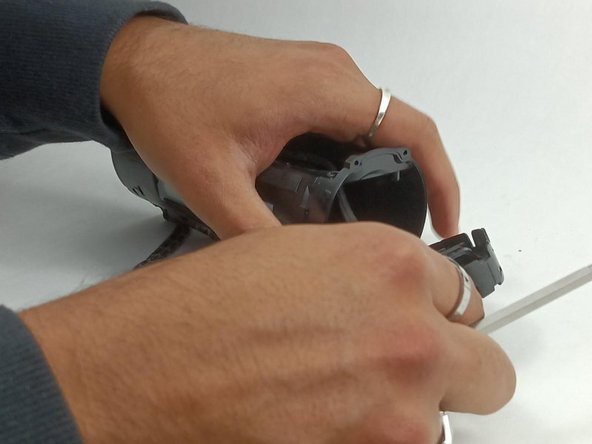
Once one side is released, complete the previous two steps with the other side.
-
-
-
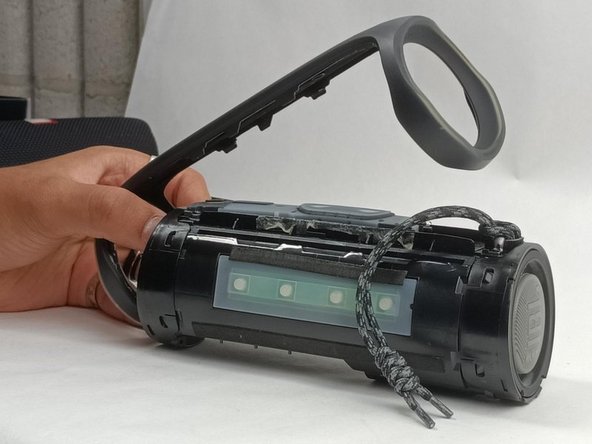
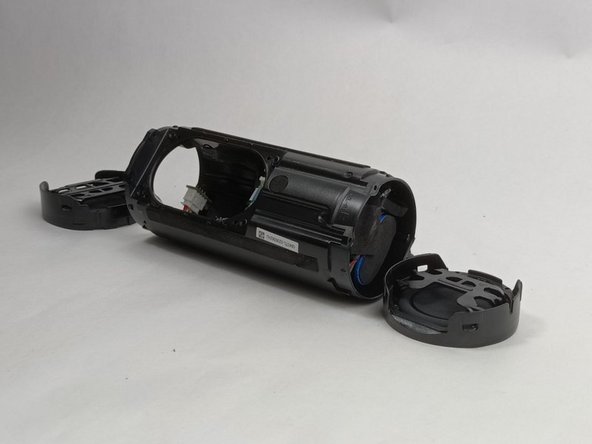
Once all the clips are removed, you can gently remove the outer case.
-
The case is now fully removed. Now a new case will be attached by putting the case into position and pushing on the clips to reattach them.
-
-
-
-
Use a Phillips screwdriver to remove the four 17mm-long screws securing the passive radiator bracket.
-
-
-
Once the screws are removed, use the metal spudger to remove the passive radiator bracket.
-
Set the radiator bracket aside.
-
-
-
Now you must remove the passive radiator.
-
Use the metal spudger to pry upwards to remove the plastic clips holding the passive radiator down.
-
Once the clips are removed, you can pull both of the passive radiators off
-
-
-
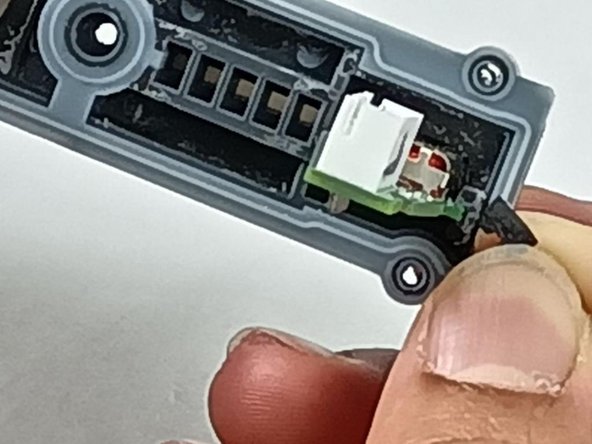
Focus on the side of the speaker where the charging port is located and inspect where the passive radiator was before it was removed.
-
Use your hands to unplug the charging cable that connects the charging port to the motherboard.
-
-
-
Unfasten the four 6 mm-long screws on the component that sits over the charging port.
-
Remove this piece with your hands.
-
-
-
There will be two tape like plastic pieces that hold the charging port's circuit in place.
-
Pull these pieces off and you will be able to pull the charging port and its circuit out.
-


To reassemble your device, follow these instructions in reverse order.
To reassemble your device, follow these instructions in reverse order.
Team

UMass Dartmouth, Team 3-5, Konn Fall 2023 Mitglied von UMass Dartmouth, Team 3-5, Konn Fall 2023
UMASSD-KONN-F23S3G5
4 Mitglieder
5 Anleitungen geschrieben