Einleitung
To complete this guide, you will need to purchase a new battery compartment cover and make sure that you have the tools listed. While it is not necessary to remove the battery to be able to remove the battery cover, it is always good practice to make sure that the device is completely powered off before attempting any repairs.
Was du brauchst
-
-
-
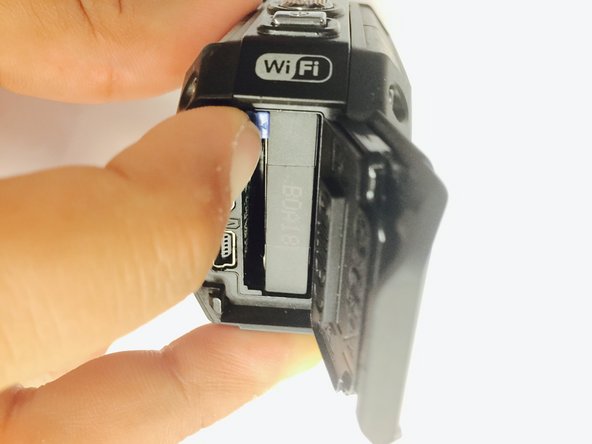
While still pushing down on the black switch, slide back the battery cover (see photo for direction).
-
-
-
Push the cover up to open the battery compartment, and then push the blue battery release switch.
-
-
-
After removing the battery, take out the two Phillips screws (4mm headsize x 3mm length) screws. You can now remove the battery cover.
-


To reassemble your device, follow these instructions in reverse order.
To reassemble your device, follow these instructions in reverse order.
Rückgängig: Ich habe diese Anleitung nicht absolviert.
Ein:e weitere:r Nutzer:in hat diese Anleitung absolviert.
Team

USF Tampa, Team 1-2, Tanski Winter 2015 Mitglied von USF Tampa, Team 1-2, Tanski Winter 2015
USFT-TANSKI-W15S1G2
4 Mitglieder
8 Anleitungen geschrieben