Einleitung
This guide explains how to replace the power button for a JVC XL-333 compact disc player. The steps are fairly simple, and you only need a few basic tools. Most of the steps only require either removing screws or using a spudger (or similar tool) to remove wires that are in the way.
Was du brauchst
-
-
Using your Phillips Head Screwdriver, remove the four screws with the red markup.
-
Then, remove the three orange screws using your screwdriver.
-
-
-
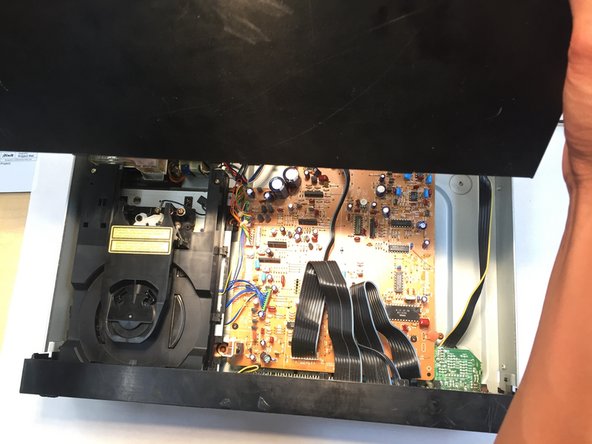
Remove the top of the CD Player by holding each side of the roof then sliding it away from the front of the CD player.
-
-
-
-
The disk reader is located above the power button.
-
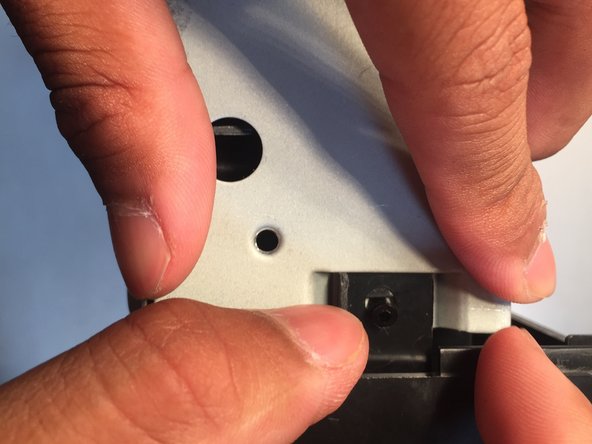
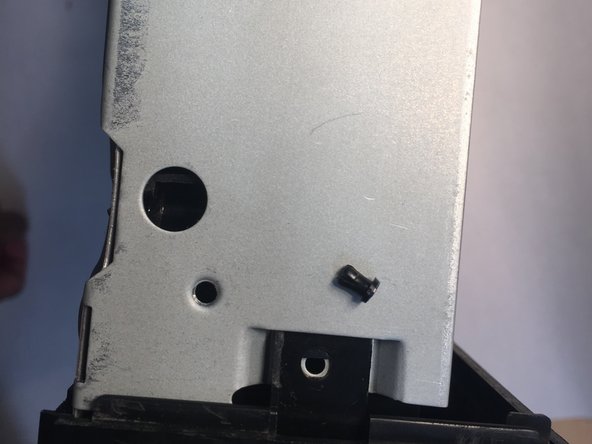
Push out these tabs on both sides of the disk reader.
-
-
-
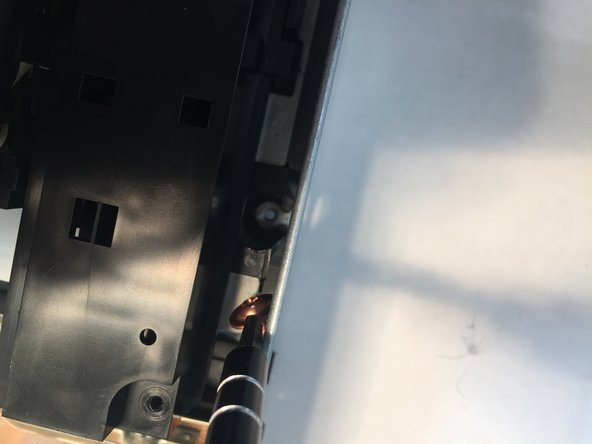
Unscrew the four Phillips copper screws located at the four corners of the disc reader.
-
After the screws are removed, gently pull the disc reader up and out of the CD player.
-
-
-
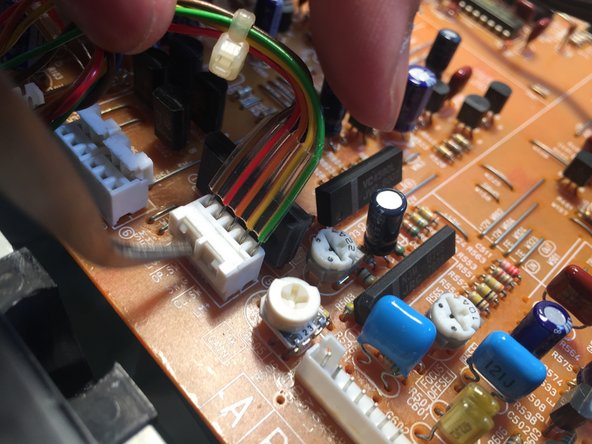
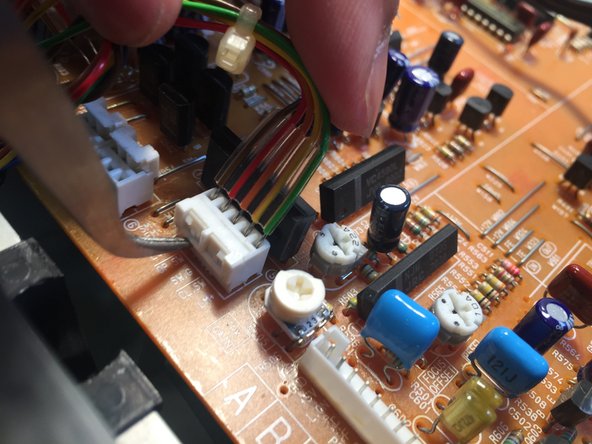
Gently pull up to remove the two bunches of wires with a green connector from the motherboard.
-
Remove the two groups of wires with a white connector by using your spudger or tweezers to pull up on the side of the connector, opposite of the wires. It may require some force
-
-
-
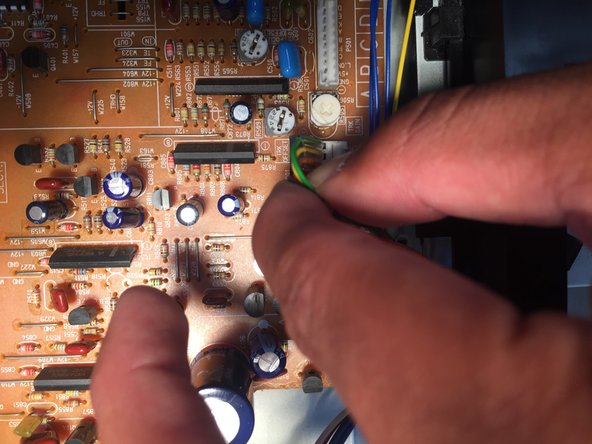
These pictures offer other tricks and guidance on how to remove the wire connectors.
-
move your spudger or tweezer in an upward motion to release the wires.
-
-
-
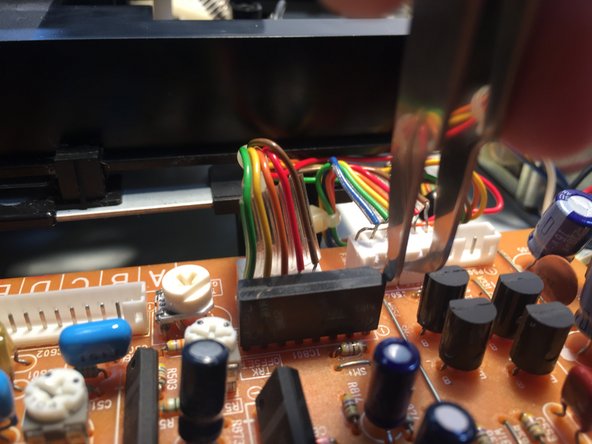
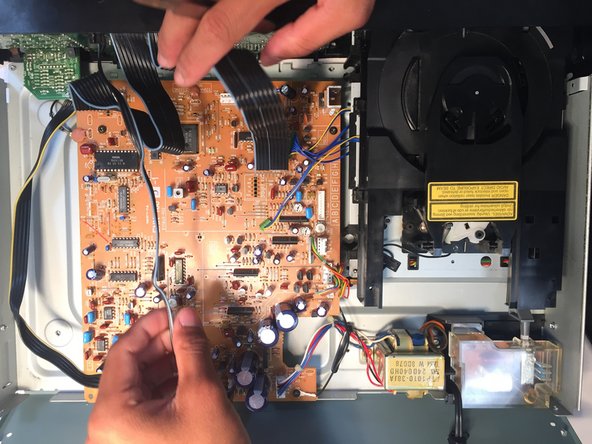
Remove the rest of the wires connecting the motherboard to the CD player with your spudger or tweezers.
-
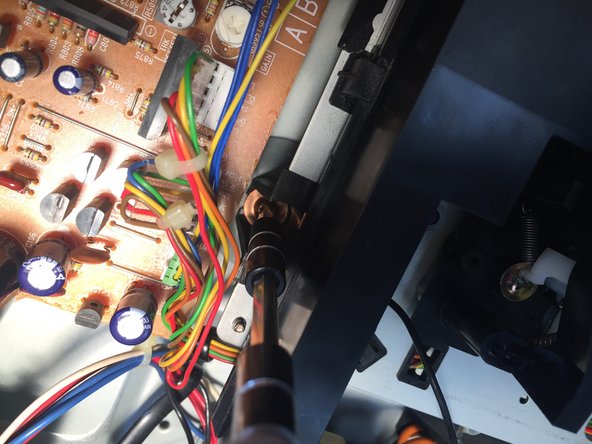
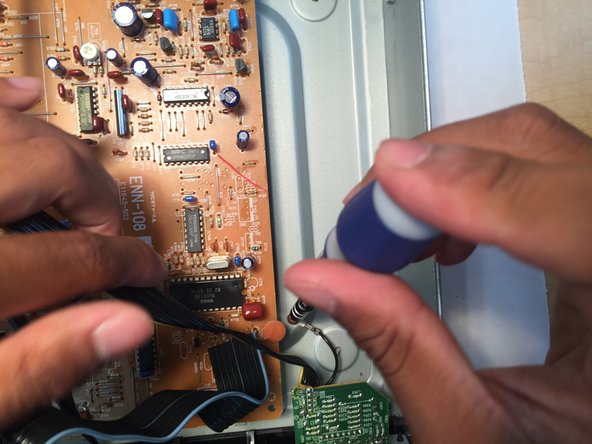
Remove the screw that connects the wire to the motherboard.
-
-
-
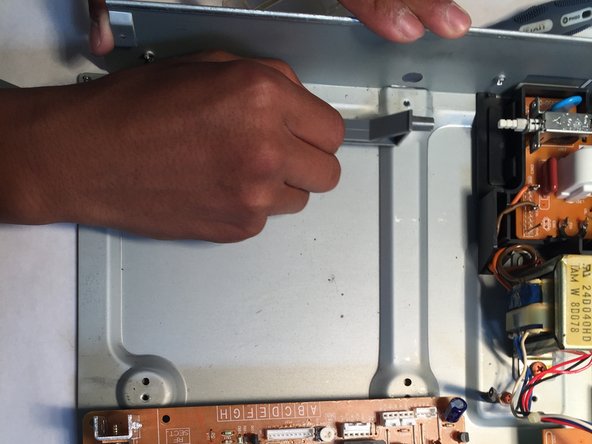
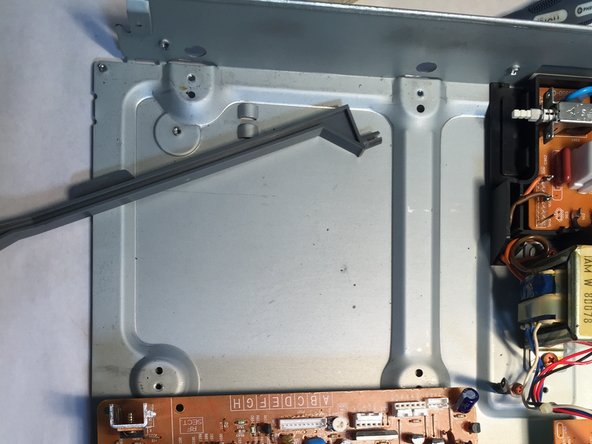
Find the power button trigger on the left side of the CD Player. It should be gray.
-
Push it a couple times to make sure it works. If not hold it 3/4 of the way and pull with some force.
-
Replace with a new one.
-
Replace the motherboard, reattach the cables and repeat the rest of the previous tasks in reverse.
-


To reassemble your device, follow these instructions in reverse order.
To reassemble your device, follow these instructions in reverse order.

Team

Central Coast New Tech High, Team 5-4, Rushing Spring 2016 Mitglied von Central Coast New Tech High, Team 5-4, Rushing Spring 2016
CCNTH-RUSHING-S16S5G4
2 Mitglieder
1 Anleitung geschrieben