Einleitung
The chosen product is the KPN Arizona Comfort phone. This repair manual guides you step by step through the repair of the speaker of the KPN Arizona Comfort phone. This is a easy guide and will take approximately 30 minutes. At the end of this guide you will be able to repair the speaker of your phone by replacing the component. Something that might be challenging is that you have to put a lot of effort for some parts.
In the inner part of the product might not be sturdy so you could break apart when taking the device apart.
Was du brauchst
-
-
Hold the phone with one hand and apply a slight pressure on the battery lid with your other hand.
-
Now you can slide open the battery lid.
-
-
-
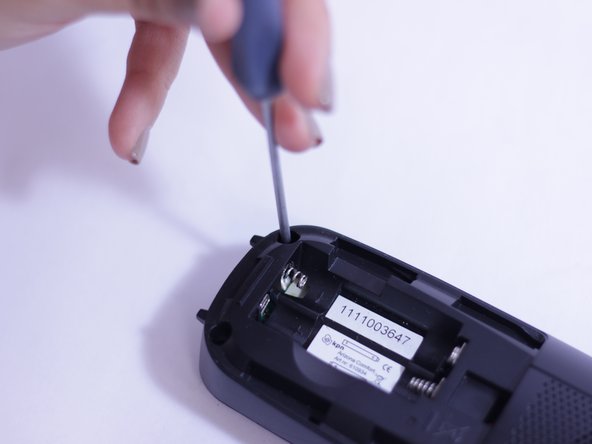
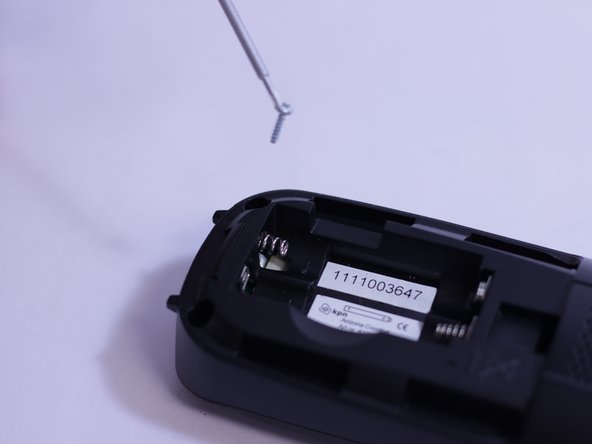
Remove the following two Phillips #00 screws securing the back casing to the front.
-
-
-
-
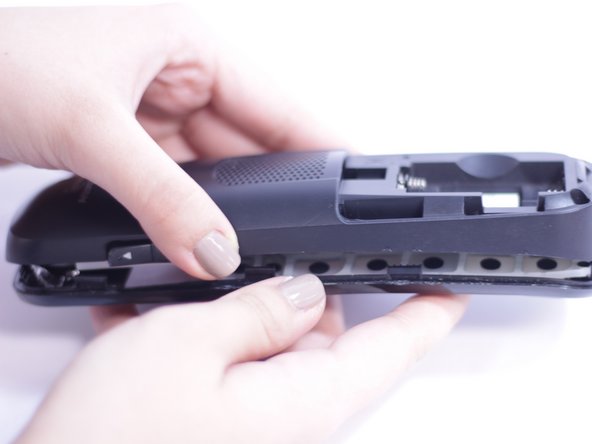
Use the plastic opening tool to pry the front from the backside.
-
Start prying at the bottom and work your way around the device.
-
Do this for every 3 cm all around.
-
-
-
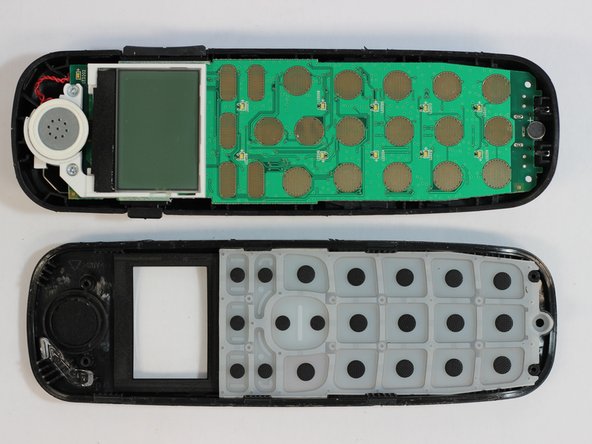
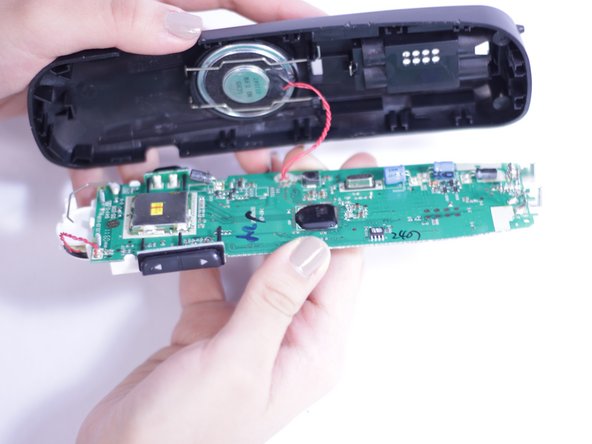
Flip the circuit board from the backside of the phone to the frontside of the phone by tilting it on the long edge
-
-
-
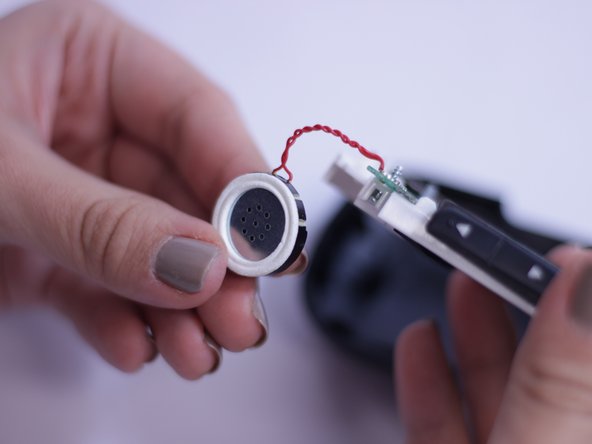
You are now facing the back side. Apply a little bit of pressure with the plastic opening tool on the back of the speaker so the the speaker can pop out.
-
-
-
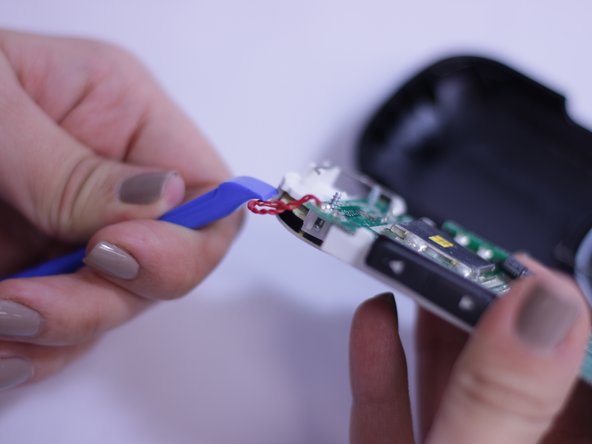
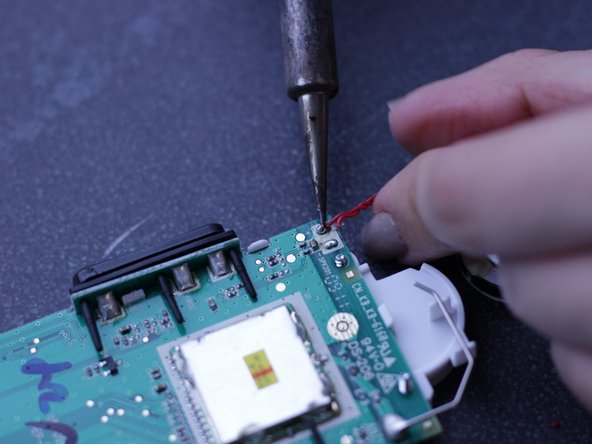
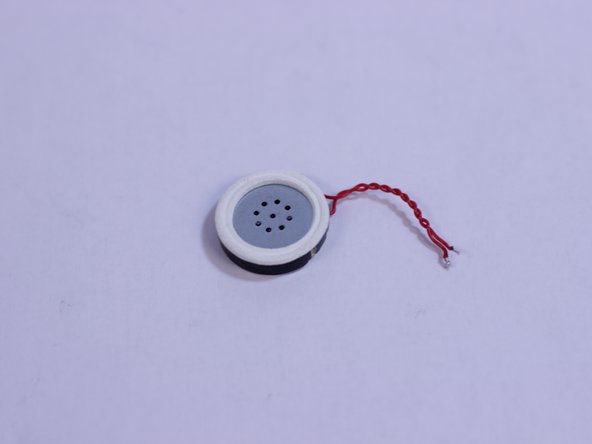
Use a soldering iron to heat up the solder connected to the electric wire.
-
When the solder is fluid, carefully pull the electric wire loose.
-


To reassemble your device, follow these instructions from step 6 in reverse order.
To reassemble your device, follow these instructions from step 6 in reverse order.
Rückgängig: Ich habe diese Anleitung nicht absolviert.
Eine weitere Person hat diese Anleitung absolviert.
Team

Delft University of Technology, Team S1-G19, Flipsen Spring 2017 Mitglied von Delft University of Technology, Team S1-G19, Flipsen Spring 2017
TUD-FLIPSEN-S17S1G19
3 Mitglieder
1 Anleitung geschrieben