Zum Hauptinhalt wechseln

Kano Computer Kit Complete Raspberry Pi Replacement

  1. Kano Computer Kit Complete Raspberry Pi Replacement, Raspberry Pi: Schritt 1, Bild 1 von 2 Kano Computer Kit Complete Raspberry Pi Replacement, Raspberry Pi: Schritt 1, Bild 2 von 2
    • Take off the clear backing of the computer and set it aside.

    • The Raspberry Pi is located in the top right corner of the case.

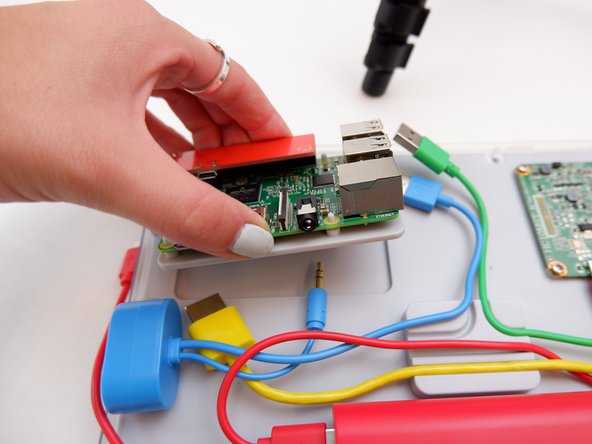
  2. Kano Computer Kit Complete Raspberry Pi Replacement: Schritt 2, Bild 1 von 3 Kano Computer Kit Complete Raspberry Pi Replacement: Schritt 2, Bild 2 von 3 Kano Computer Kit Complete Raspberry Pi Replacement: Schritt 2, Bild 3 von 3
    • Unplug the battery from the power button.

  3. Kano Computer Kit Complete Raspberry Pi Replacement: Schritt 3, Bild 1 von 3 Kano Computer Kit Complete Raspberry Pi Replacement: Schritt 3, Bild 2 von 3 Kano Computer Kit Complete Raspberry Pi Replacement: Schritt 3, Bild 3 von 3
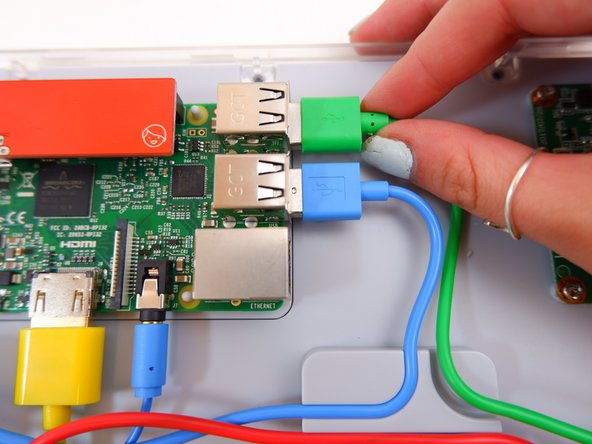
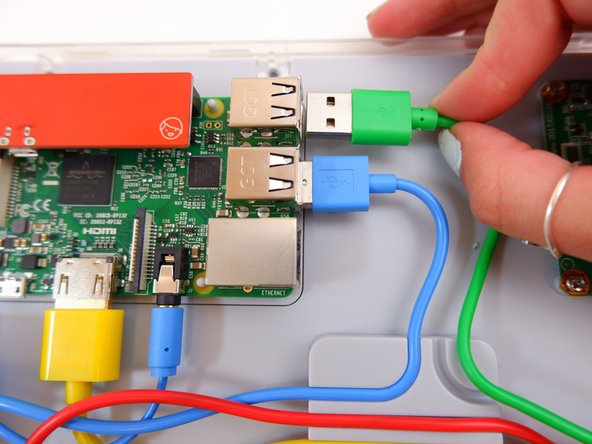
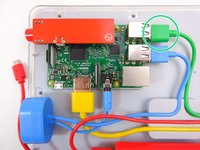
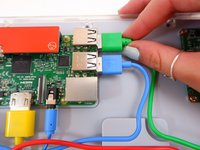
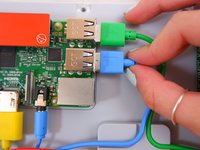
    • Unplug the green cable

  4. Kano Computer Kit Complete Raspberry Pi Replacement: Schritt 4, Bild 1 von 3 Kano Computer Kit Complete Raspberry Pi Replacement: Schritt 4, Bild 2 von 3 Kano Computer Kit Complete Raspberry Pi Replacement: Schritt 4, Bild 3 von 3
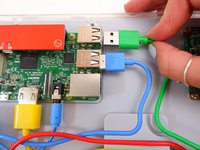
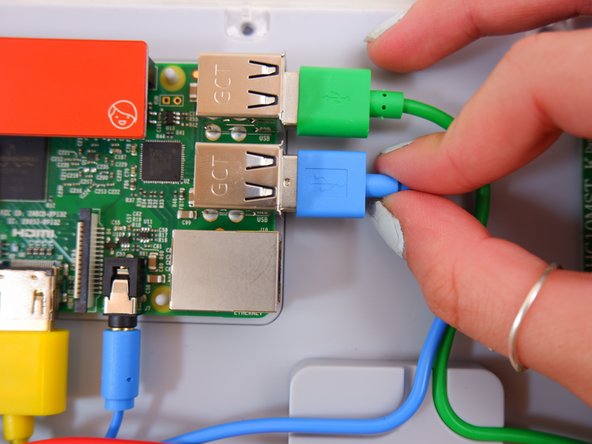
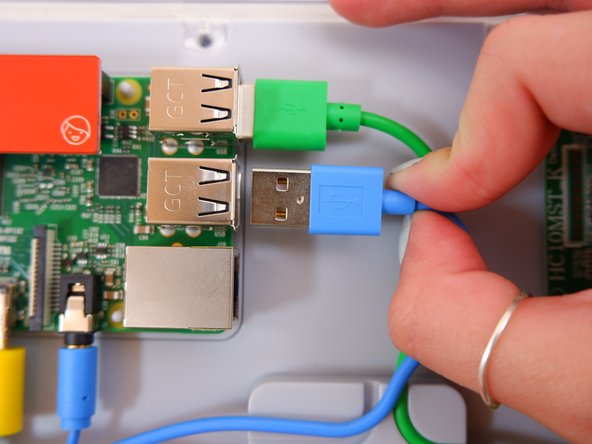
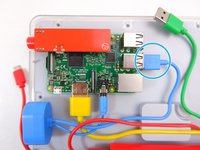
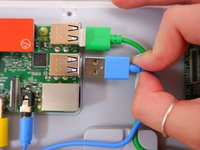
    • Unplug the blue USB cable.

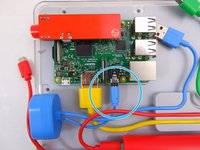
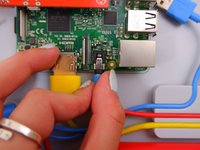
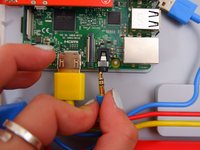
  5. Kano Computer Kit Complete Raspberry Pi Replacement: Schritt 5, Bild 1 von 3 Kano Computer Kit Complete Raspberry Pi Replacement: Schritt 5, Bild 2 von 3 Kano Computer Kit Complete Raspberry Pi Replacement: Schritt 5, Bild 3 von 3
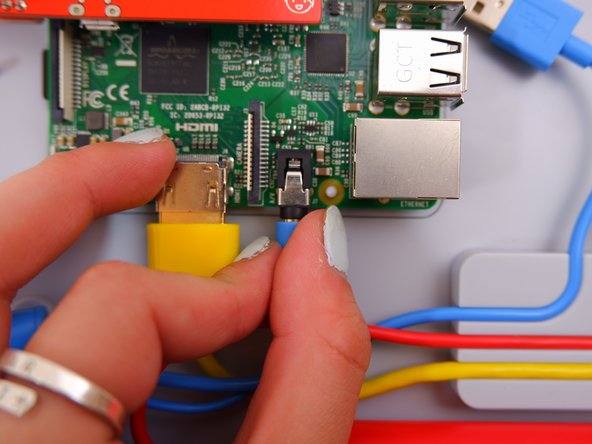
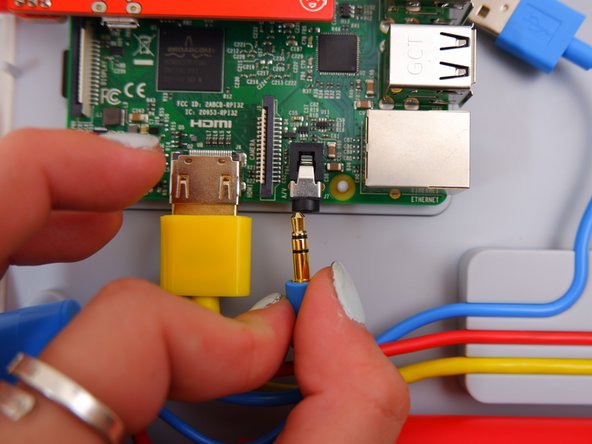
    • Unplug the blue audio jack.

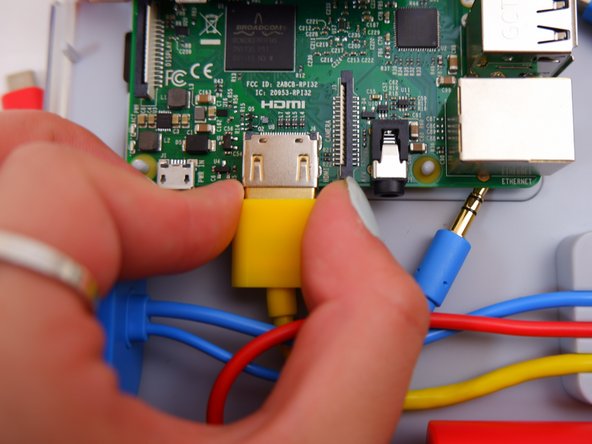
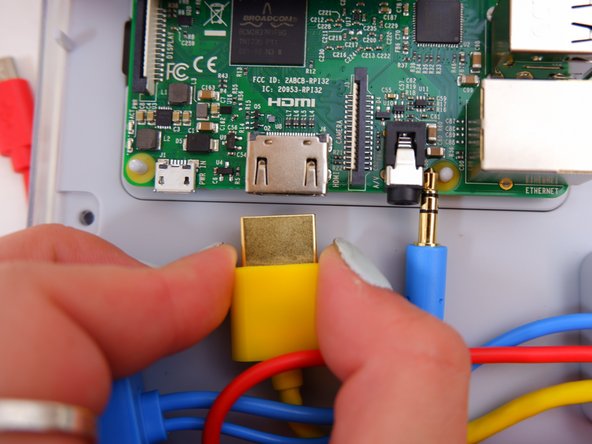
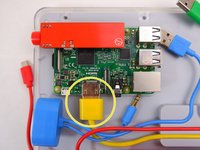
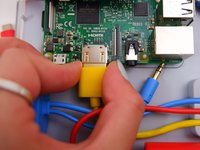
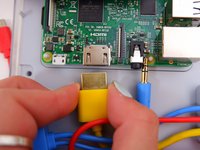
  6. Kano Computer Kit Complete Raspberry Pi Replacement: Schritt 6, Bild 1 von 3 Kano Computer Kit Complete Raspberry Pi Replacement: Schritt 6, Bild 2 von 3 Kano Computer Kit Complete Raspberry Pi Replacement: Schritt 6, Bild 3 von 3
    • Unplug the yellow cable.

  7. Kano Computer Kit Complete Raspberry Pi Replacement: Schritt 7, Bild 1 von 2 Kano Computer Kit Complete Raspberry Pi Replacement: Schritt 7, Bild 2 von 2
    • Pop off the entire board from of the back of the screen.

  8. Kano Computer Kit Complete Raspberry Pi Replacement: Schritt 8, Bild 1 von 1
    • Remove the backing off the Raspberry Pi.

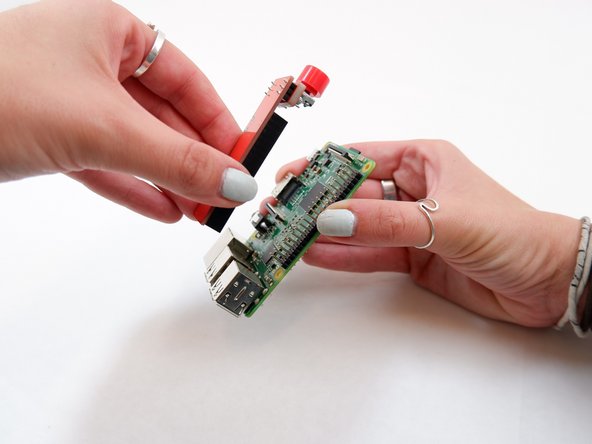
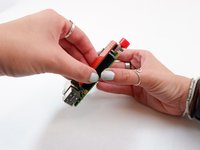
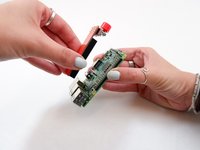
  9. Kano Computer Kit Complete Raspberry Pi Replacement: Schritt 9, Bild 1 von 2 Kano Computer Kit Complete Raspberry Pi Replacement: Schritt 9, Bild 2 von 2
    • Remove the power button from the Raspberry Pi.

Abschluss

To reassemble your device, follow these instructions in reverse order with the new Raspberry Pi.

Eine weitere Person hat diese Anleitung absolviert.

0 Kommentare

Kommentar hinzufügen

Seitenaufrufe:

Letzte 24 Stunden: 3

Letzte 7 Tage: 5

Letzte 30 Tage: 28

Insgesamt: 1,217