Einleitung
If the LCD screen in the KDC-BT565U is not displaying text properly, or suffering from too much fading/dimness, it could be a sign that the screen needs replacing. This guide shows you how to easily replace this LCD screen.
Was du brauchst
-
-
Begin by slightly lifting the face plate out from the side located by the release button.
-
Slide towards the side of the eject button, then completely lift out.
-
-
-
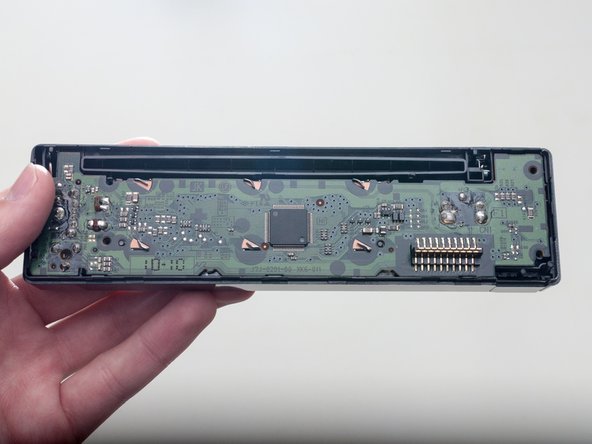
Remove the four 7.5mm Phillips #0 screws on the back of the face-plate.
-
-
-
-
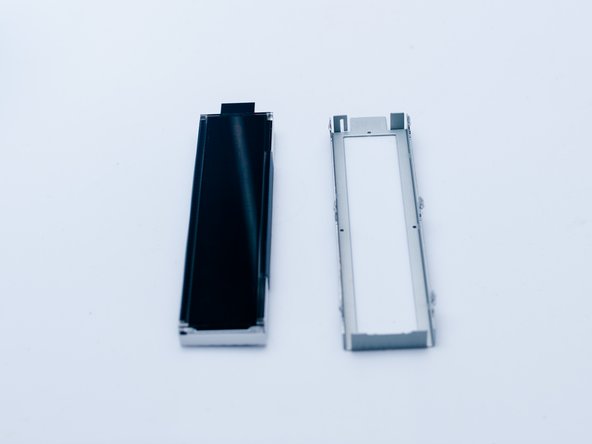
Use a spudger or prying tool to open the back of the face plate. Pry the back at multiple points around the edge of the face plate. This will take some patience. Applying too much force risks breaking the plastic.
-
-
-
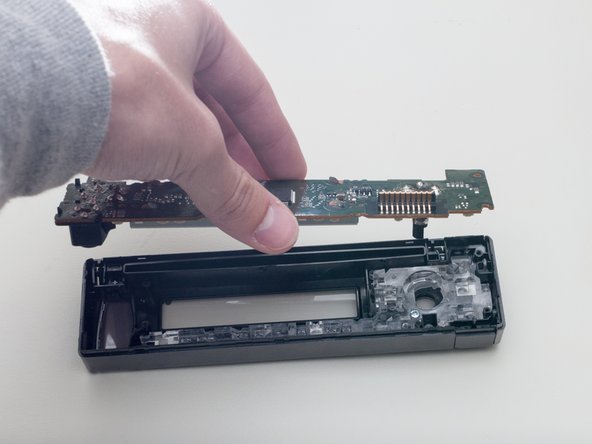
Lift and remove the motherboard to reveal the inside of the front panel.
-
You might need to pry the right side up with the spudger.
-
-
-
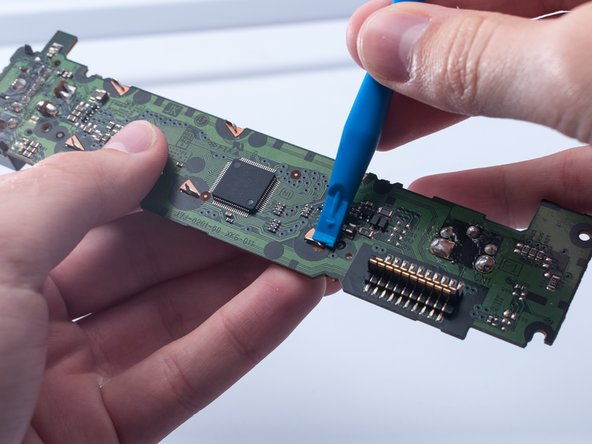
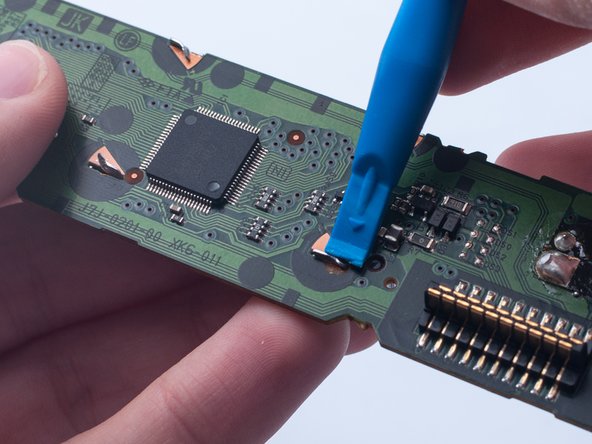
Use the plastic spudger to straighten out the six pegs to allow the removal of the LCD screen.
-


To reassemble your device, follow these instructions in reverse order.
To reassemble your device, follow these instructions in reverse order.
Rückgängig: Ich habe diese Anleitung nicht absolviert.
3 weitere Personen haben diese Anleitung absolviert.
Team

USF Tampa, Team S2-G5, Lacy Spring 2017 Mitglied von USF Tampa, Team S2-G5, Lacy Spring 2017
USFT-LACY-S17S2G5
4 Mitglieder
11 Anleitungen geschrieben