Einleitung
If your Keurig is unable to turn on, you may need to replace your power cable with this guide.
Was du brauchst
-
-
-
Remove the five 13mm Phillips #0 screws securing the bottom case.
-
Pull the silver cover off of the device.
-
-
-
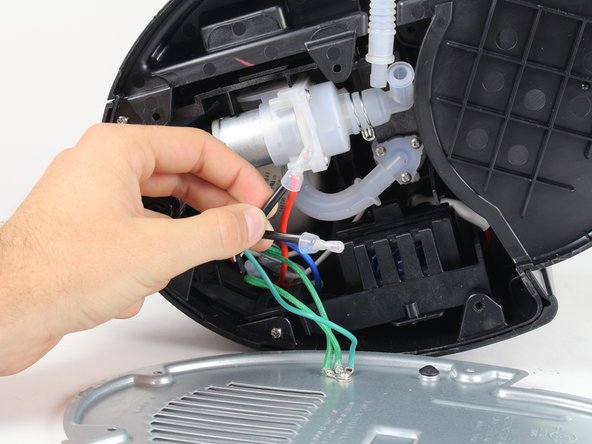
To remove the power cable, highlighted in red, follow iFixit's guide on soldering.
-
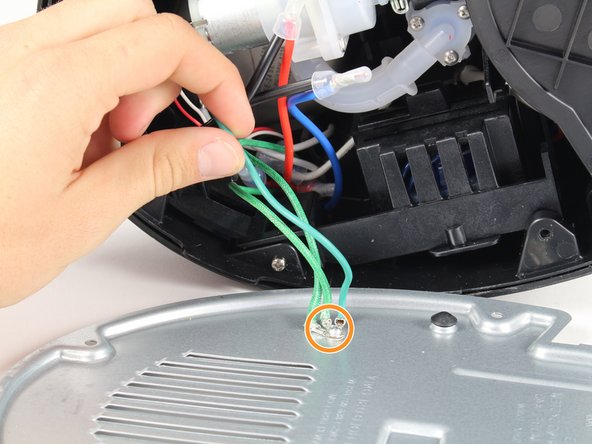
The ground cable, highlighted in orange, needs to be re-soldered to your new power cable.
-


To reassemble your device, follow these instructions in reverse order.
To reassemble your device, follow these instructions in reverse order.
Team

Cal Poly, Team S1-G3, Livingston Winter 2018 Mitglied von Cal Poly, Team S1-G3, Livingston Winter 2018
CPSU-LIVINGSTON-W18S1G3
4 Mitglieder
5 Anleitungen geschrieben