Einleitung
Beater Eject Button doesn't work? Follow this guide to replace it.
Was du brauchst
-
-
Insert the back of a plastic opening tool into one of the beater holes.
-
Apply force to pull the circular plastic part off.
-
If necessary, use the other side of the plastic opening tool to pry the circular plastic part off.
-
-
-
Use a plastic opening tool to remove the speed knob.
-
Use a plastic opening tool to remove the long plastic piece
-
Use a plastic opening tool to remove the speed switch.
-
-
-
-
Use a Phillips 2 screwdriver to remove the two 20.0mm screws holding the bottom plastic piece on.
-
Remove the bottom plastic piece using a plastic opening tool.
-
-
-
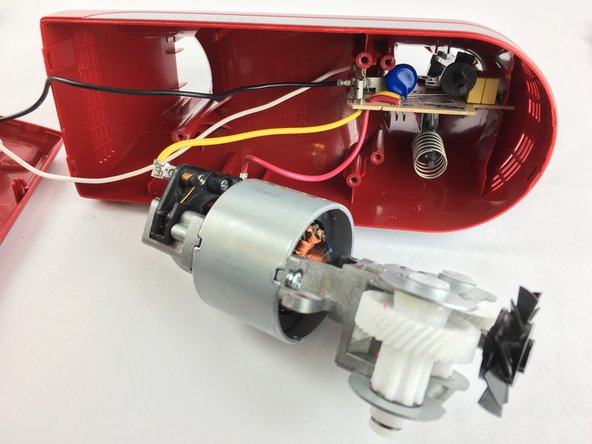
Using a Phillips 2 screwdriver, remove the three 20.0mm screws holding the motor assembly in place.
-
Use your hands to remove the motor assembly.
-
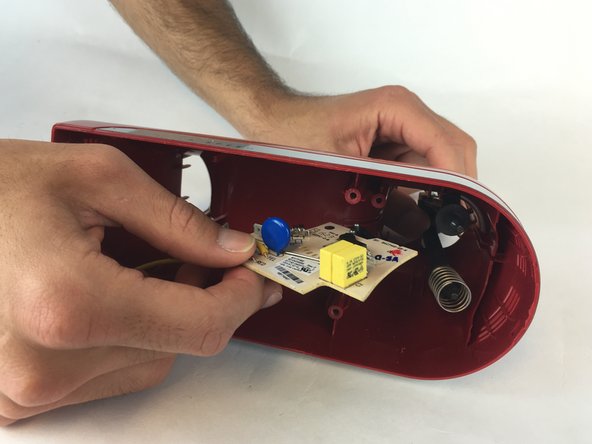
Use your hands to hold the eject button from one side while using the other hand to remove the circuit board.
-
-
-
Remove the eject button by pulling it from the inside of the mixer.
-
Hold the eject button firmly while pulling out the spring.
-


To reassemble your device, follow these instructions in reverse order.
To reassemble your device, follow these instructions in reverse order.
Rückgängig: Ich habe diese Anleitung nicht absolviert.
2 weitere Personen haben diese Anleitung absolviert.
Team

USF Tampa, Team 2-3, Sullivan Spring 2016 Mitglied von USF Tampa, Team 2-3, Sullivan Spring 2016
USFT-SULLIVAN-S16S2G3
3 Mitglieder
4 Anleitungen geschrieben