Einleitung
This guide demonstrates two techniques for knotting the thread to the fabric when hand sewing. These knot types secure the thread to the fabric so that it doesn't move or pull through while you're sewing. They can be used to secure a stitch line at the beginning and at the end.
Secure Knot Type 1: Steps 1 - 5
Secure Knot Type 2: Steps 6 - 11
Related Articles
Was du brauchst
-
-
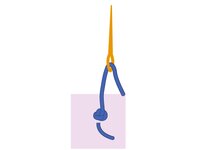
On the backside of the fabric, make a very small stitch.
-
Pull the thread through, leaving a short tail of approximately 1/2 inch (~13 mm) to 1 inch (~25 mm).
-
Make another small stitch in the same area. Leave the needle piercing the fabric without pulling it all the way through.
-
-
-
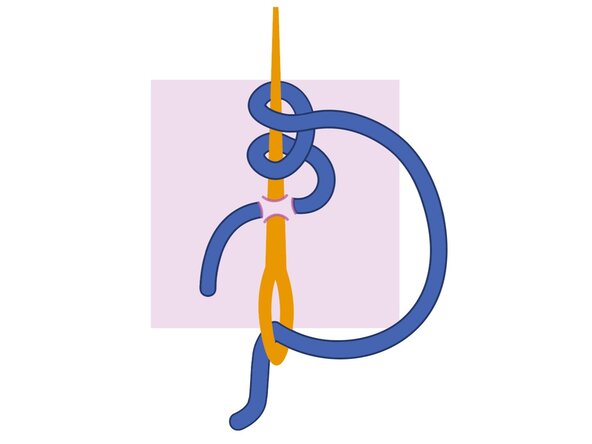
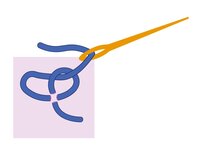
Take the thread that's emerging from the stitch and wrap it around the needle.
-
Wrap the thread around the needle a second time.
-
Push the wrapped threads down towards the base of the needle where it's emerging from the fabric.
-
-
-
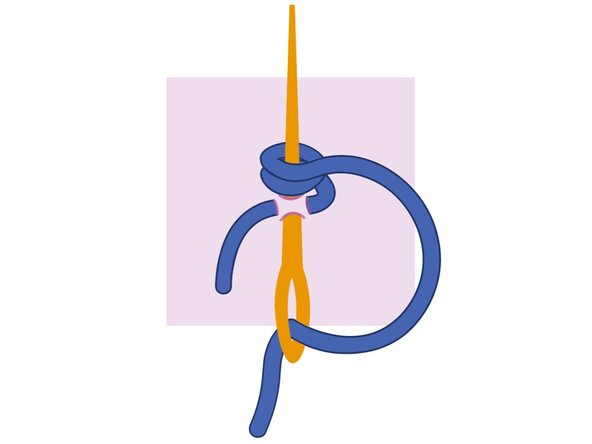
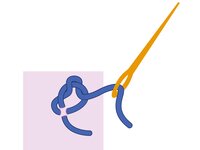
Pull the needle through the loops and pull the thread tight. The knot will lay flush with the fabric.
-
-
-
This video shows how to start a stitch with secure knot type 1.
-
-
-
-
This video shows how to end a stitch with secure knot type 1.
-
-
-
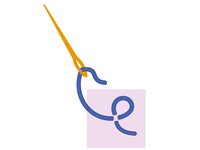
On the backside of the fabric, make a very small stitch.
-
Pull the thread through, leaving a short tail of approximately 1/2 inch (~13 mm) to 1 inch (~25 mm).
-
-
-
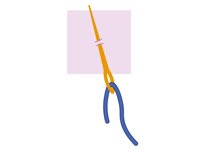
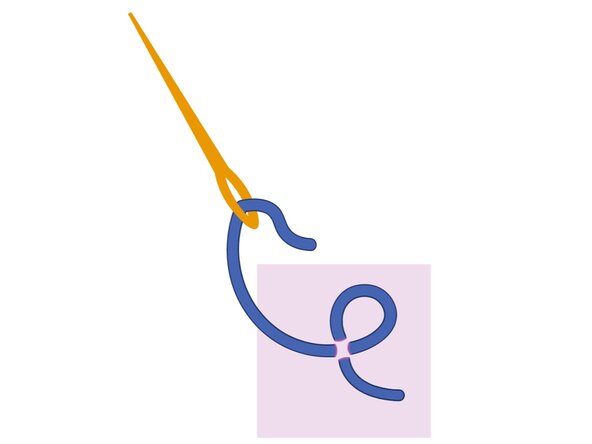
Make another small stitch in the same area, across the first stitch.
-
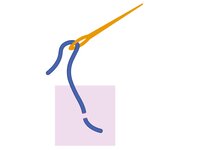
Pull the thread through but don't pull it tight, leaving a small loop.
-
-
-
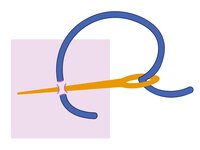
Thread the needle through the loop that was created in the previous step.
-
Gently pull the needle through the loop without pulling the thread tight, keeping the thread loop intact.
-
-
-
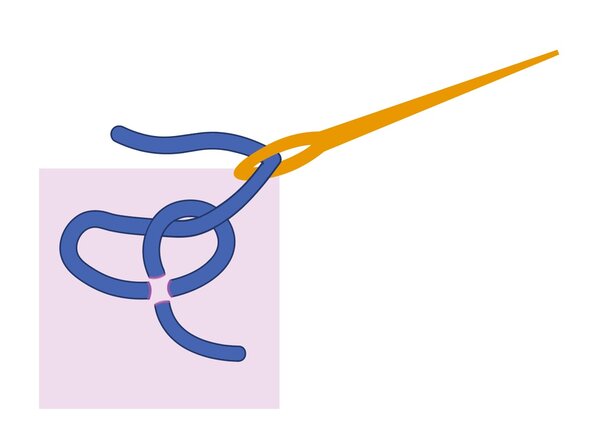
Thread the needle through the loop again in the same direction as the previous step.
-
Pull the thread tight to secure the knot. The knot will lay flush against the fabric.
-
-
-
This video shows how to start a stitch with secure knot type 2.
-
-
-
This video shows how to end a stitch with secure knot type 2.
-


Rückgängig: Ich habe diese Anleitung nicht absolviert.
Eine weitere Person hat diese Anleitung absolviert.
