Diese Version enthält möglicherweise inkorrekte Änderungen. Wechsle zur letzten geprüften Version.
Was du brauchst
-
Dieser Schritt ist noch nicht übersetzt. Hilf mit, ihn zu übersetzen!
-
Position the camera with the bottom facing up.
-
Slide the battery cover in the direction of the arrow with your finger gently.
-
Remove the batteries
-
-
Dieser Schritt ist noch nicht übersetzt. Hilf mit, ihn zu übersetzen!
-
Remove the seven 4.5mm screws with a Phillips #00 screwdriver.
-
2 on the left
-
2 on the right
-
3 on the bottom
-
-
-
Dieser Schritt ist noch nicht übersetzt. Hilf mit, ihn zu übersetzen!
-
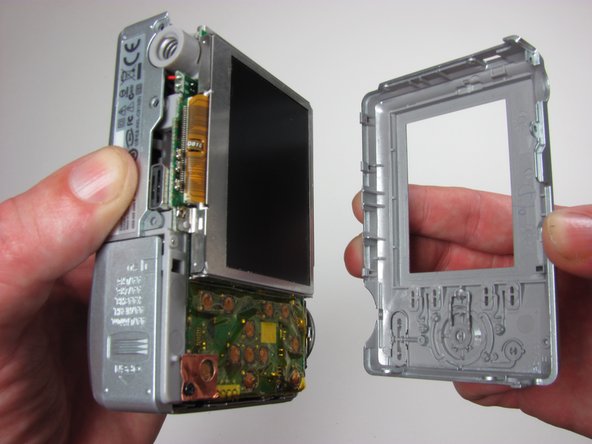
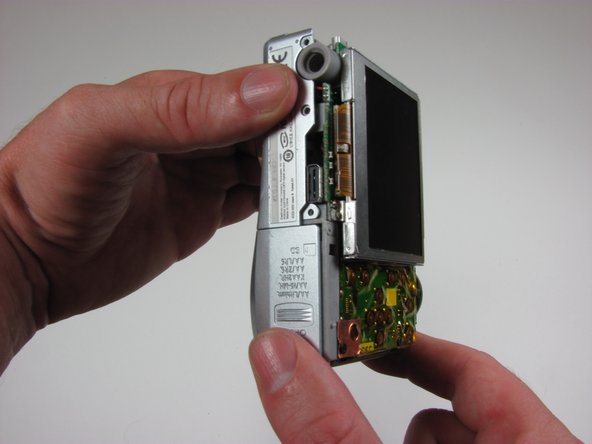
Firmly grasp the back of the camera and pull the away the casing.
-
-
Dieser Schritt ist noch nicht übersetzt. Hilf mit, ihn zu übersetzen!
-
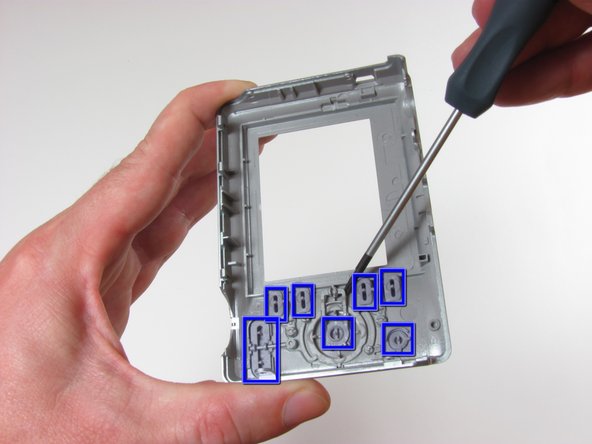
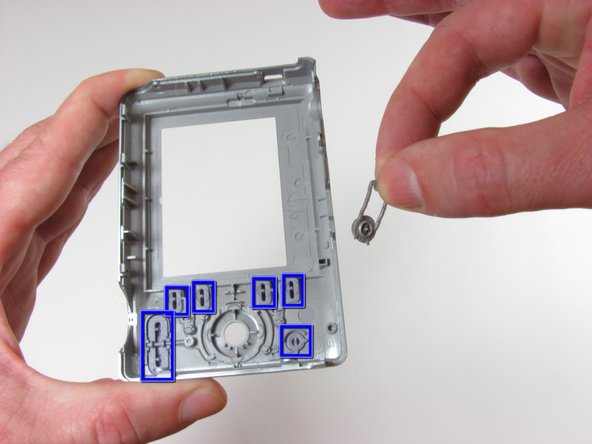
Use #00 screwdriver to pry off buttons.
-


Team

Cal Poly, Team 7-51, Amido Fall 2010 Mitglied von Cal Poly, Team 7-51, Amido Fall 2010
CPSU-AMIDO-F10S7G51
4 Mitglieder
14 Anleitungen geschrieben